
Set up Magento 2 Configurable Swatches
Types of Swatches in Magento 2
Visual Swatch
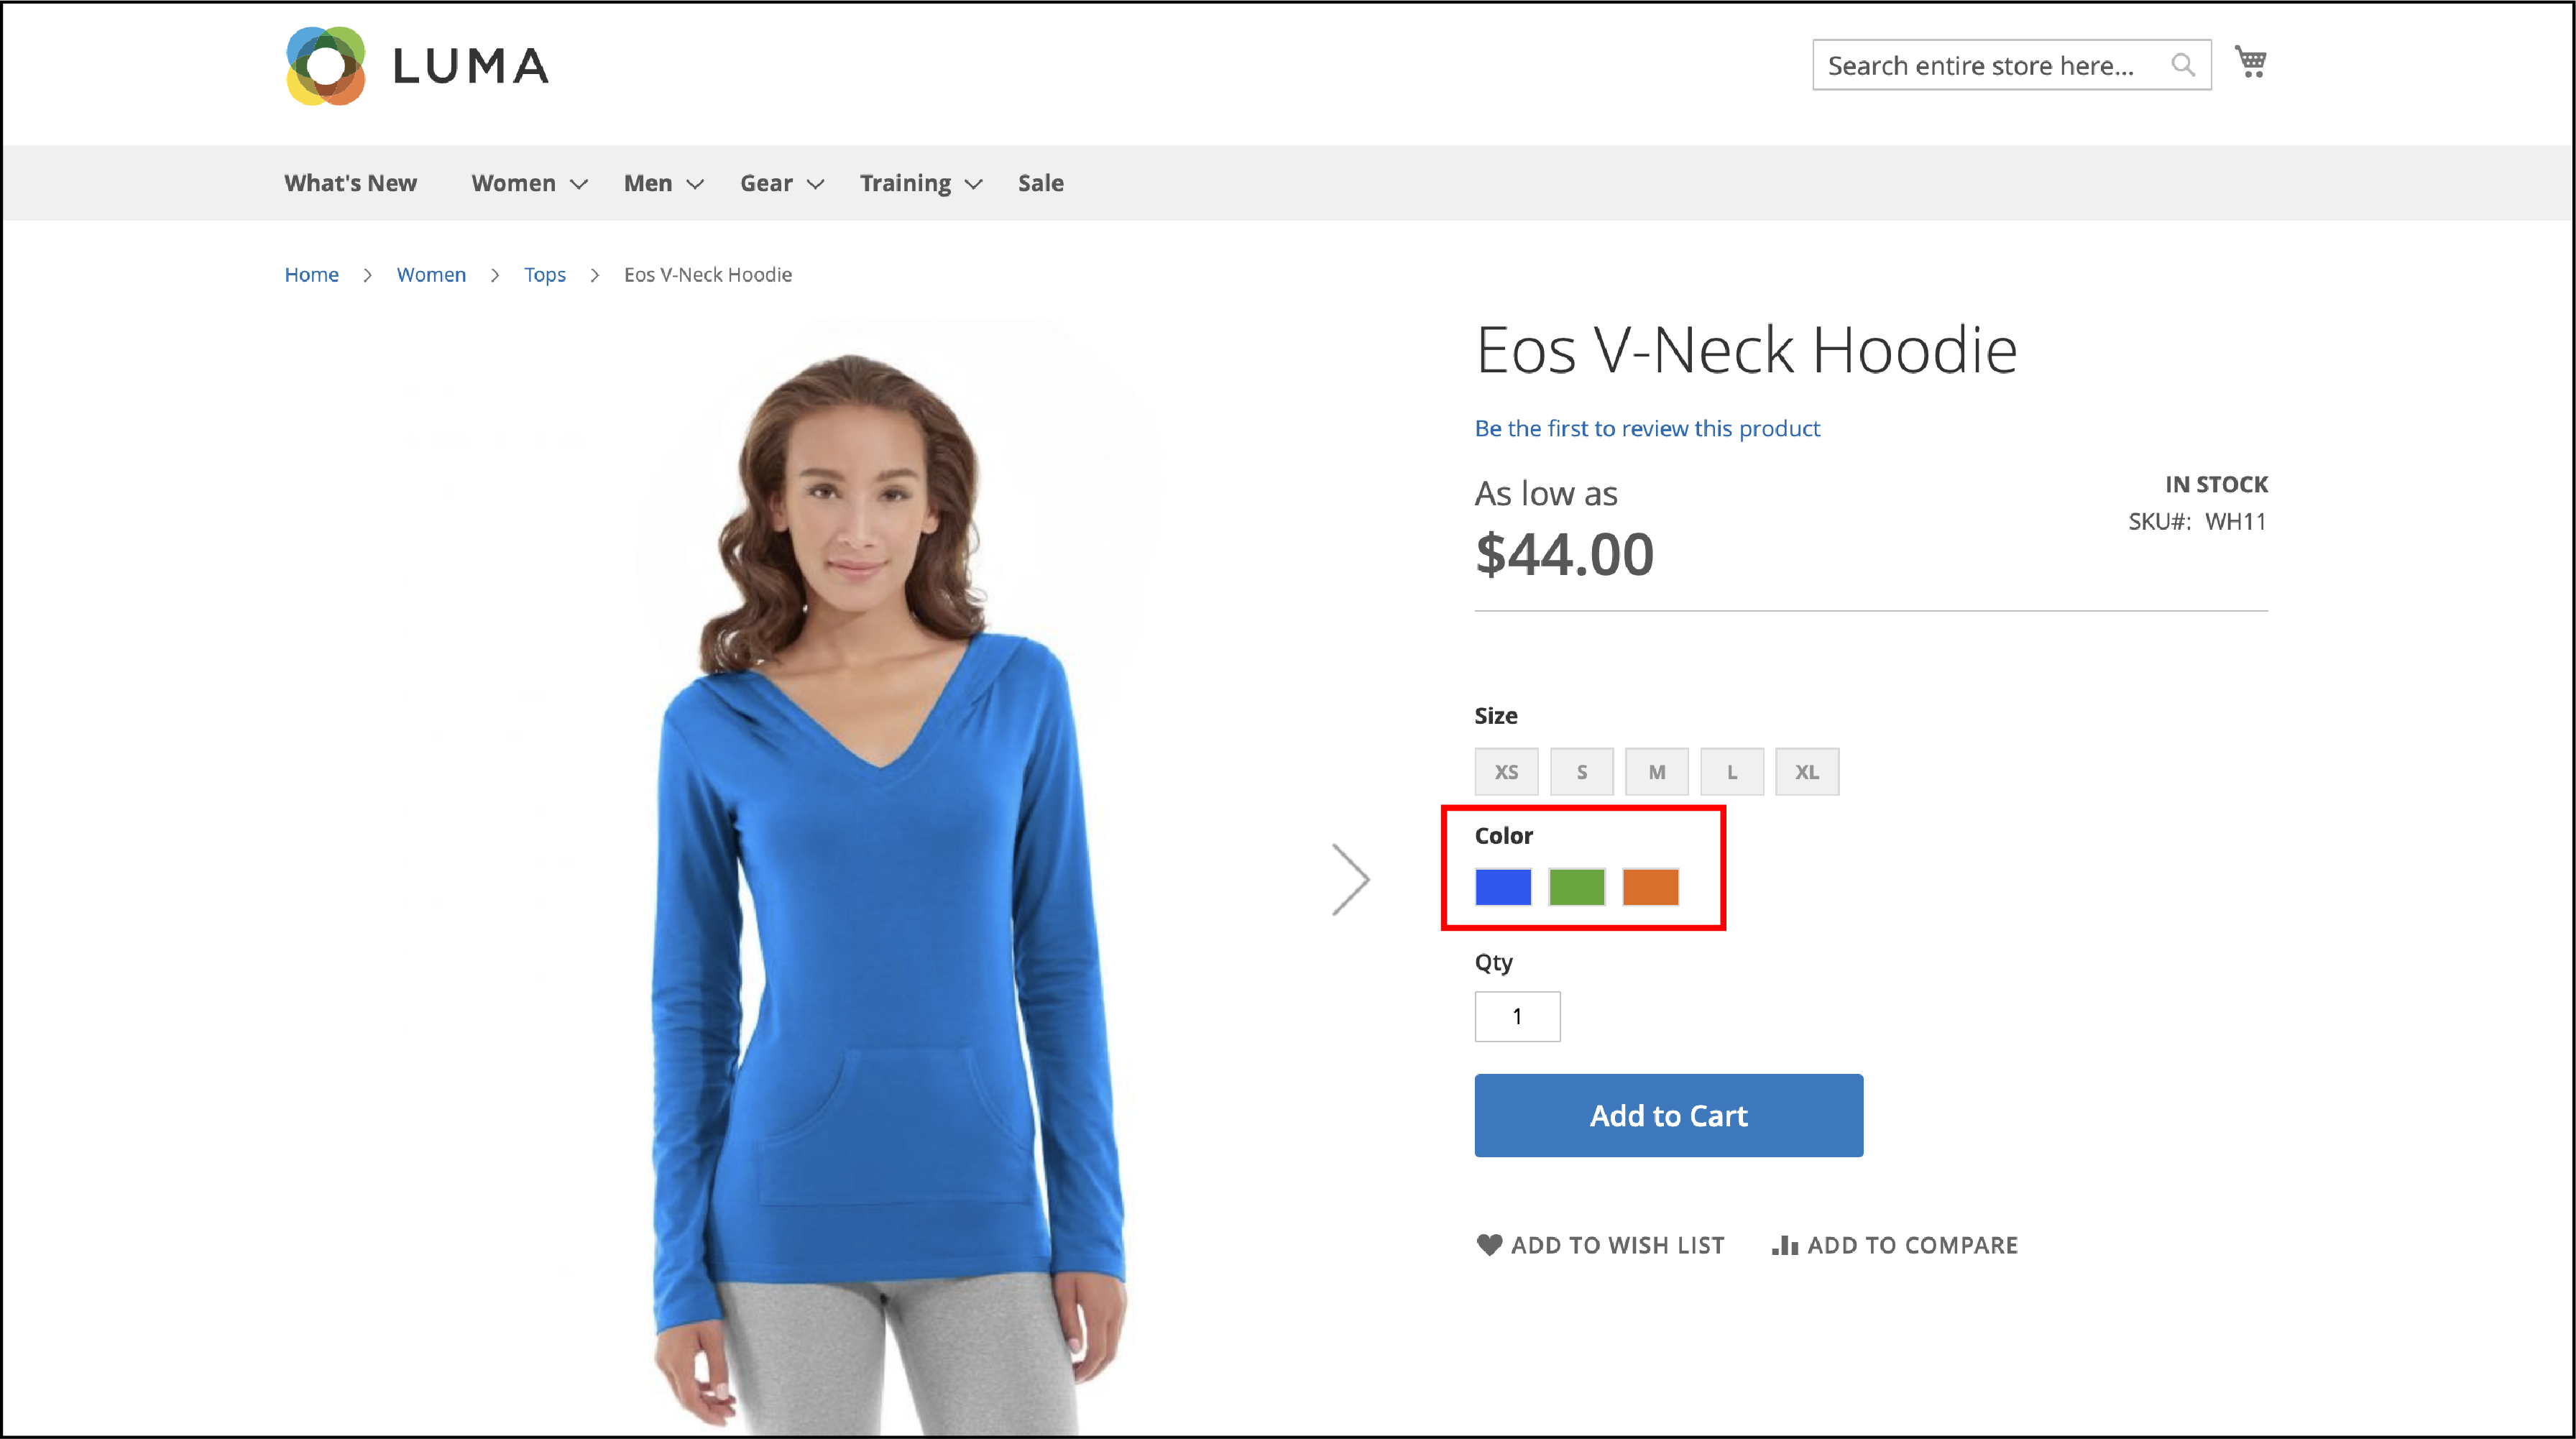
Color Swatch or Visual Swatch shows customers a variety of colors, patterns, or designs of the products. When the item is displayed in different colors, it makes it easier for a customer to choose the right product variation.
The color swatches are displayed in the following way:
Text-Based Swatch

A text-based swatch is used to show product sizes or other text-based options. It is often displayed as a button with a text label. It works the same way as a visual or color swatch.
Image Swatch
The image swatch function enhances the visual components of your product offerings and product variations in different colors/textures.
Swatches in Layered Navigation
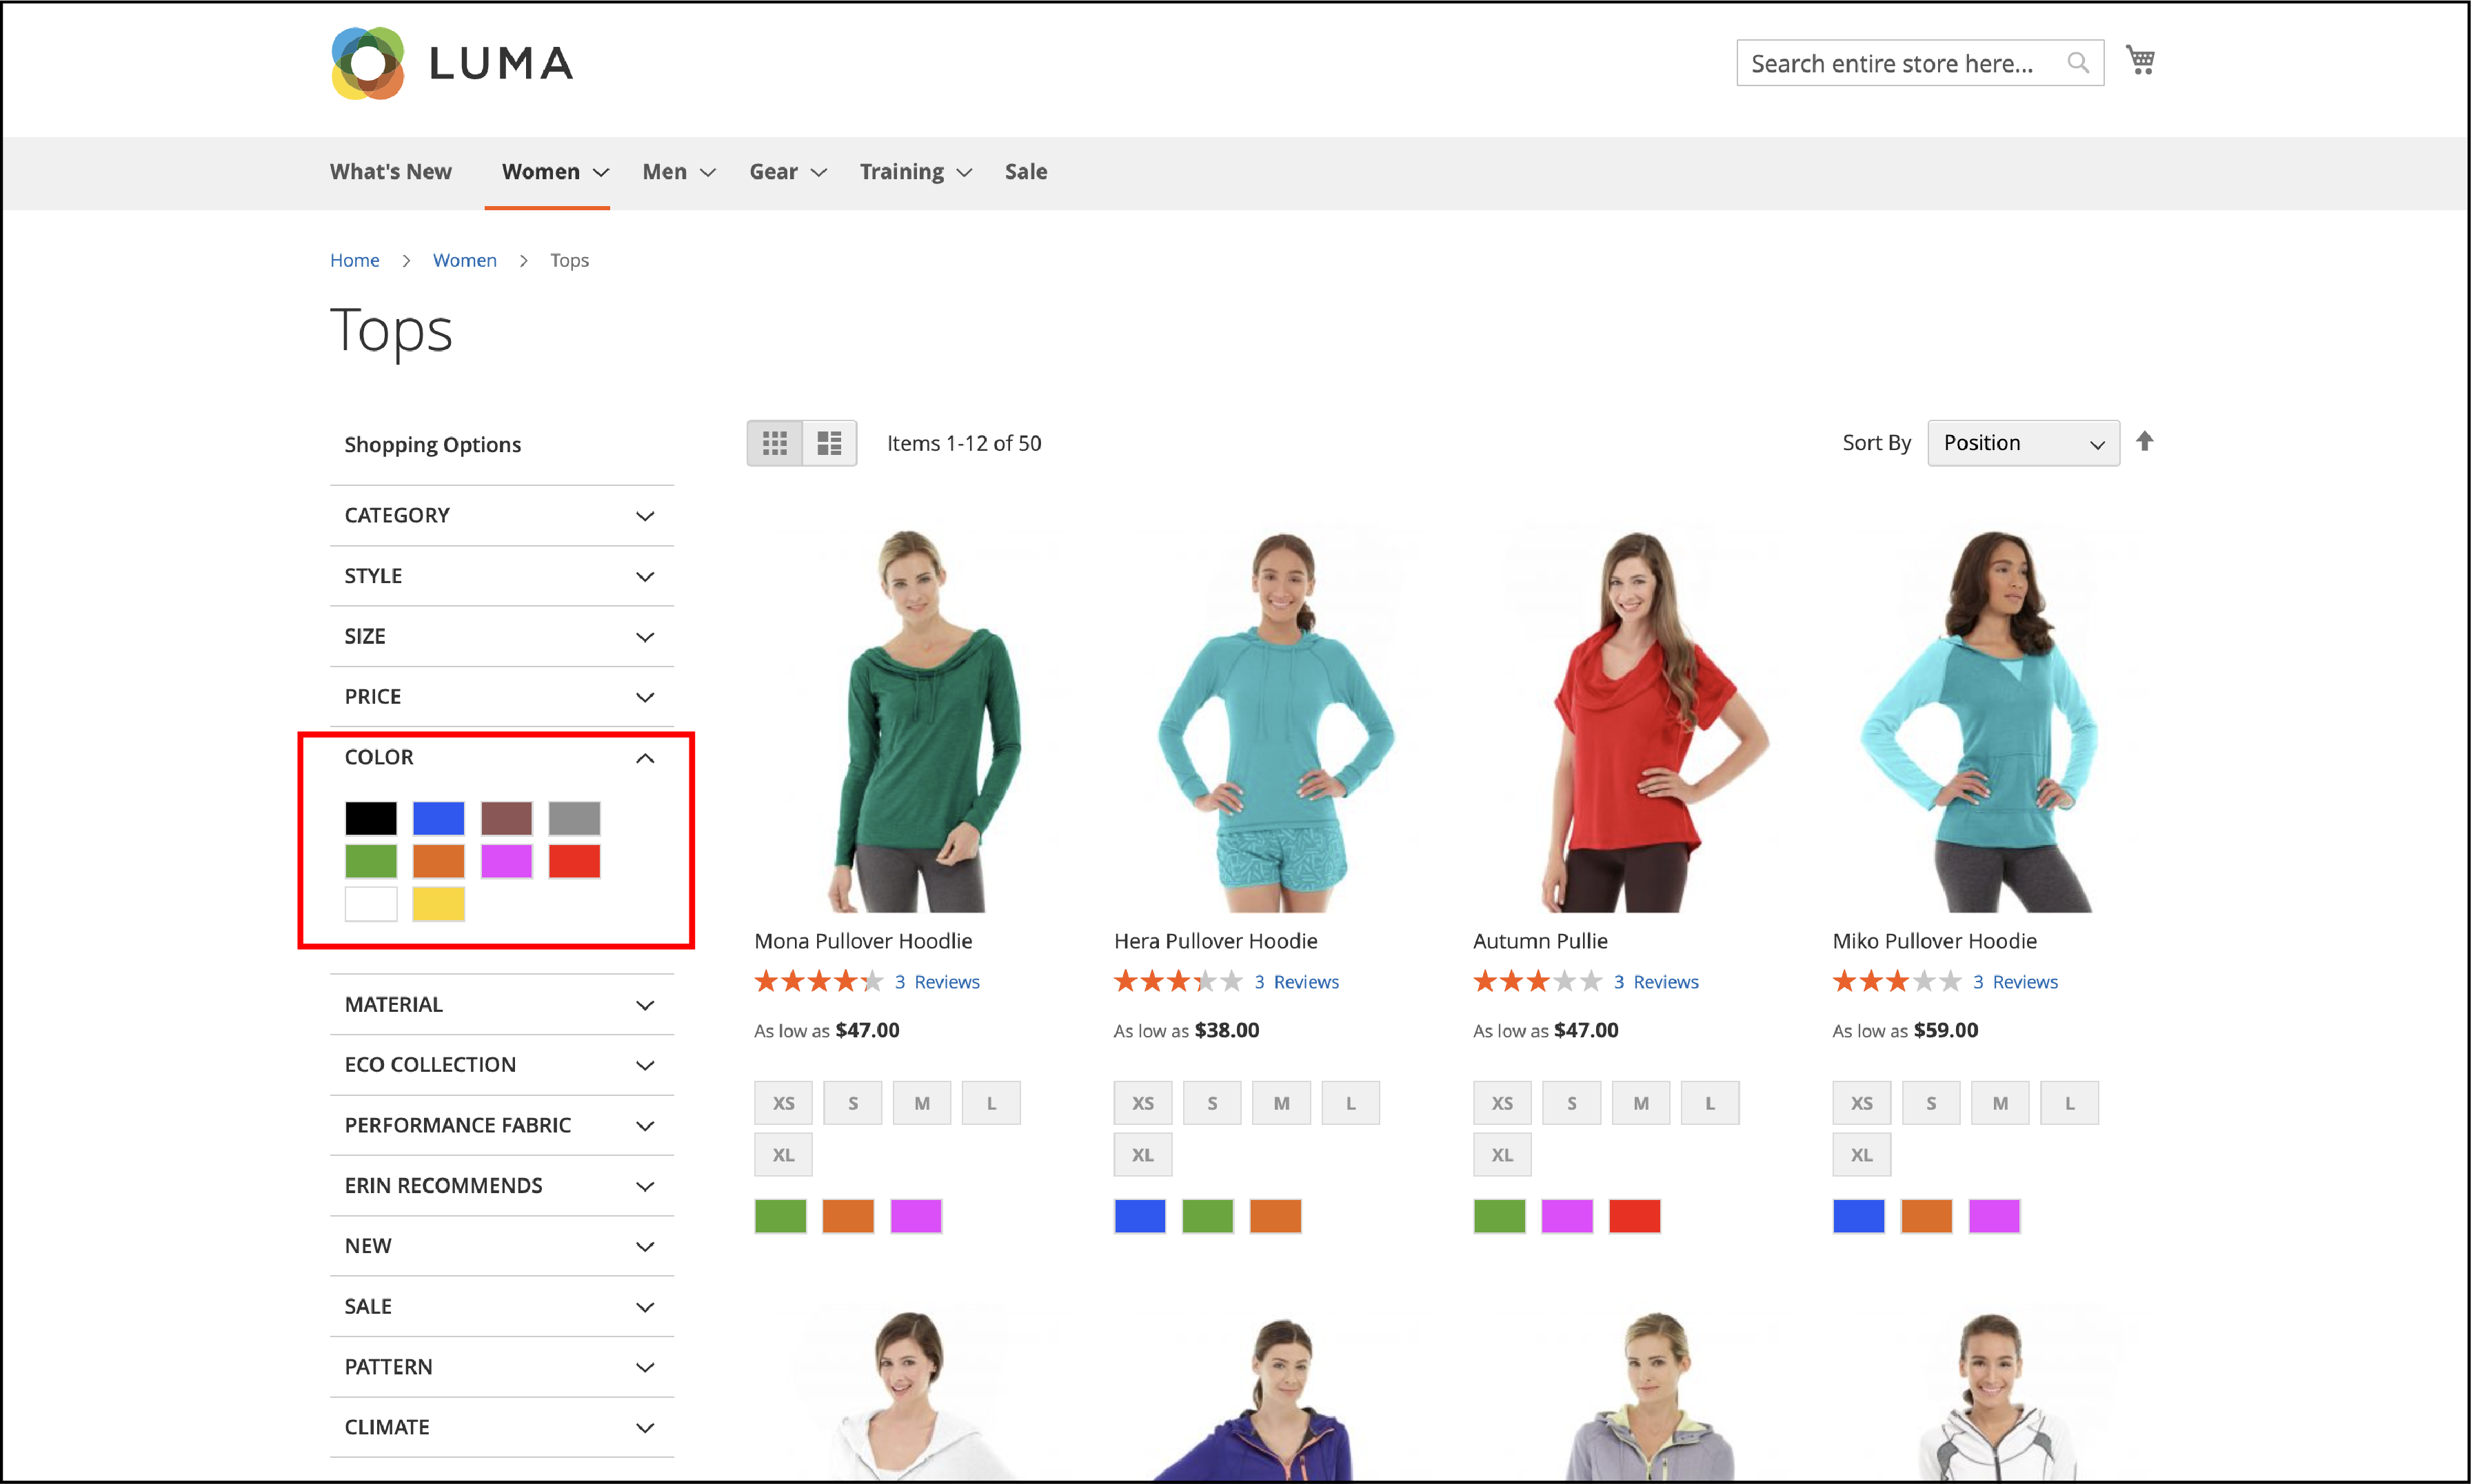
The swatches such as color swatches and text-based swatches can be also used in the Layered Navigation section. You have to check if the Layered Navigation property of the color attribute is set to Yes.
Steps for Magento 2 Configurable Swatches
Use the following two methods to configure swatches in Magento 2.
1. Create the Swatches
Method 1: Add a Color Swatch

-
Get the exact color for your product.
-
Use the Admin sidebar, and navigate to Stores > Attributes > Product.
-
In the grid, you will find the
Colorattribute. -
Set
Catalog Input Typefor Store Owner to Visual Swatch. -
In the Manage Swatch section, click on Add Swatch to add a new definition to the list.
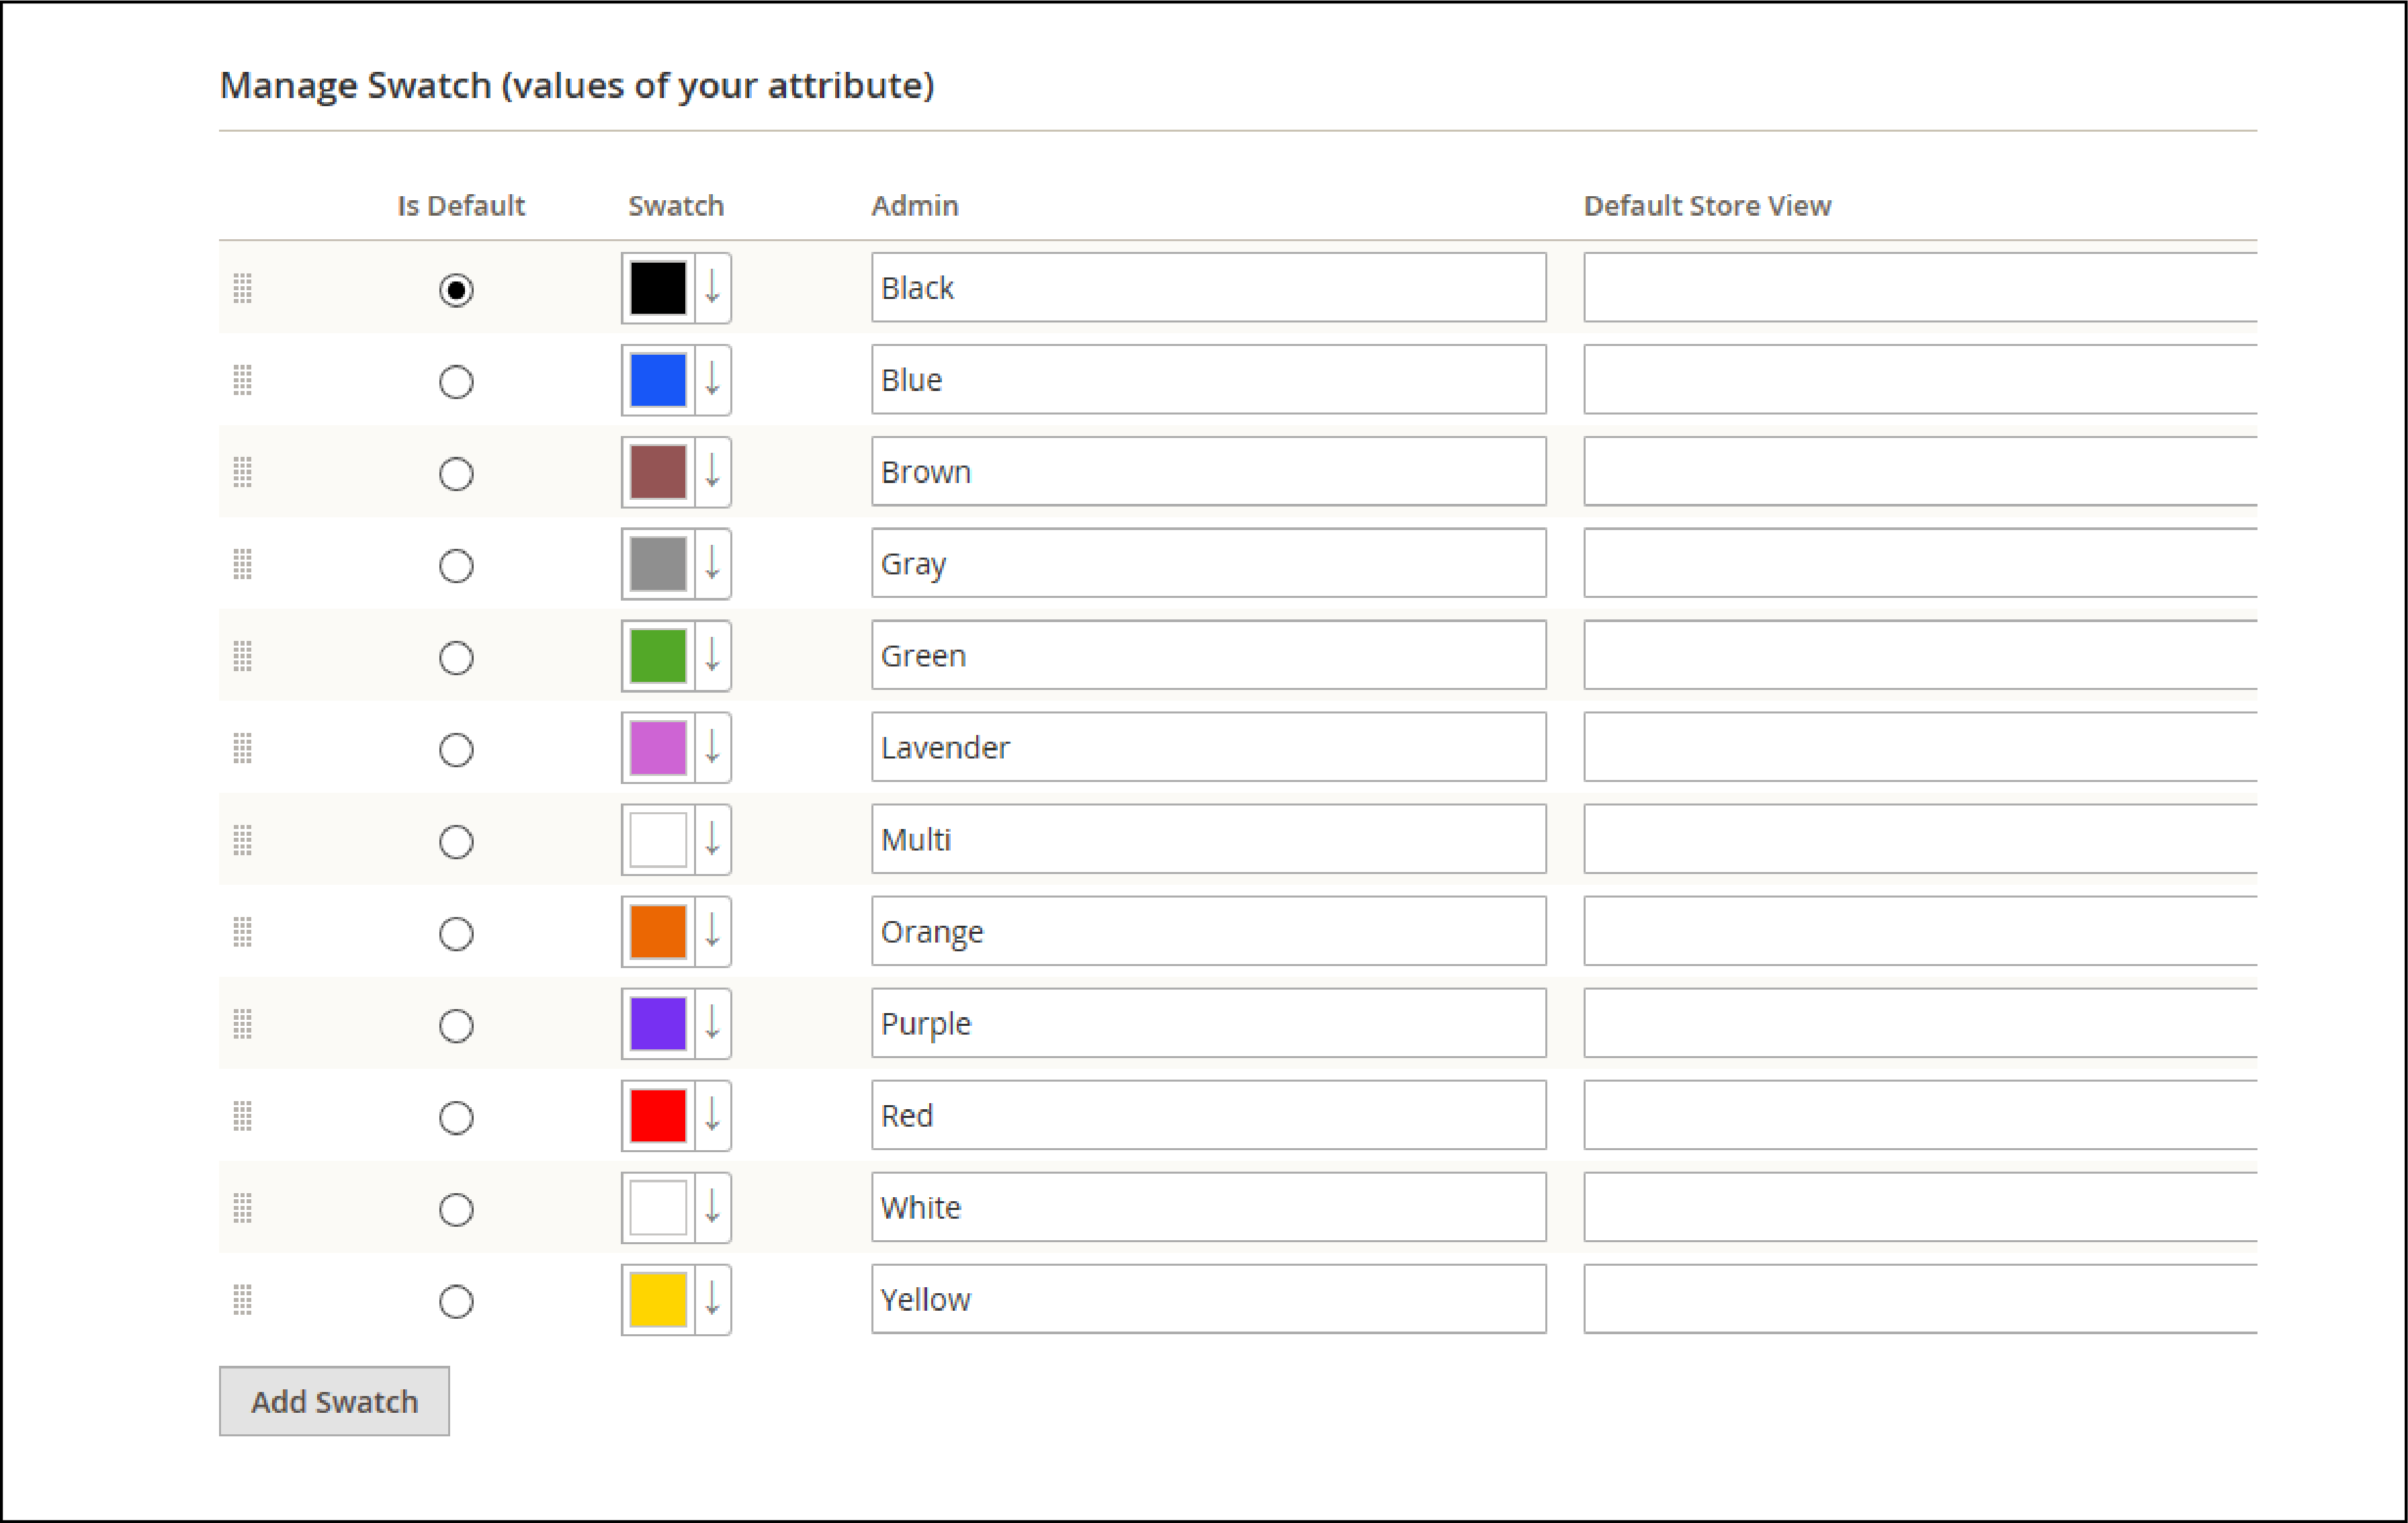
- In the swatch menu, select
Choose a coloroption. You will see a color picker section pop up.

- In the color picker, use the
# fieldand enter the six numbers that represent the hexadecimal value of the new color. Click on theColor Wheelbutton in the lower-right corner to save the swatch.

-
Add the label for the color in the Admin and Default Store View.
-
Select the checkbox under the
Is Defaultto set the default color. -
You can change the order by clicking on the Manage Swatch table.
-
Click on
Save Attribute, and flush the cache in the Cache Management tab. -
Navigate to
Editmode in each product. Update the Color attribute with the correct swatch.
Method 2: Upload a Swatch Image

-
Choose the swatch images that are suitable for your product.
-
On the Admin sidebar, navigate to Stores > Attributes > Product.
-
In the grid, find and edit the
Colorattribute. -
Set
Catalog Input Type for Store Ownerto Visual Swatch. -
In the
Manage Swatchsection, click onAdd Swatchto add a new definition. -
On the swatch menu, select
Upload a file. Choose the required image from your device. Repeat these steps for other swatch images.

-
Add the label for the color in the Admin and Default Store View.
-
After the steps, click on
Save Attributeand flush the cache in the Cache Management tab. -
Navigate to the
Editmode in each product, and update theColorattribute with the correct swatch.
Update the Product
-
From the Admin sidebar, navigate to Products > Inventory > Catalog.
-
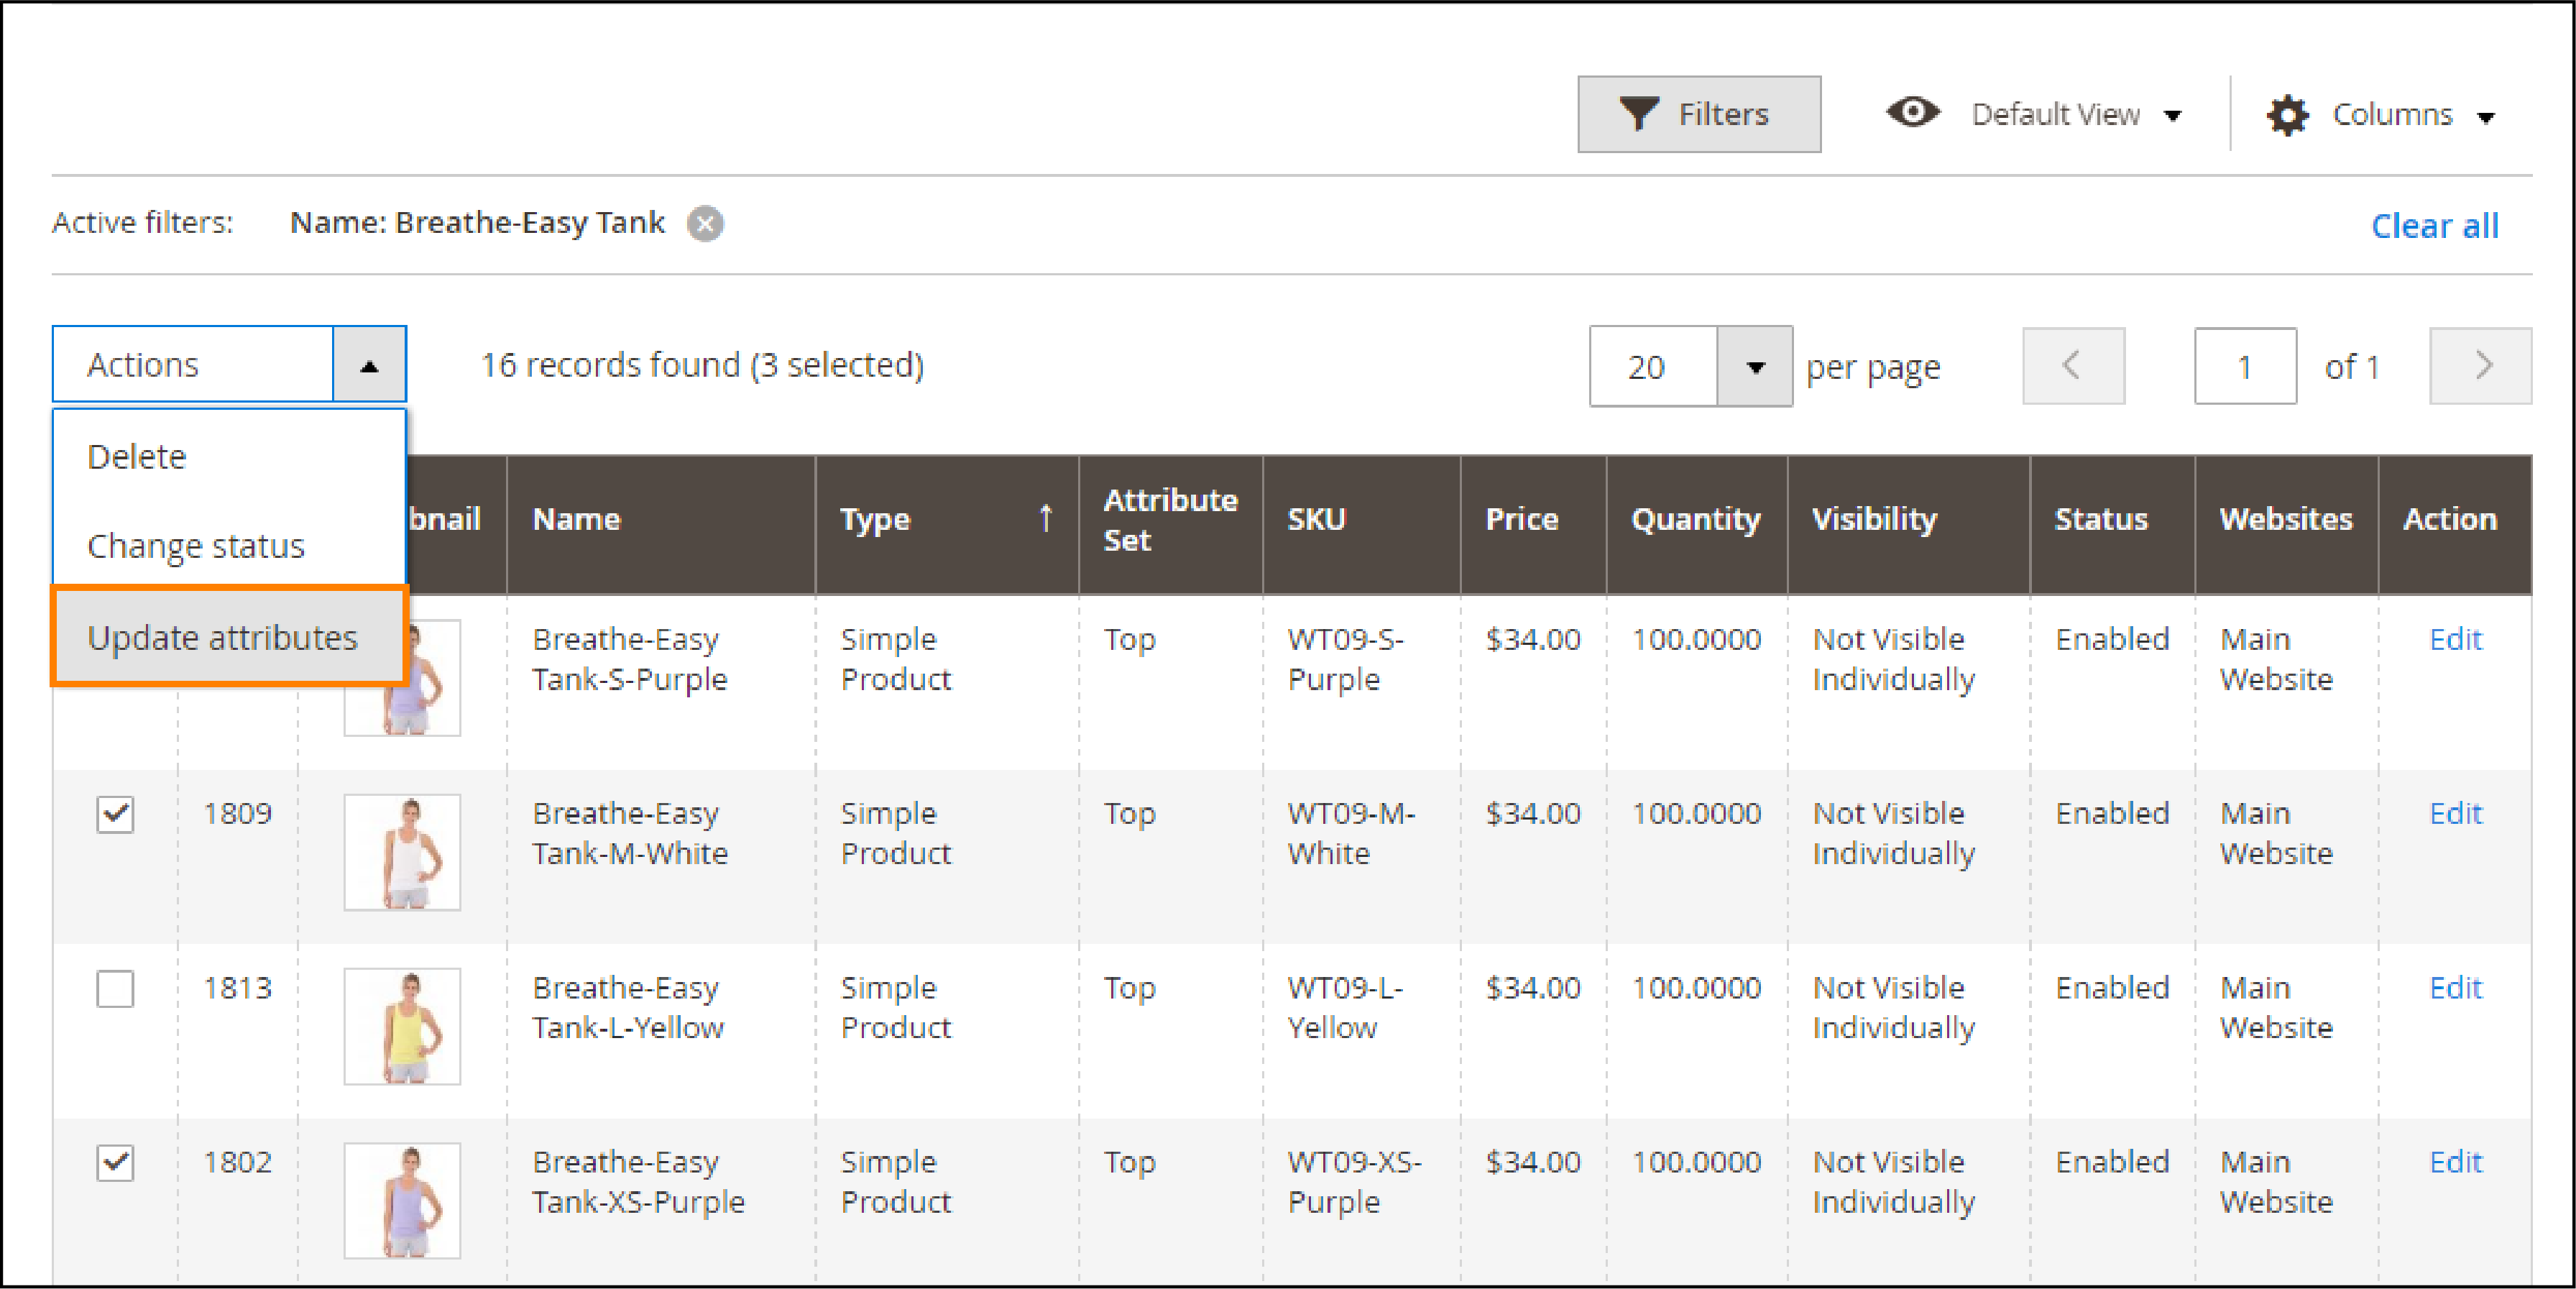
Filter the list by Name or SKU to include the applicable products.
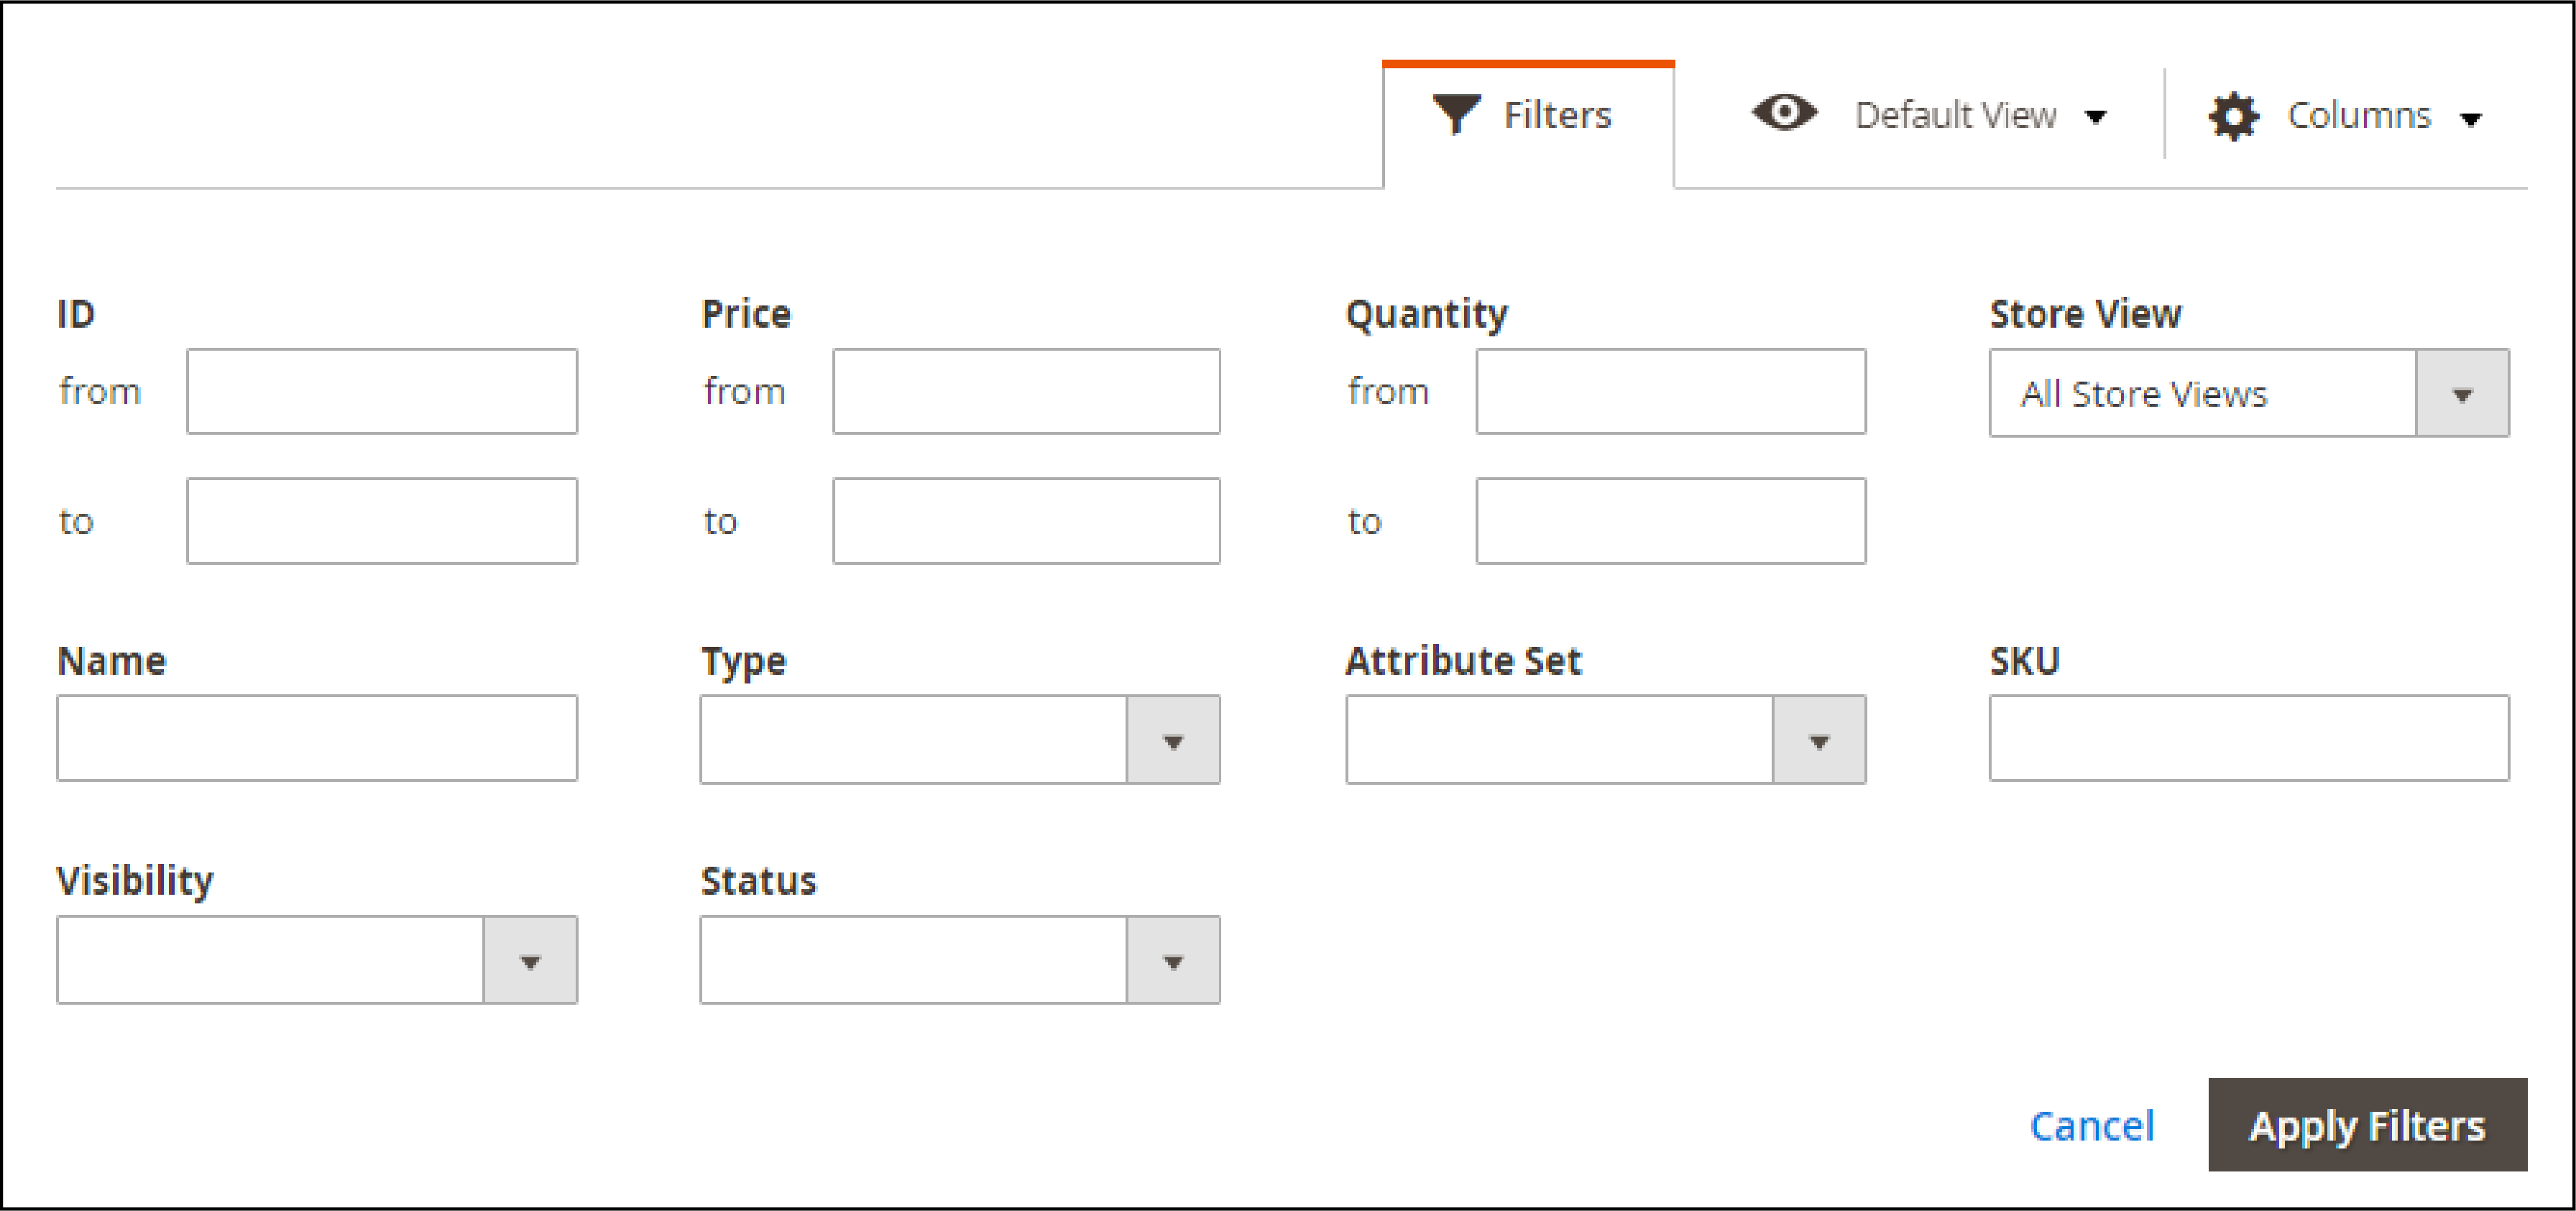
- Mark the checkbox of each product that you want the swatch to apply. Select the Actions tab to
Update Attributes.
- Look down to the Color attribute, and click on the
Changecheckbox. It will update the product preview image.

Save the Product
Click on Save to apply the swatch. Flush the cache in the Cache Management tab to implement the changes.
Summary
Swatches make it easier for customers to choose product variations and improve online sales. The configurable swatches can be used on the product and category pages and in layered navigation.
We have covered the steps to configure color swatches in Magento 2.
Get more Magento 2 insights on MGT Commerce Tutorials.


