
How to Install and Configure Magento 2 Stripe Payment Method?
The Magento 2 Stripe extension provides a secure payment gateway that seamlessly integrates with your store. It supports all major credit cards, offers low transaction fees, and enables one-click checkout, ensuring a smooth and efficient payment process. It is also a PCI-compliant payments system and works in live and debugging mode.
This tutorial will cover configuring the Stripe payment method within their Magento store. It will also include the essential setup procedures for a secure and efficient customer payment process.
Key Takeaways
-
Discover how to set up Stripe Connector for Adobe Commerce, enhancing secure payment options on your Magento site.
-
Explore the steps to configure Stripe, enabling seamless payment methods and fraud prevention.
-
Learn how to activate test mode to ensure the system functions smoothly before going live.
-
Understand Stripe's customization for multiple payment methods, enhancing user flexibility during checkout.
What is Stripe Payment Gateway Module for Magento 2?
The Stripe Payment Gateway for Magento 2 is a third-party service that enables secure customer payment processing. It allows customers to complete transactions in a safe channel. It withholds the payment until the customer confirms receipt of their order.
Stripe is a global technology company dedicated to Internet economic infrastructure. It provides this payment gateway to facilitate secure transactions. It also ensures customer information is not stored, especially when used with Adobe Commerce Cloud. This compatibility extends to Adobe Commerce Cloud Edition.
This gateway not only facilitates secure transactions but also reduces the likelihood of fraud for both customers and merchants.
Note: This module does not work with Multiple Address Checkout.
Features of Magento 2 Stripe Connector for Adobe Commerce
Stripe is a widely recognized payment gateway and is known for its competitive transaction fees and expansive global presence. Regarding international availability, it surpasses other payment gateways like PayPal, Skrill, and 2Checkout. It offers a variety of features, including:
-
Enhanced User Experience: Replaces the native Magento 2 payment gateway with a smoother and more user-friendly interface.
-
One-Click Checkout: Streamlines the checkout process, allowing users to complete their purchase with a single click.
-
User-Preferred Currencies: Provides the flexibility for users to select their preferred currency, simplifying transactions for international customers.
-
Accepts All Major Credit Cards: Supports a wide range of major credit cards, ensuring compatibility with various payment methods.
-
Utilizes the Latest Stripe API: Utilizes the latest Stripe API, including the Payment Intents API, to enable dynamic and efficient payment flows.
-
3D Secure Compatibility: Ensures compatibility with 3D Secure for enhanced Magento security during the payment process.
-
SCA (Strong Customer Authentication) Support: Complies with Strong Customer Authentication (SCA) requirements, enhancing the security of online transactions.
Steps to Install and Configure Magento 2 Stripe Connector Extension
Step 1: Install Magento 2 Stripe Extension
-
Download the Magento 2 Stripe extension from Adobe Marketplace and unzip its contents.
-
In your Magento 2 directory, open a terminal and execute the following command:
composer require stripe/stripe-payments
- You may be required to provide your Adobe Commerce authentication credentials. If prompted, enter your username and password. You can opt to save your credentials when Composer asks.
Note: In case you encounter an "Invalid Credentials" error, update your keys in the ~/.composer/auth.json file or delete this file and rerun the command.
- Run these commands in the Magento 2 root directory.
php bin/magento setup:upgrade
php bin/magento cache:flush
php bin/magento cache:clean
- If you run Magento in production mode, you must compile and deploy the module’s static files.
php bin/magento setup:di:compile
php bin/magento setup:static-content:deploy
Step 2: Access Stripe Configuration
-
In your Magento admin panel, navigate to Stores and select Configuration.
-
Under Sales, click on Payment Methods.
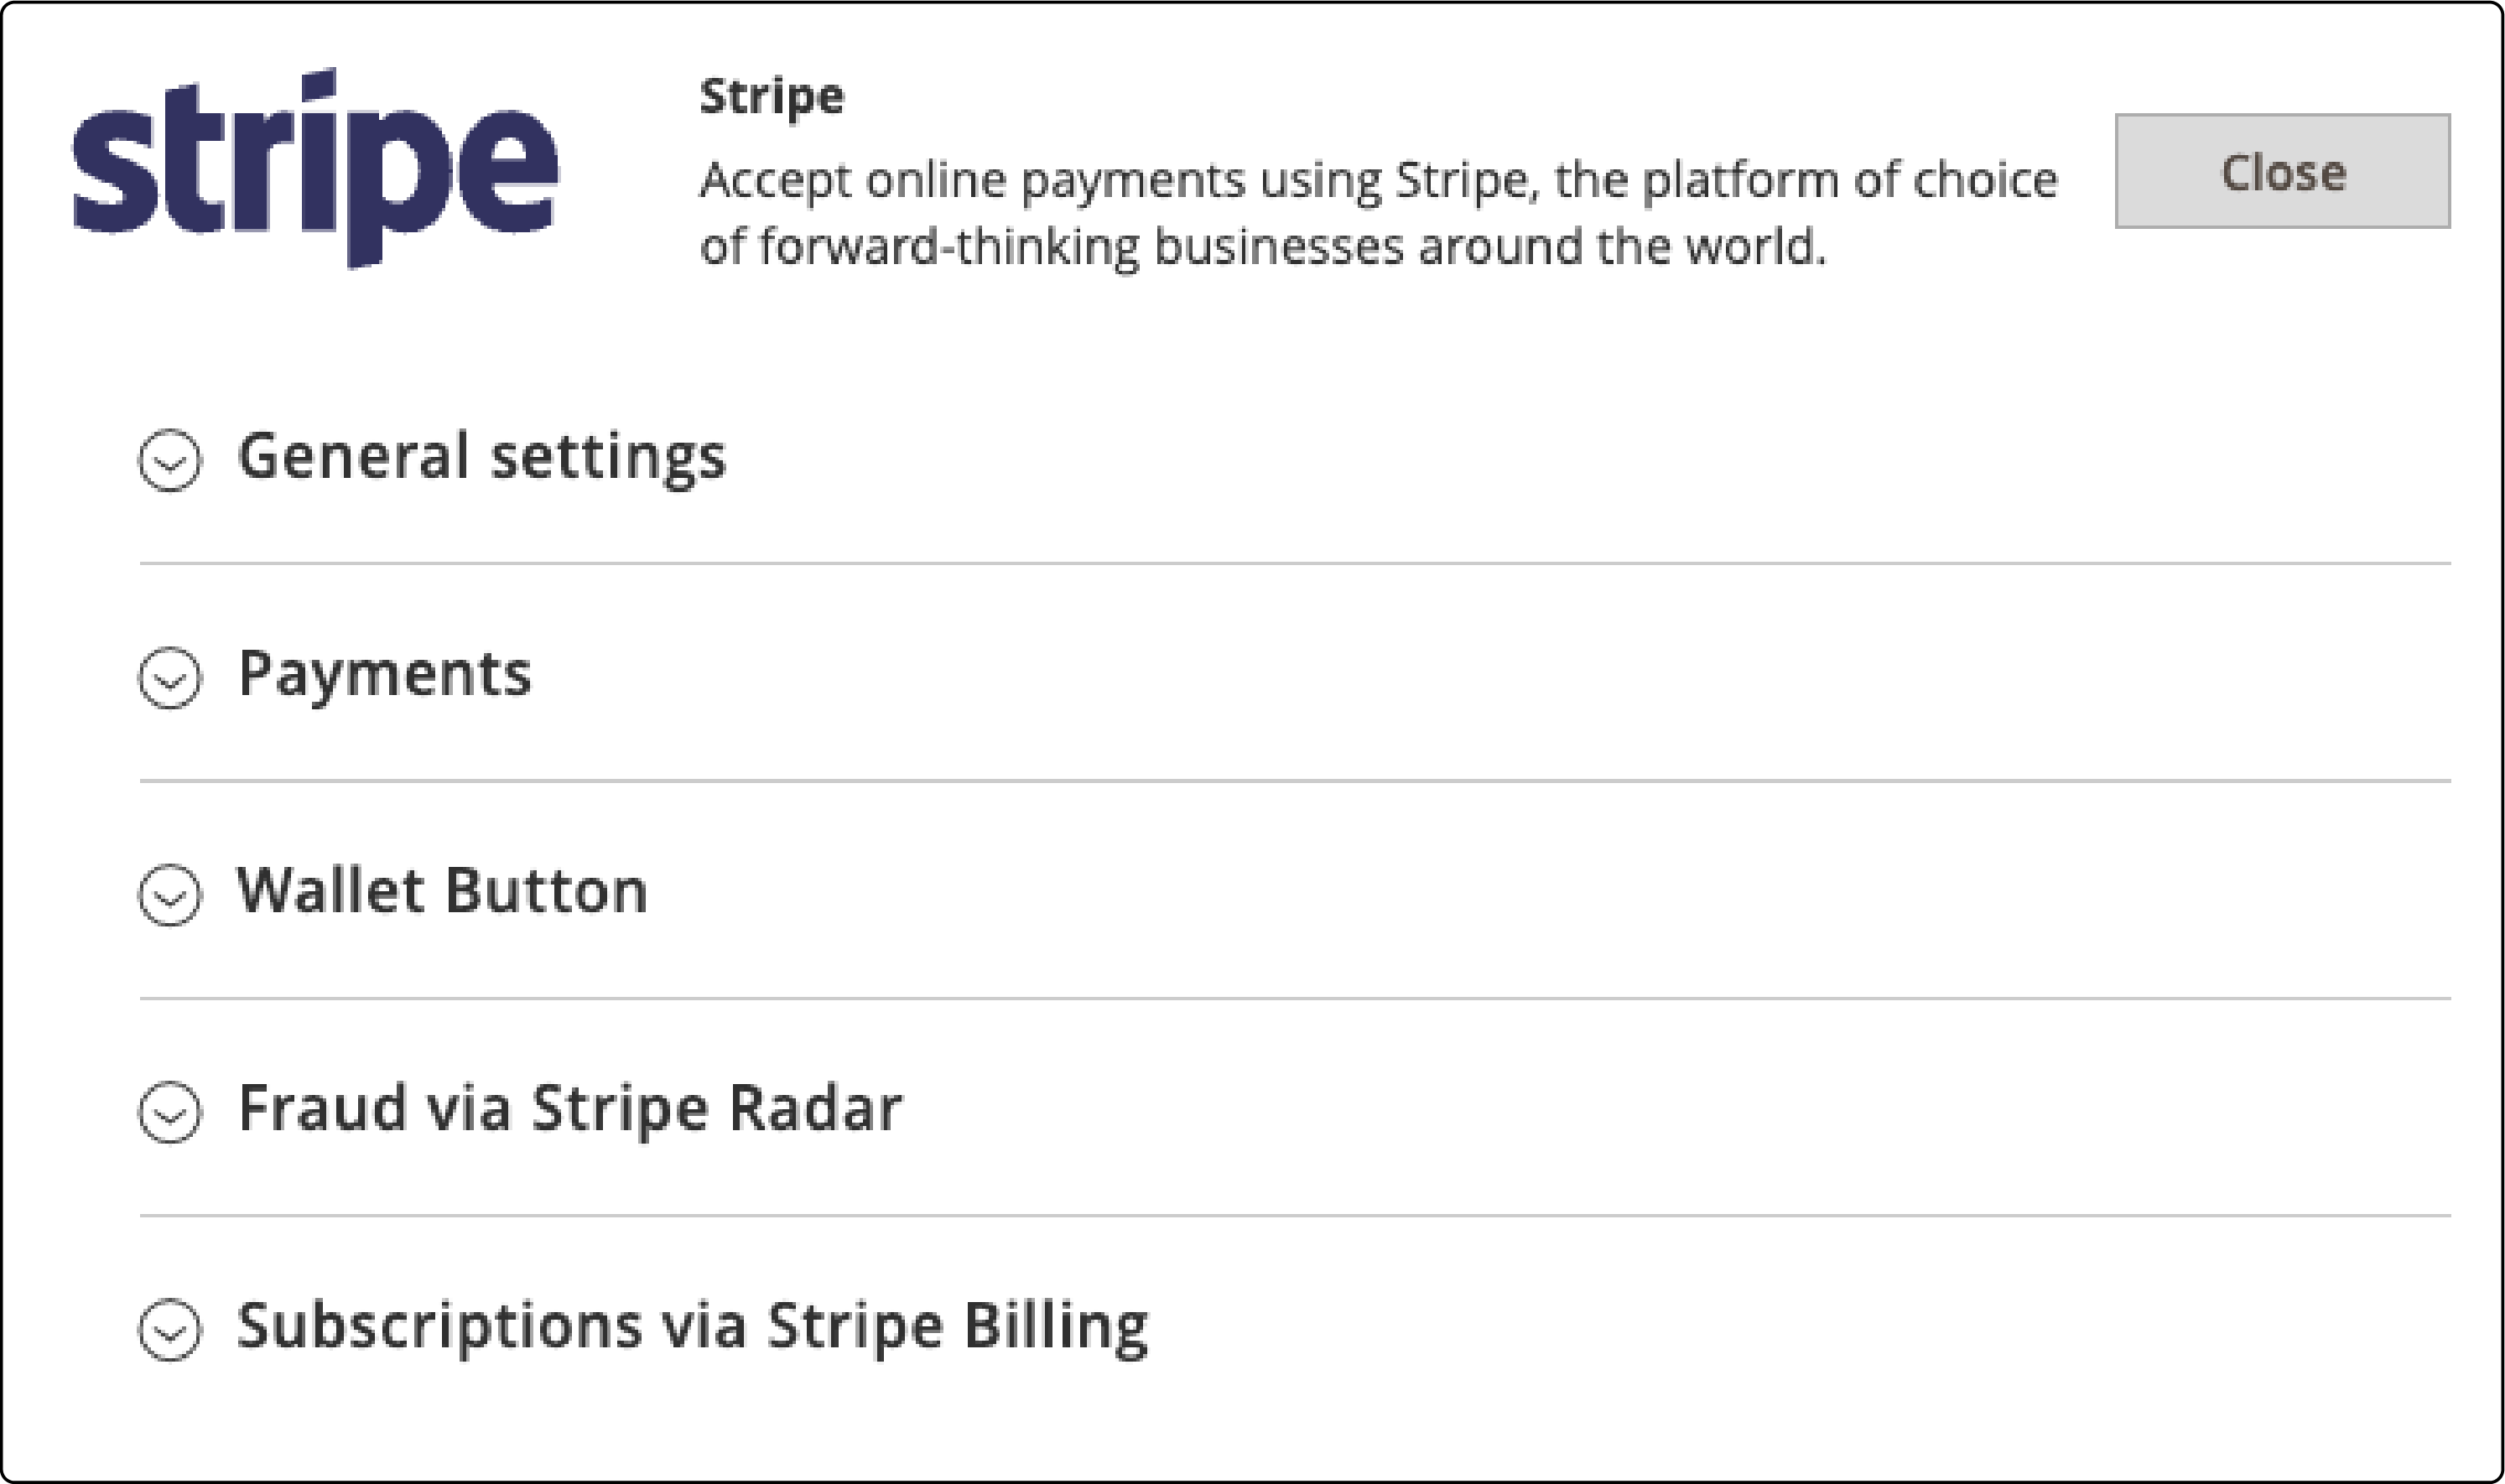
- Choose Stripe Payment from the list of payment options.
Step 3: Configure Stripe Payment Gateway
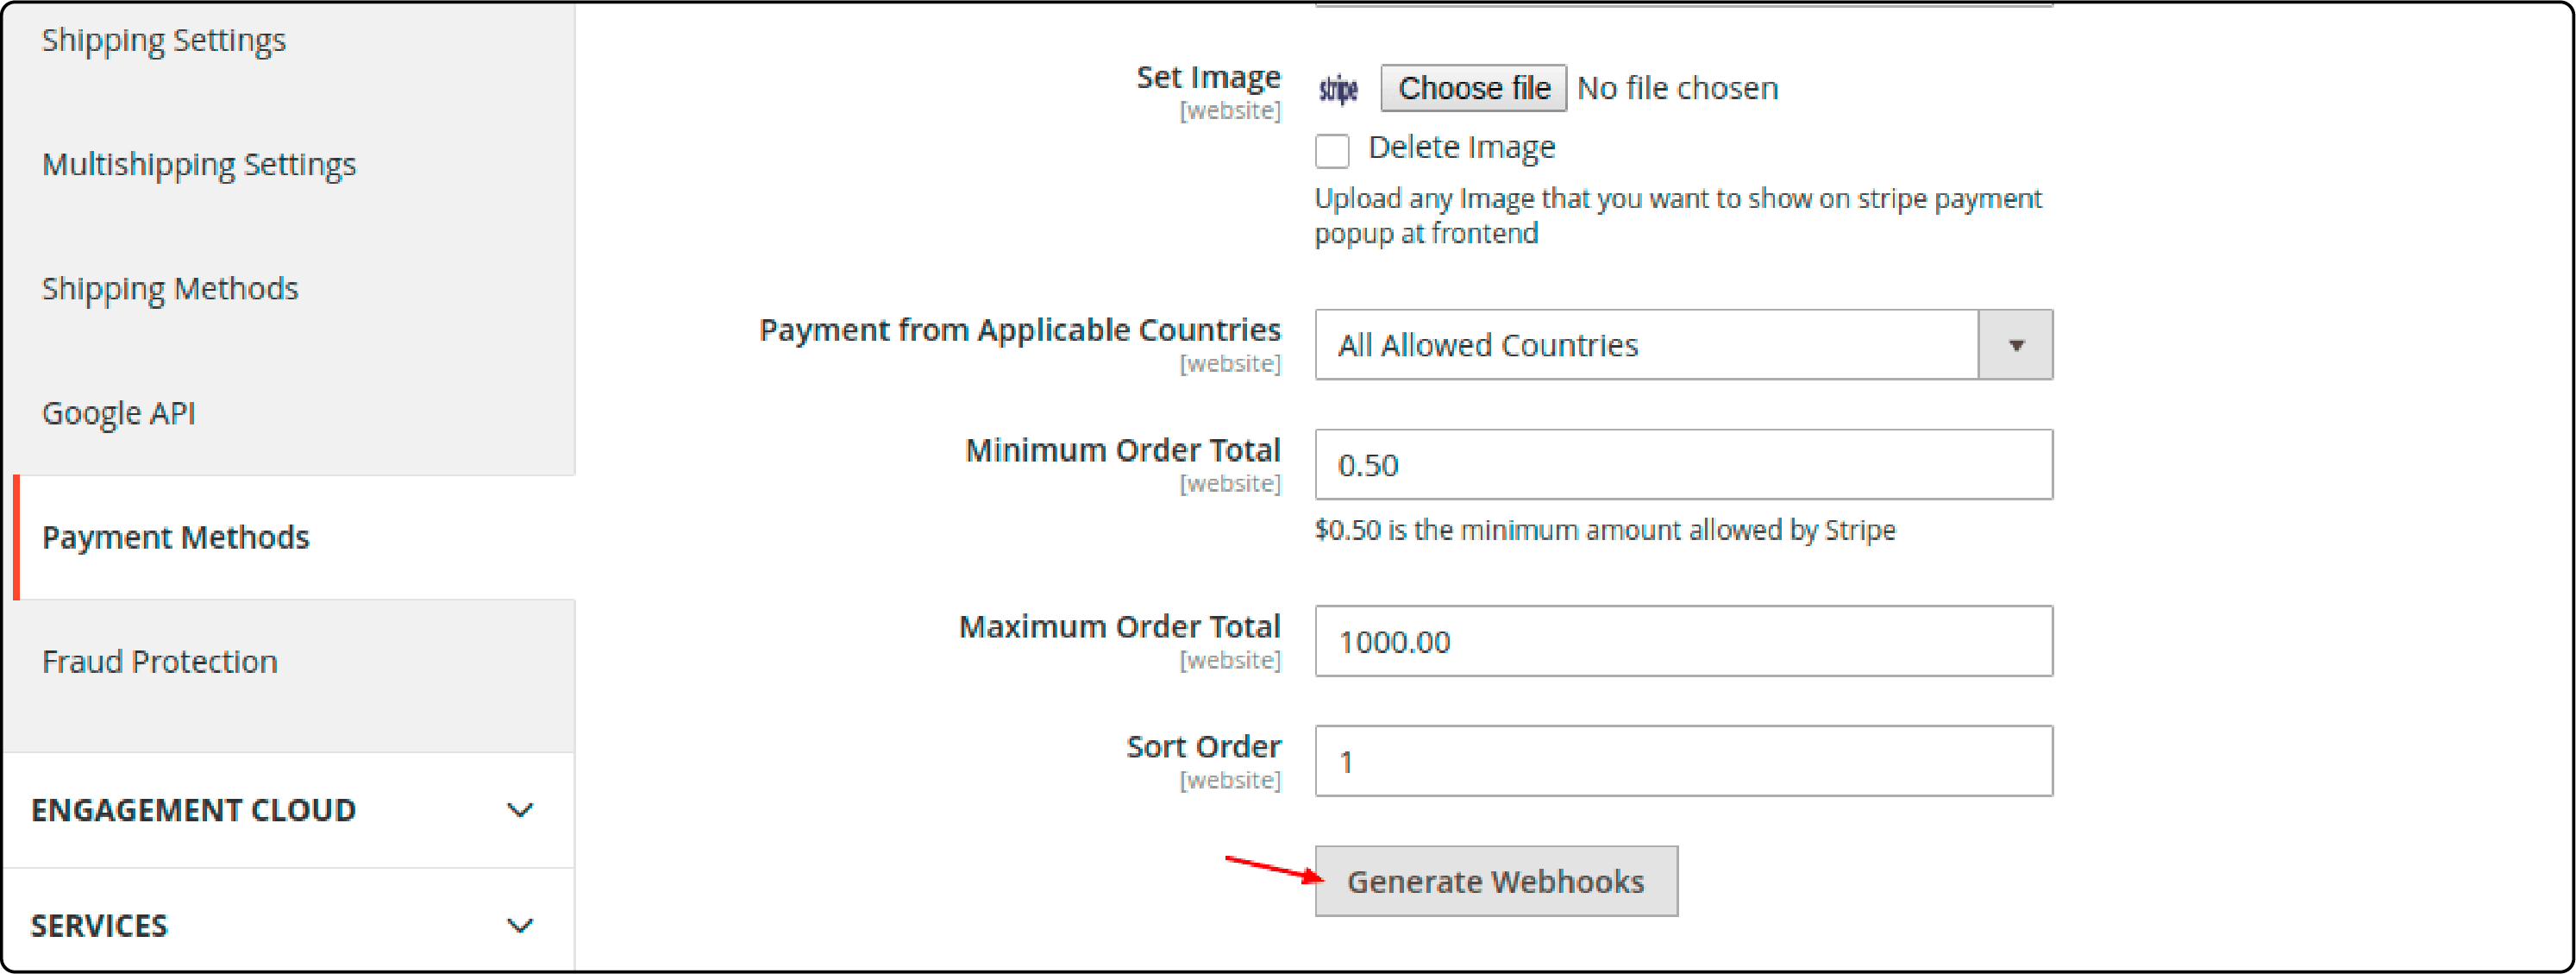
When you go to Stripe Payment, you'll find the following parameters:
-
Enabled: Use this option to enable or disable Stripe as a payment method for the standard checkout page, multi-shipping checkout page, and the admin area.
-
Title: Enter the label displayed to the customer on the checkout page.
-
Debug: This option allows the admin to set the mode production (live) or sandbox (test).
-
API Publishable Key: It is used to set the API Publishable Key provided by Stripe Payment Gateway.
-
API Secret Key: This option sets the API key (Secret Key) provided by Stripe Payment Gateway.
-
Set Image: This field allows the admin to upload any image they want to display on stripe payment at the checkout page.
-
Payment from Applicable Countries: Here, the admin can select the Stripe payment for specific or all the countries.
-
Payment from Specific Countries: Here, the admin will select the name of the specific countries from the list to allow the Stripe payment.
-
Minimum Order Total: It will allow the admin to set a minimum order total. The order total should not be less than the Minimum Order Total value. If so, the Stripe module will not allow checkout with the Stripe payment gateway. $0.50 is the minimum amount allowed by Stripe for Minimum Order Total.
-
Maximum Order Total: This section allows the admin to set the maximum order total.
-
Sort Order: Here, the admin can set the sort order value for the stripe payment gateway.
-
Generate Webhook: The admin can generate the webhook and see the collected data from the stripe dashboard.
Note: Supported cards include– visa, master, Amex, Discover, JCB, UnionPay, and Diners Club.
Step 4: Generate Webhooks
In web development, webhooks are custom callbacks that enable the modification of a web page or web application's behavior. Specific events trigger user-defined HTTP callbacks.
-
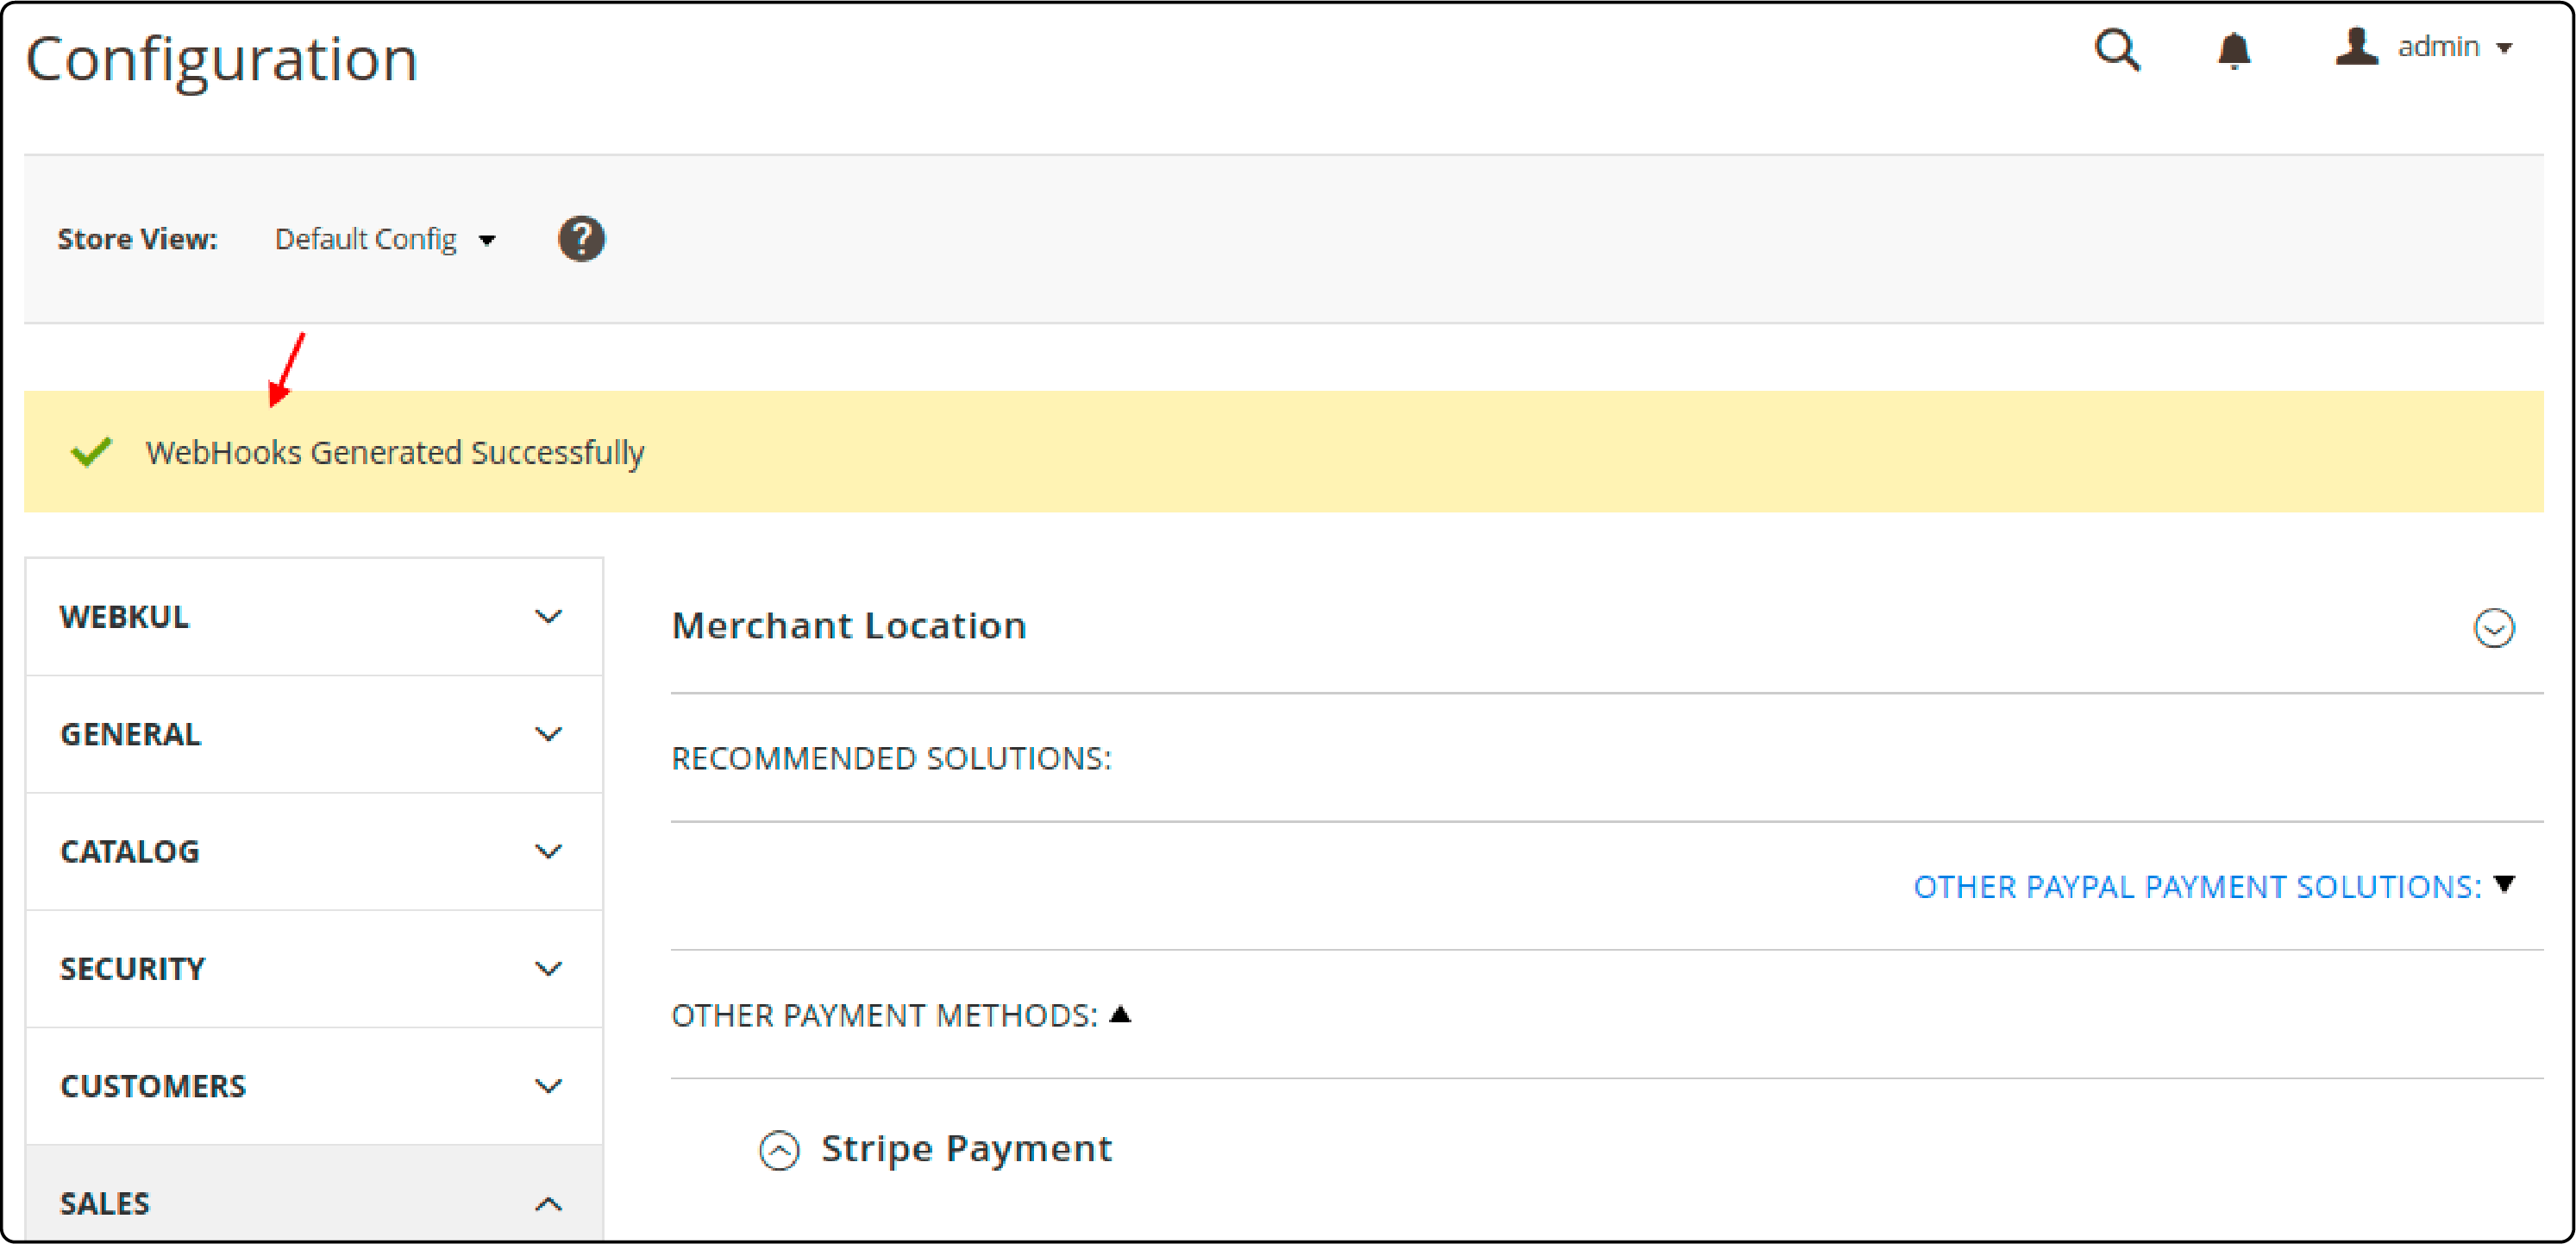
Click on the Generate Webhook from Magento Admin Panel > Stores > Configuration > Payment Methods > Stripe Payment.
-
After successfully generating the webhook, the admin can see the following message: “WebHooks generated successfully.”
-
Now, the admin can see the collected data from the Stripe Dashboard.
-
Admin can also click on the Generated URL for a detailed view of the events.
Step 5: Choose Stripe As the Online Payments Method To Complete The Order.
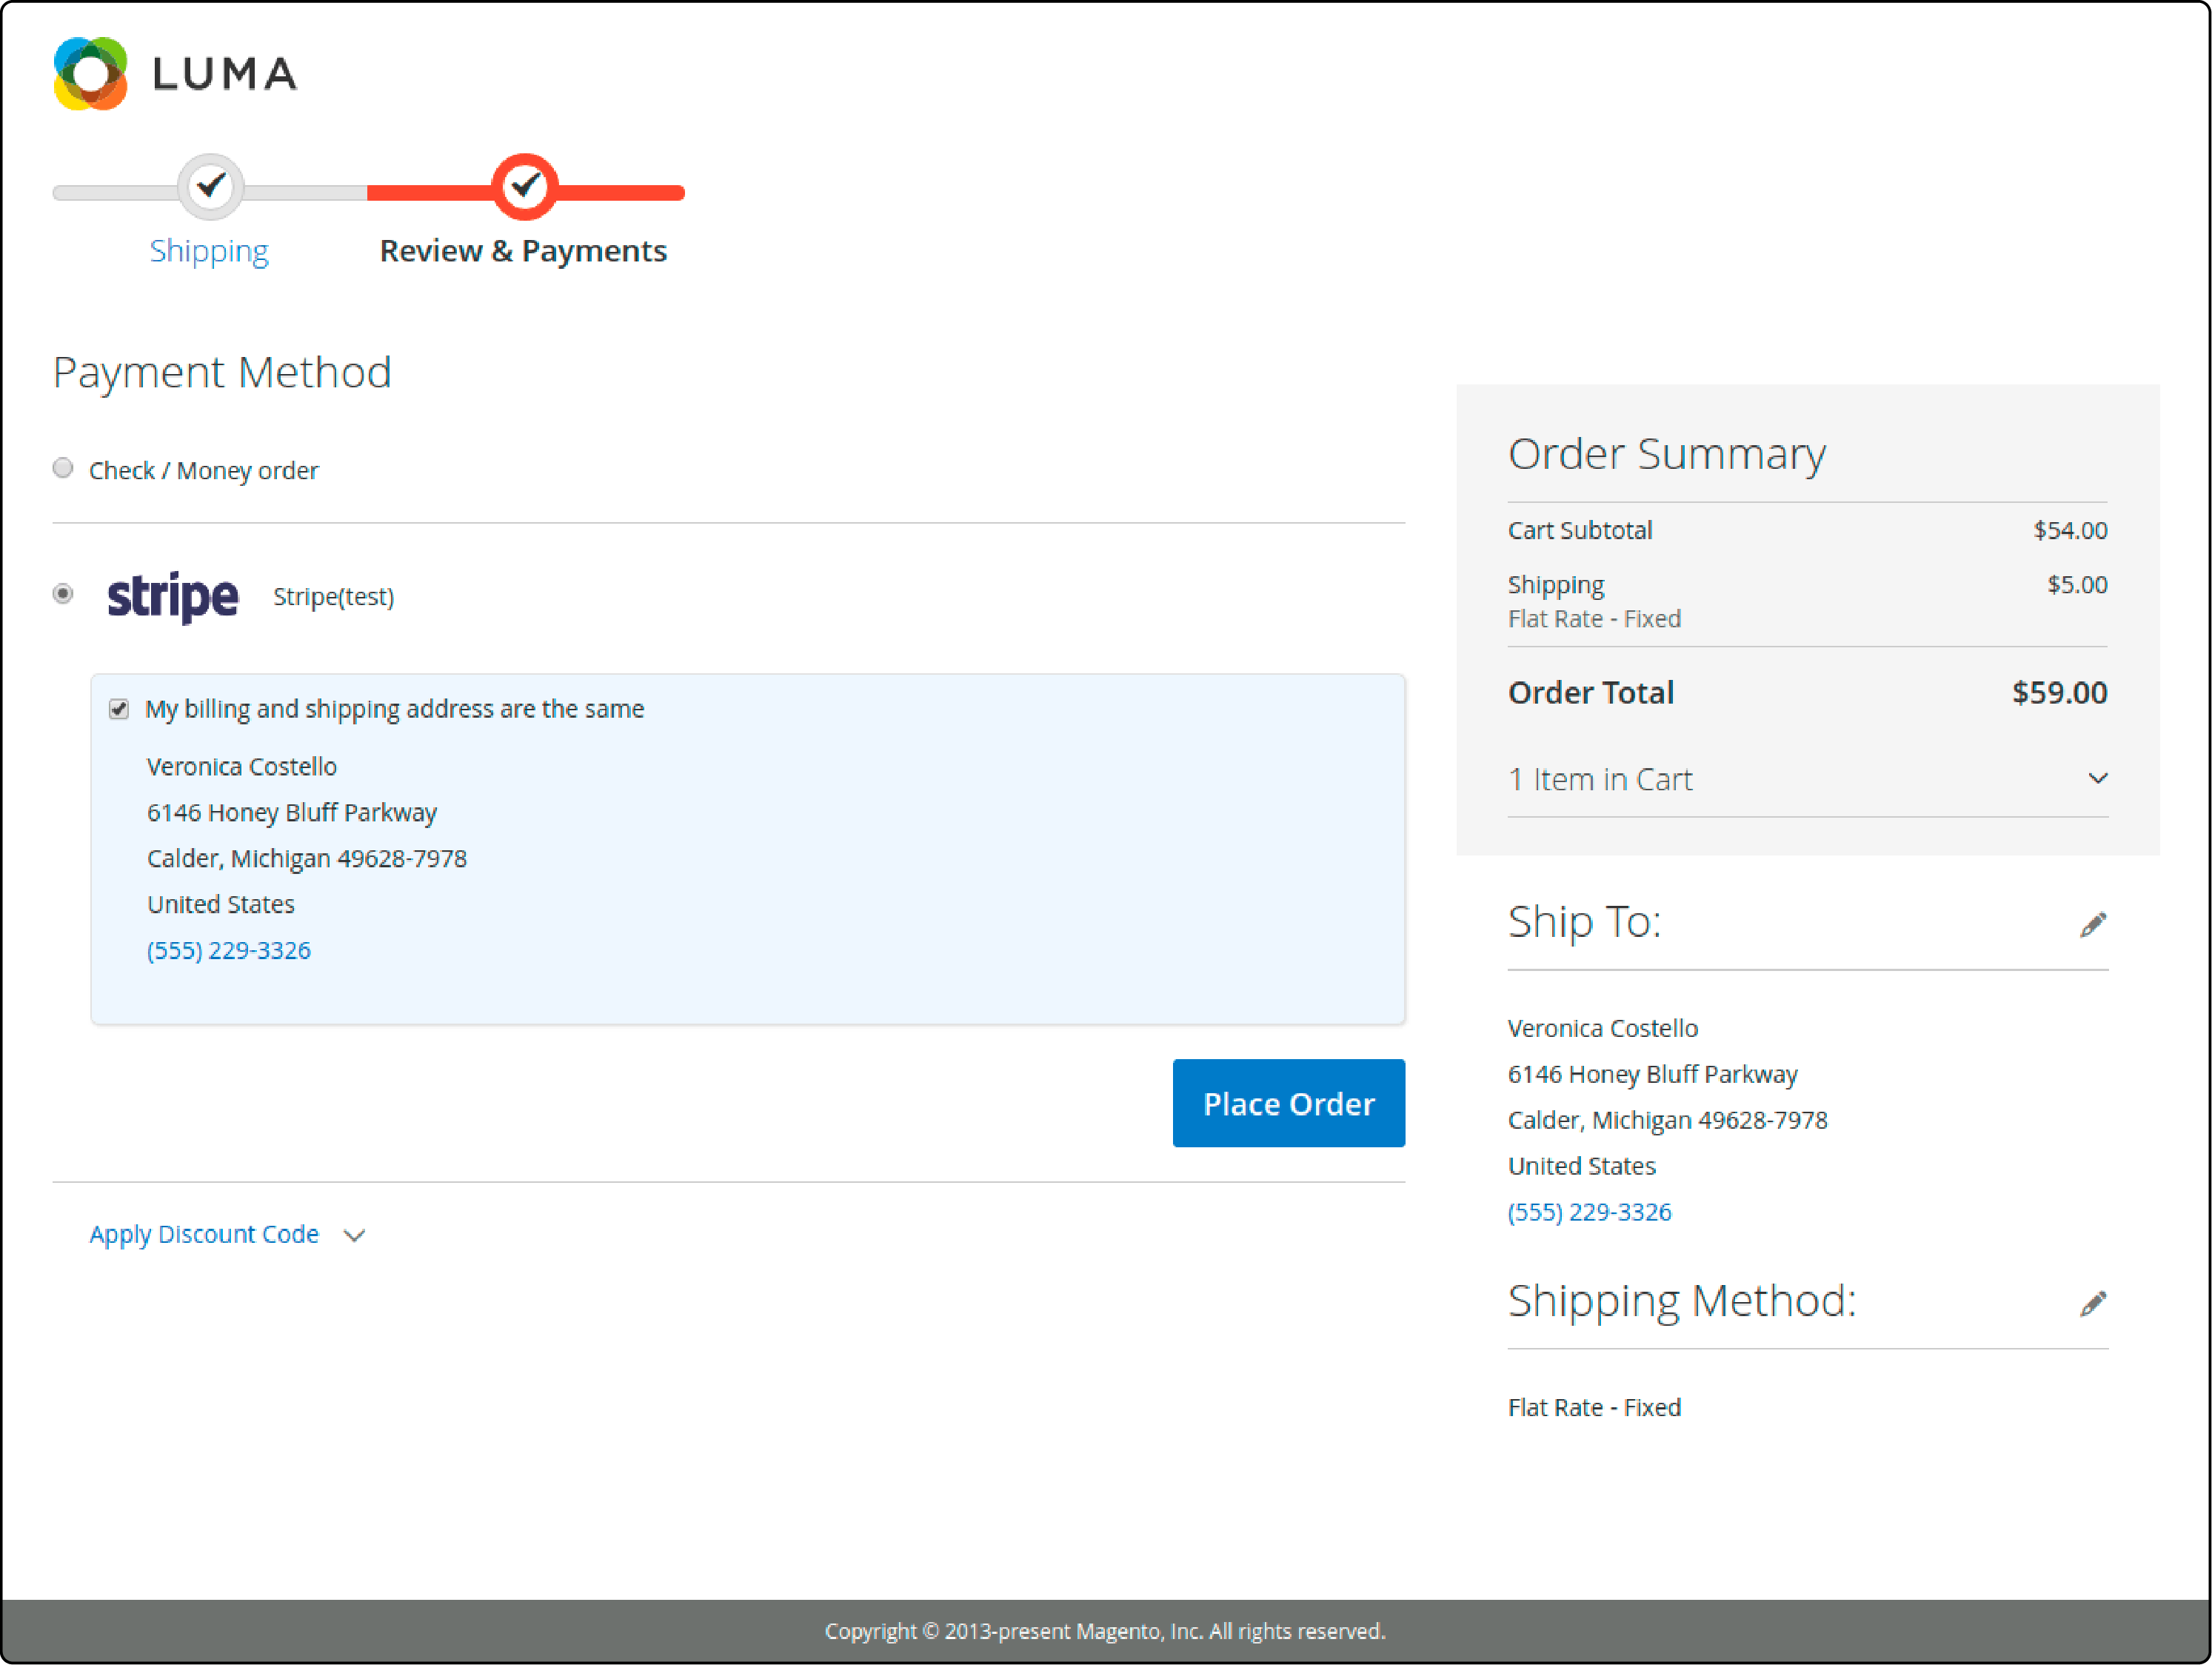
- After clicking the Place Order button, the customer will be redirected to the Stripe payment page.
-
Here, the customer can enter their card details and make the payment.
-
If a 3D Secure card is used, a popup will appear for additional authentication.
Note: If the user uses production mode credentials for Stripe payment, they may be asked to verify their identity through several methods. It includes push notifications, text messages, or other options their bank chooses.
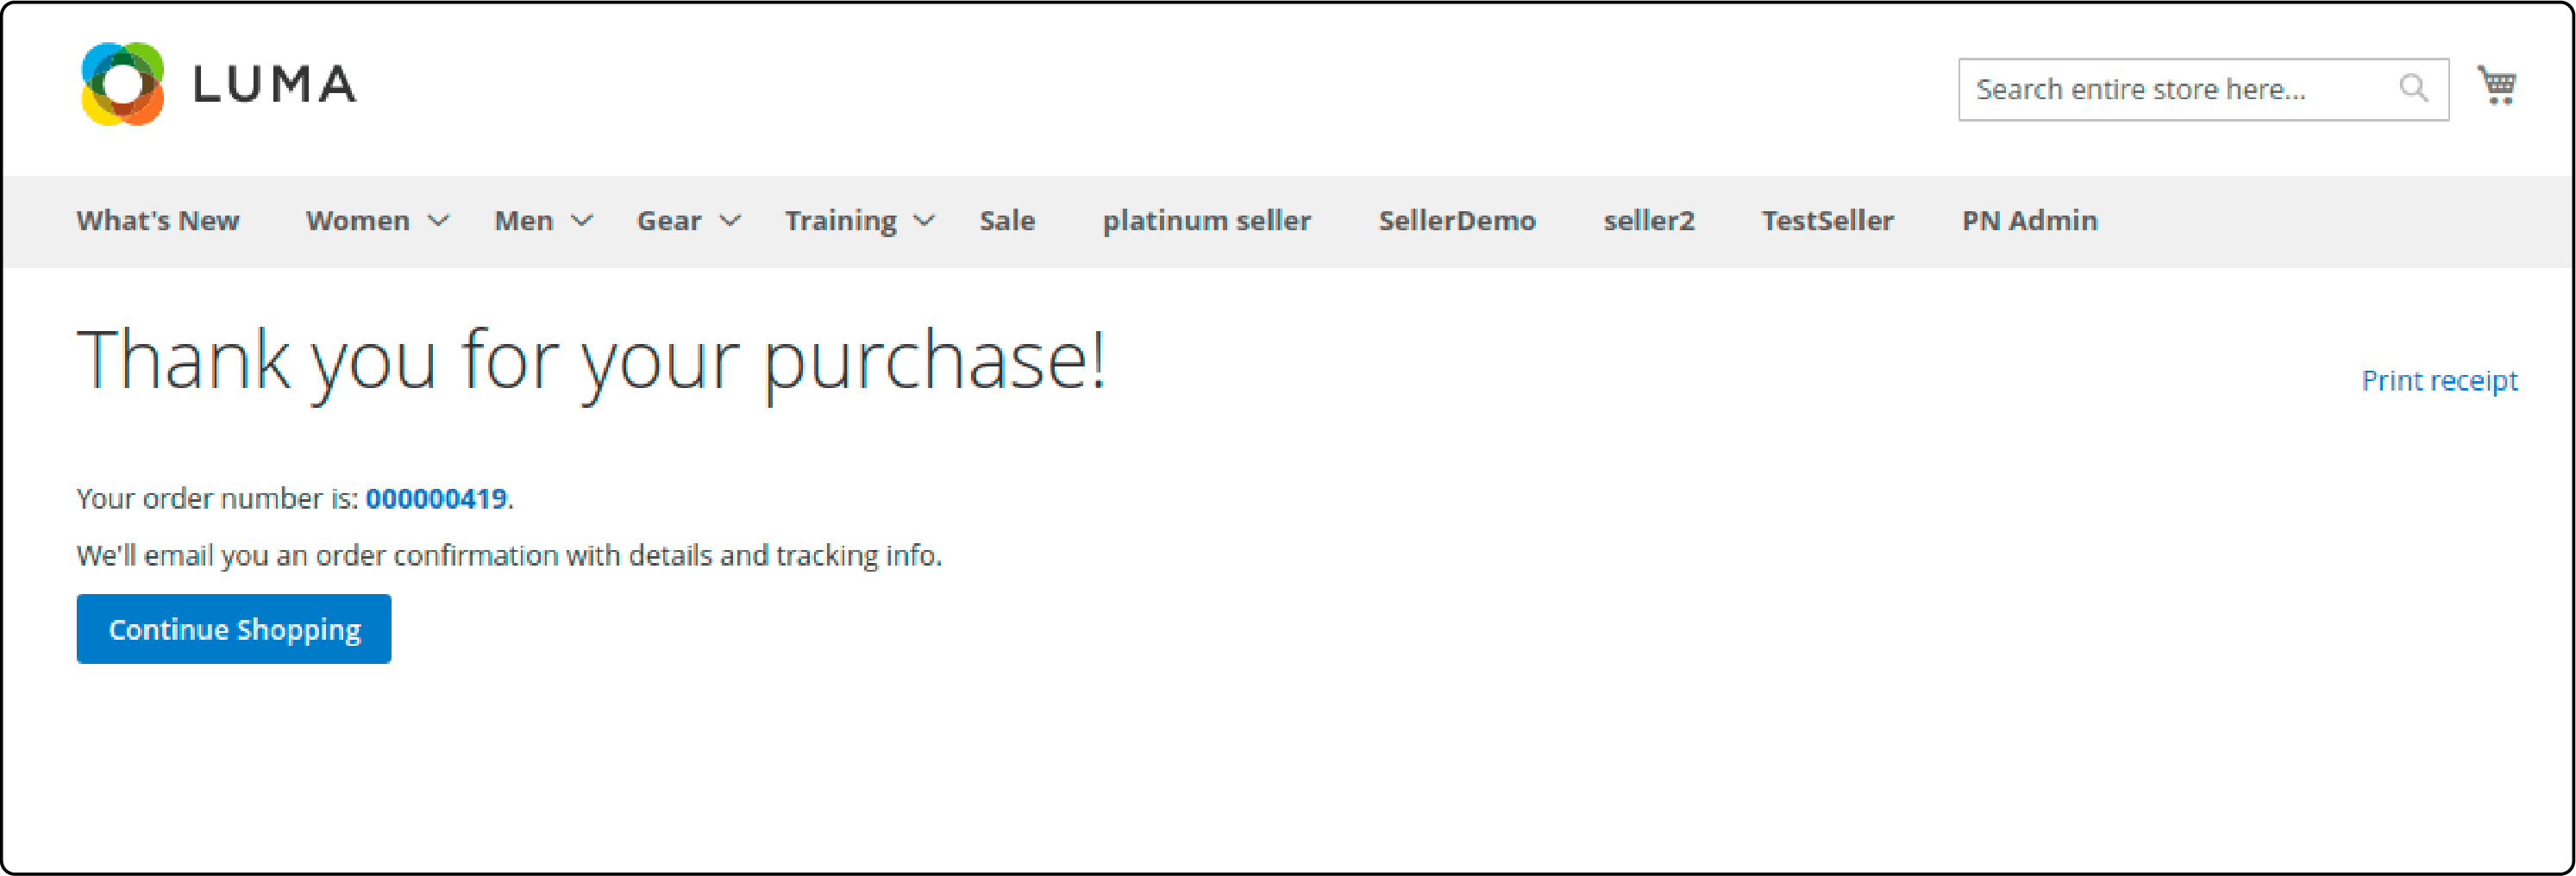
- After making the payment, the customer will be redirected to the 'Thank you for your purchase' page.
FAQs
1. How can I enable the test mode option for Stripe payment on my Adobe Commerce site?
To enable the test mode in your Adobe Commerce site, you need to:
- Access the Stripe configuration settings in your admin panel.
- Within the Stripe Payment settings, locate the Debug setting.
- Here, you can switch between the Production and Sandbox modes.
- By selecting the Sandbox mode, you'll enable the test environment for Stripe payments.
Ensure you use test API keys provided by Stripe from your test Stripe account.
2. What should I do if I don’t see the Stripe Payment button in my Magento store checkout?
If the Stripe Payment button is not visible during the checkout process, review the configuration settings. Check the Enabled option in the Stripe settings under Payment Methods within your store's configuration. Ensure the option is activated to make Stripe available as a payment method on your site. Also, verify your Stripe account integration with Adobe Commerce site is completed.
3. Does Stripe offer protection against fraudulent transactions and risk detection?
Yes, Stripe protects against fraudulent activities and risk detection. It includes an automatic risk evaluation system that detects potential fraudulent charges. This setup helps protect your revenue by detecting fraudulent activities and taking necessary actions.
4. Can I customize the payment element on the checkout page to accept payment later?
Stripe allows customization of the payment element on the checkout page to facilitate payment later by issuing an invoice. It involves adjusting the payment action settings within the Stripe configuration. You can set the payment action to Authorize Only. It enables the charge of the order amount on the customer's card later.
5. How can I review the status of subscription payments processed through Stripe?
To review the status of subscription payments processed through Stripe on your Adobe Commerce site, access your Stripe account dashboard. Navigate to the subscription section to view and manage subscription-related information. You can track details like the amount billed, the customer's payment status, etc.
6. Is it possible to apply multiple payment methods to the cart?
Stripe allows for the application of multiple payment methods such as amazon pay for a single order on the customer's cart. You can enable this option within the Stripe configuration settings. Moreover, Stripe permits adjusting the order amount on the customer's card. It facilitates partial payments or splitting charges among various payment methods directly during the checkout process.
7. How can I integrate Stripe with Google for tracking revenue on my site?
Integrating Stripe with Google for tracking revenue involves utilizing Stripe's documentation to implement the necessary code. You can set up Google Analytics and link it to your Stripe account. With the provided code, Google Analytics will capture and display revenue generated from your site through Stripe transactions.
Summary
Magento 2 Stripe facilitates a secure payment integration within Adobe Commerce. It offers a seamless and trusted transactional experience. With features like test mode activation, fraud prevention, and versatile payment method settings, it ensures a reliable payment gateway. This tutorial covered how to configure Stripe for Magento 2, from installation to setting up payment methods. By following these steps, you guarantee a hassle-free payment experience for your customers.
You can enhance your Magento site's functionality and speed by exploring optimized Magento server hosting services.


