
Magento 2 City Drop Down: Configuration, Features, And Extensions
Are you frustrated with typing your city during checkout? Magento 2 city drop down menu fixes this. It lets you select a city from a predefined list. This feature ensures fewer errors in shipping and billing addresses. It makes checkout faster and hassle-free for everyone.
The tutorial will cover Magento 2 city drop down setup, features, and the best extensions.
Key Takeaway
-
The Magento 2 city drop down simplifies address management during checkout.
-
Improves customer experience by minimizing errors in shipping and billing details.
-
Allows admins to customize the city list and provide regional-specific options.
-
Reduces invalid addresses with predefined city options from the backend.
-
Boosts the efficiency of checkout pages for faster order placement.
What Is The Magento 2 City Drop Down?
The Magento 2 city drop down feature simplifies customer address entry. It replaces the manual text field with a dropdown list of cities. The feature offers a predefined list of cities to customers during checkout. Customers select their city from a dropdown instead of manually typing it.
It ensures uniformity, minimizes errors, and saves customers' and store admins' time. The feature also offers precise location handling for businesses targeting specific regions.
How Does The City Dropdown Work In Magento 2?
1. Predefined City List
Customers select their city from a dropdown menu. The list is customized based on the selected country or region. Store admins can update it to suit their store’s needs.
2. Flexible Filtering
The dropdown menu changes automatically when a customer selects a country or state. Only relevant cities appear, which ensures clarity and reduces input mistakes.
3. Validation
The feature ensures that only valid city names are accepted. It minimizes errors caused by typos or incorrect information. Also, it improves the accuracy of shipping and billing addresses.
4. Integration
The dropdown integrates with Magento 2 address fields. It works well with third-party shipping and billing modules. This feature improves the checkout experience.
How To Configure The City Dropdown In Magento 2?
1. Access the Configuration Settings
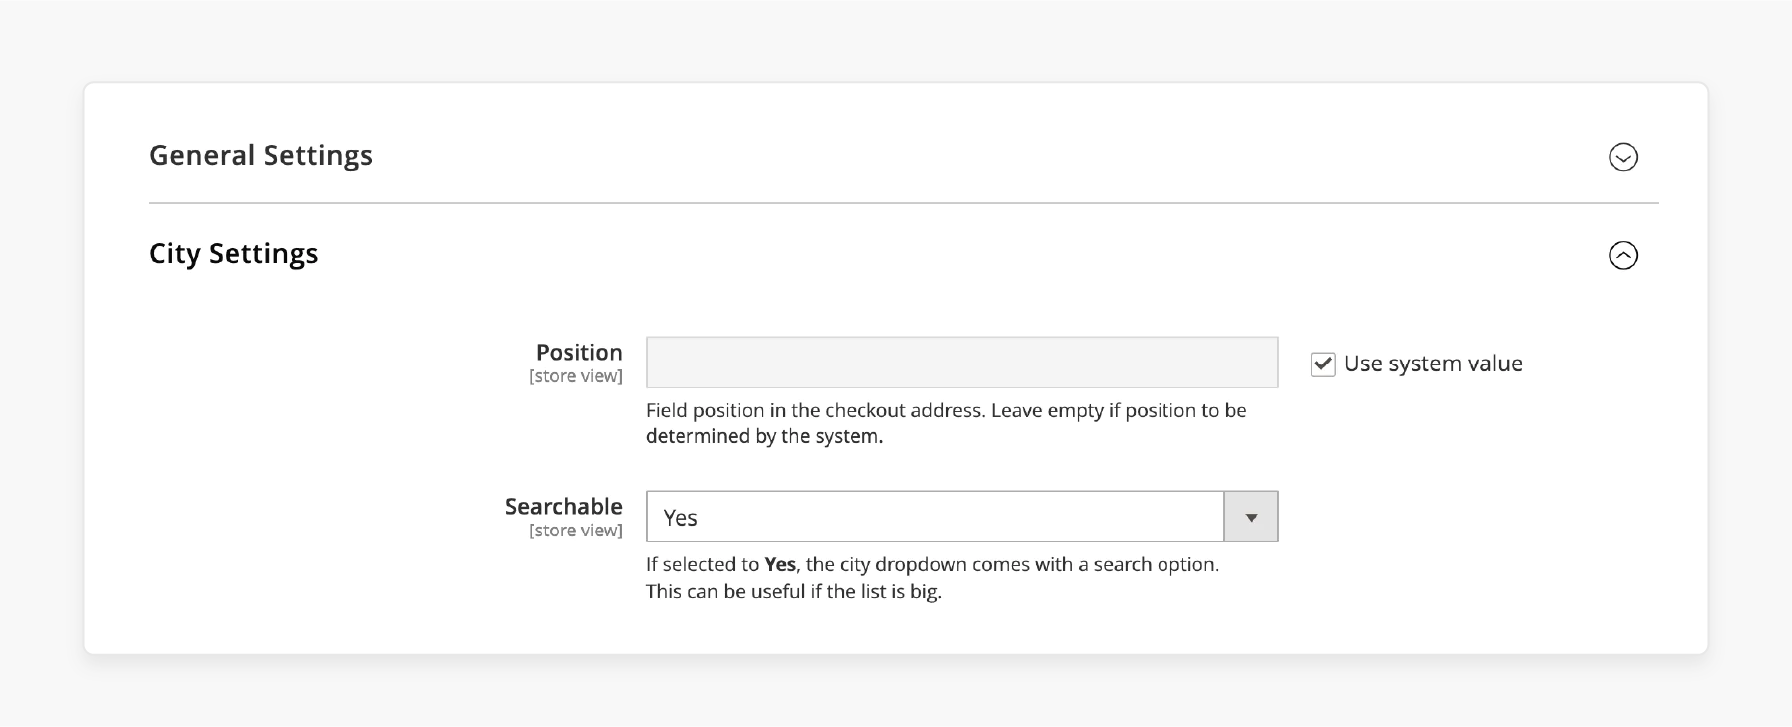
-
Log in to the Admin Panel. Use your administrator credentials to access the backend.
-
Navigate to Stores (in the left sidebar) > Configuration.
-
Select General > General to access general settings.
-
Scroll down and locate the City Options settings.
2. Customize the City List for Your Store
Magento 2 doesn't provide a built-in interface for managing city lists. You'll need an extension or custom development to customize the city dropdown. These extensions allow you to add, edit, or delete cities directly from the backend.
3. Set Up the City Input Field
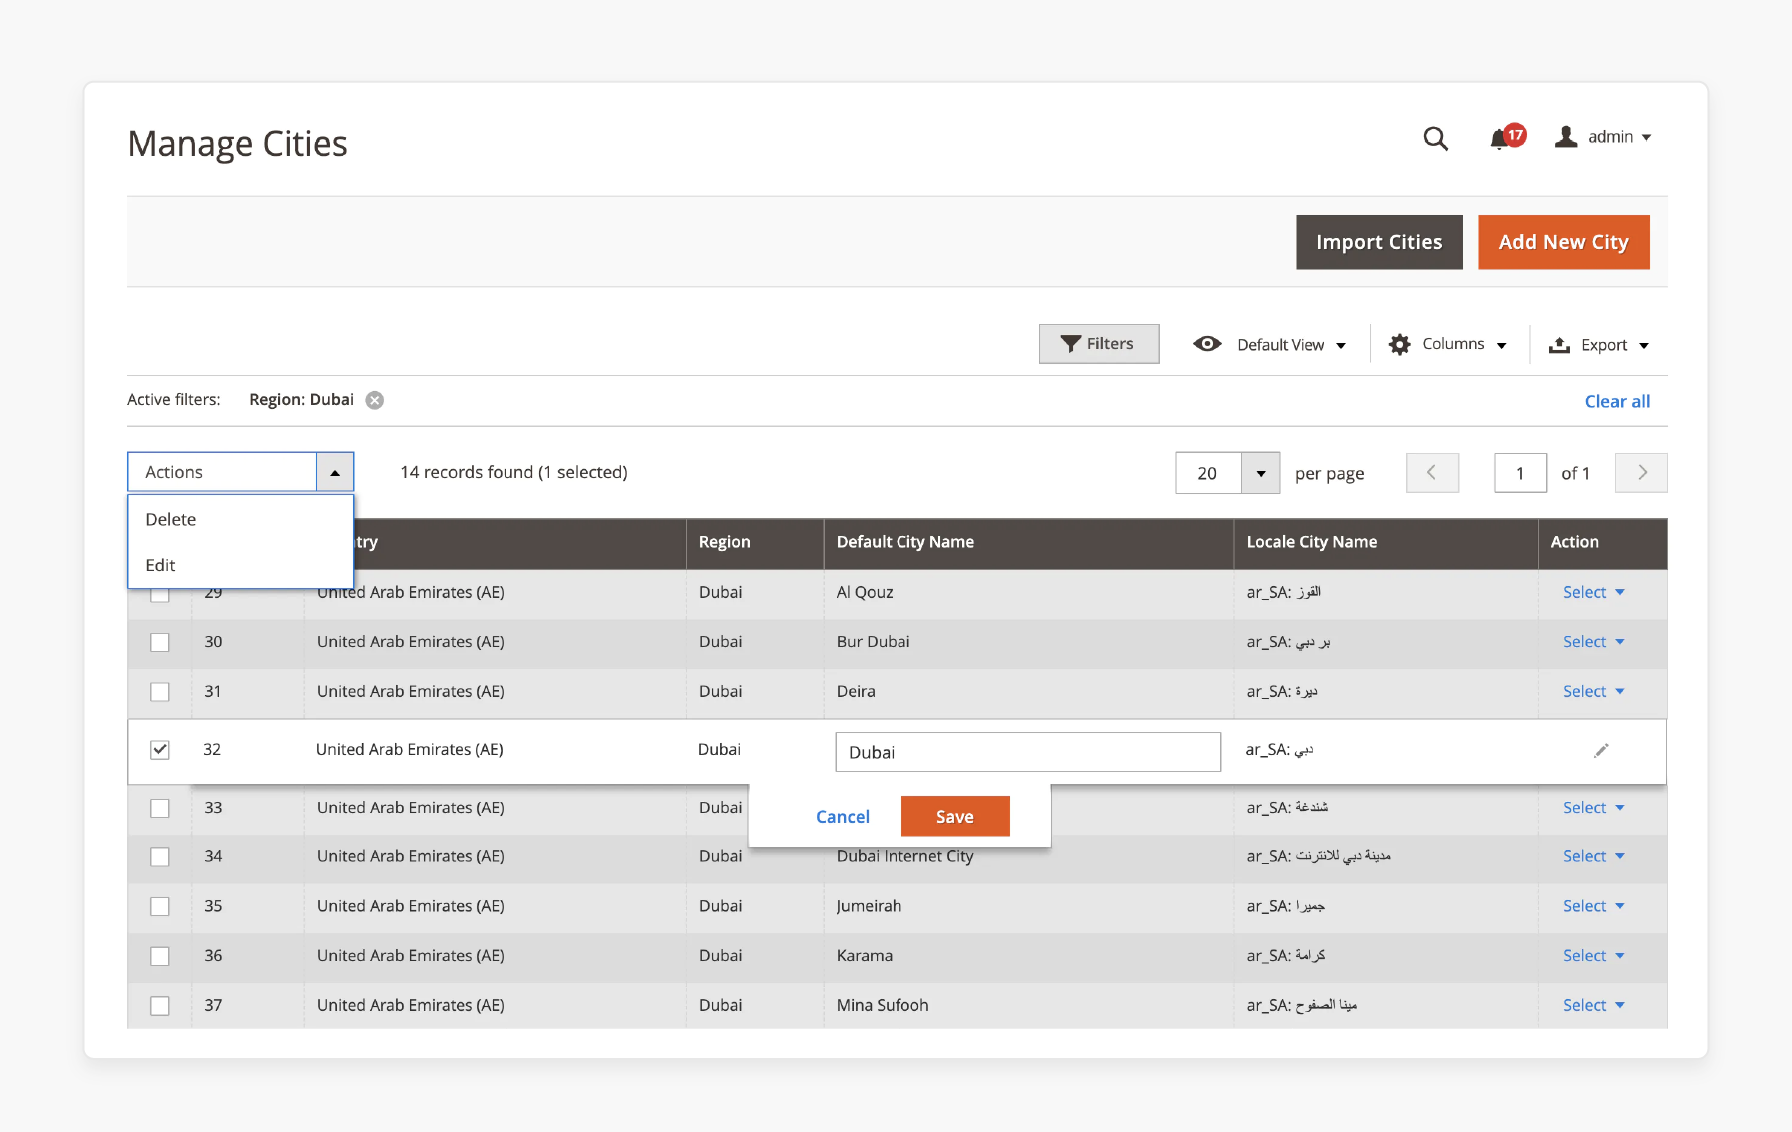
After installing a suitable extension:
-
Go to the extension's settings, usually under Stores > Configuration > [Extension Name].
-
Turn on the city dropdown feature to replace the city text field.
-
Map cities to their respective regions or countries as needed.
-
Click save configuration to apply the changes.
How To Import Cities Into The Magento 2 City Dropdown?
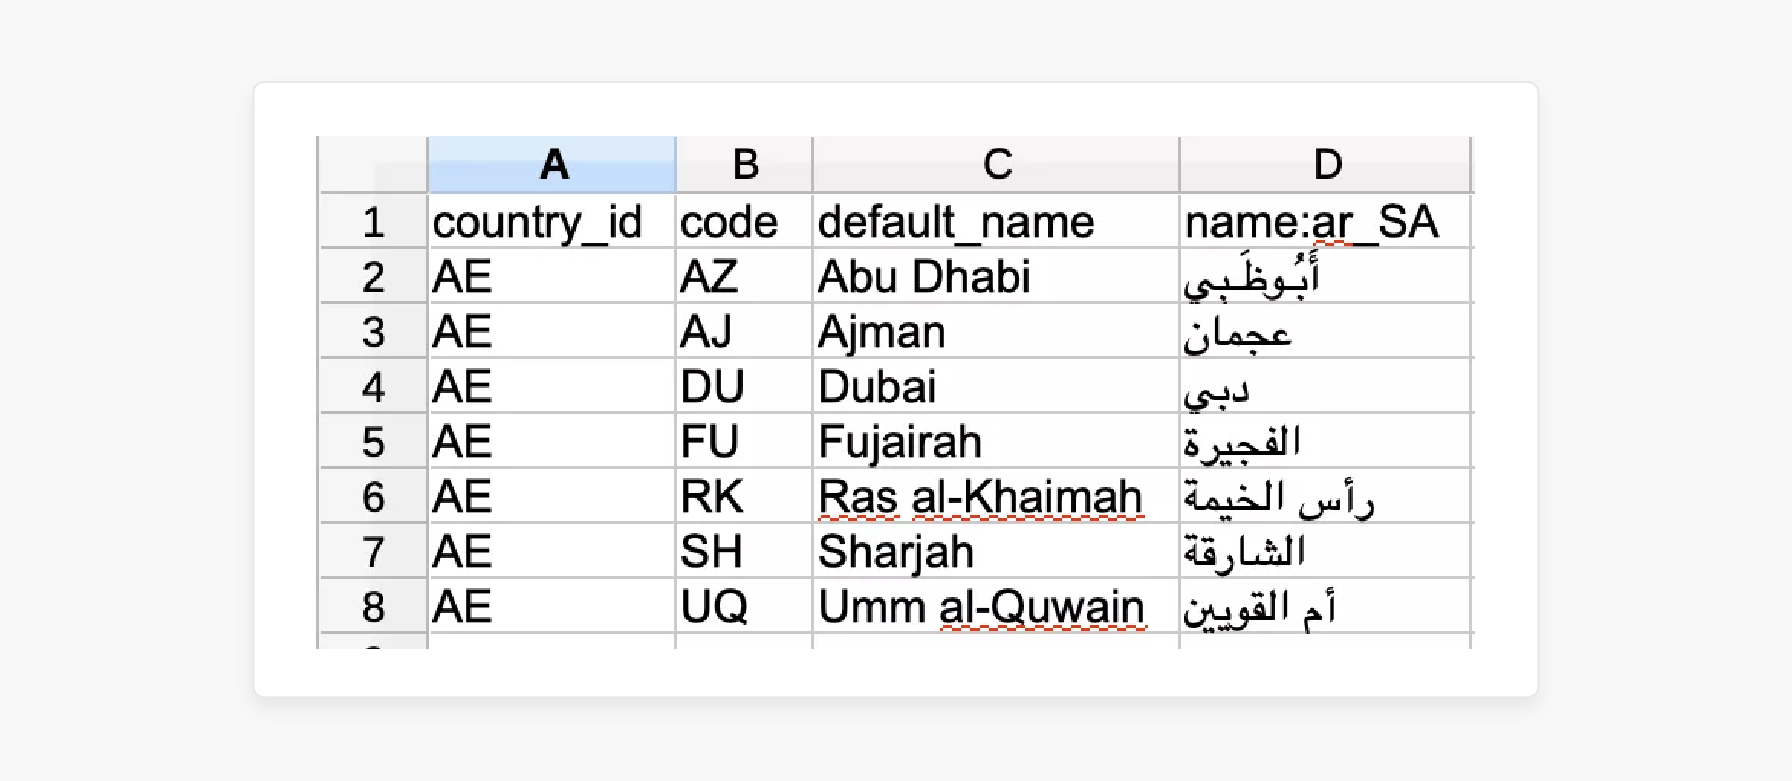
1. Prepare CSV File for Import
-
Create a CSV file. The file should have columns for city names, regions, and country codes. The structure should align with Magento's import requirements.
-
Each row should represent a city with its respective region and country code.
-
Save the file. Name it appropriately, such as
cities_import.csv. Ensure it's saved in a location that is accessible for upload.
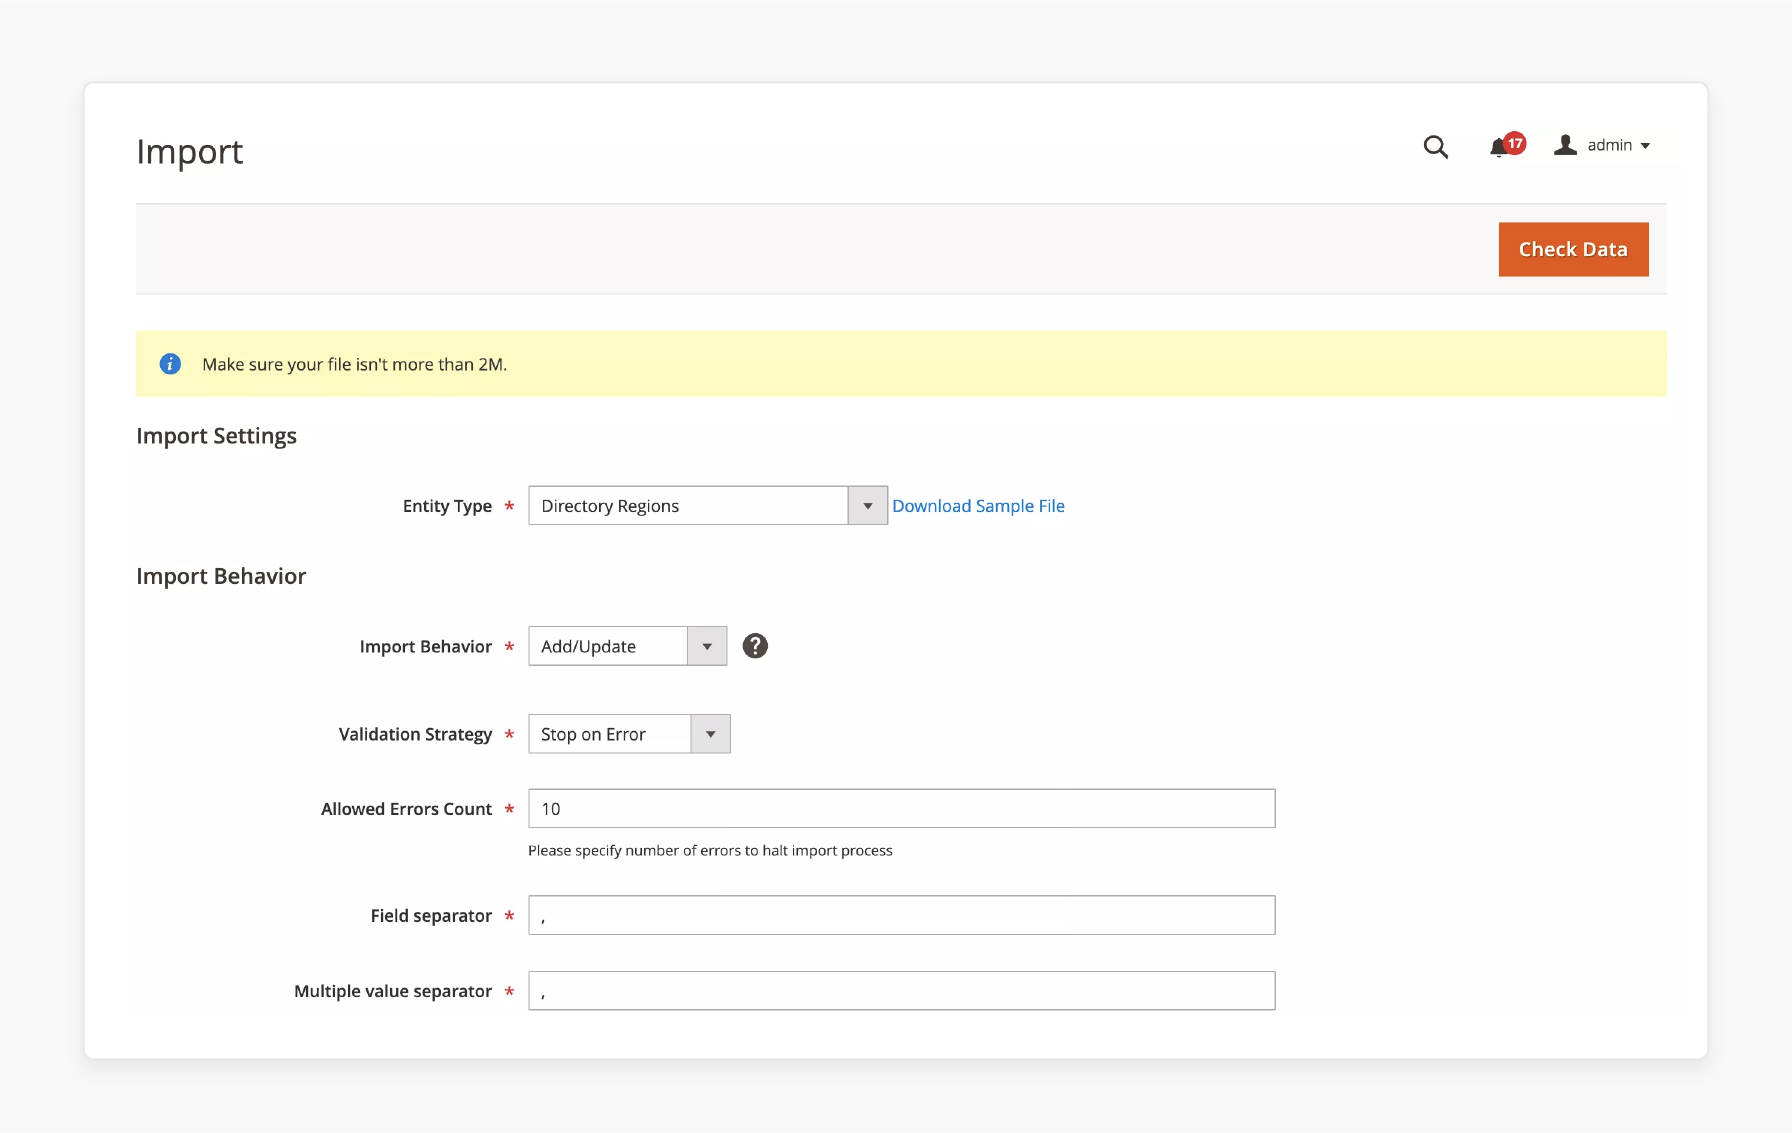
2. Import Cities from the backend
-
Log in to your Magento 2 admin panel.
-
Go to System > Data Transfer > Import.
-
Choose the appropriate entity type that corresponds to city data. Magento 2 doesn't have a default entity type for cities. Thus, this functionality will need a third-party extension.
-
Click on Choose File, select your prepared CSV file, and upload it.
-
Click Check Data to validate the CSV file. If there are errors, Magento will display them for correction.
-
Once validated, click Import to add the cities to your Magento 2 store.
3. Verify the Imported City List
-
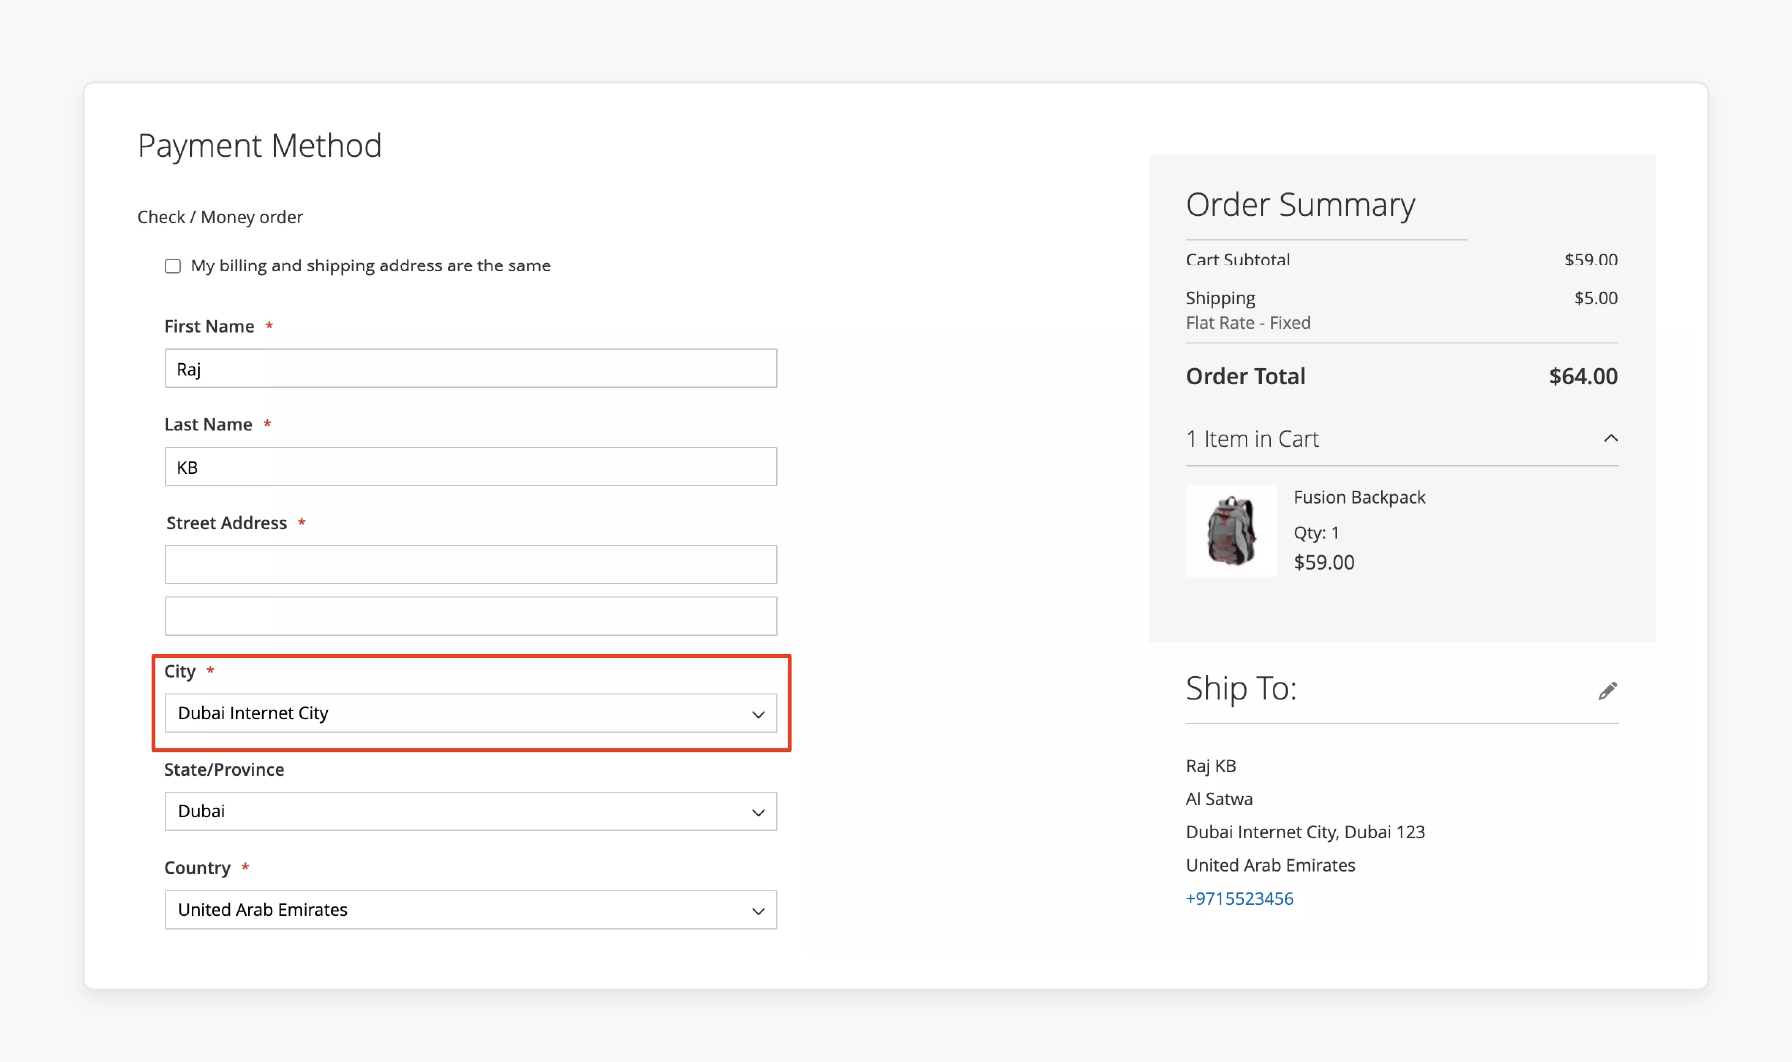
To view the imported cities, navigate to the relevant section in the admin panel. The location of this section depends on the extension used.
-
Go through the checkout process on the storefront. It will ensure the city dropdown displays the imported cities correctly.
How Does The City Dropdown Improve Customer Experience?
1. Simplify the Checkout Process
The city field replaces manual text input with a simple dropdown. Customers can easily select their city from a predefined list. It reduces errors when entering a shipping or billing address. City fields calculate shipping rates faster by linking cities to regions and zip codes.
2. Reduce Customer Errors During Address Entry
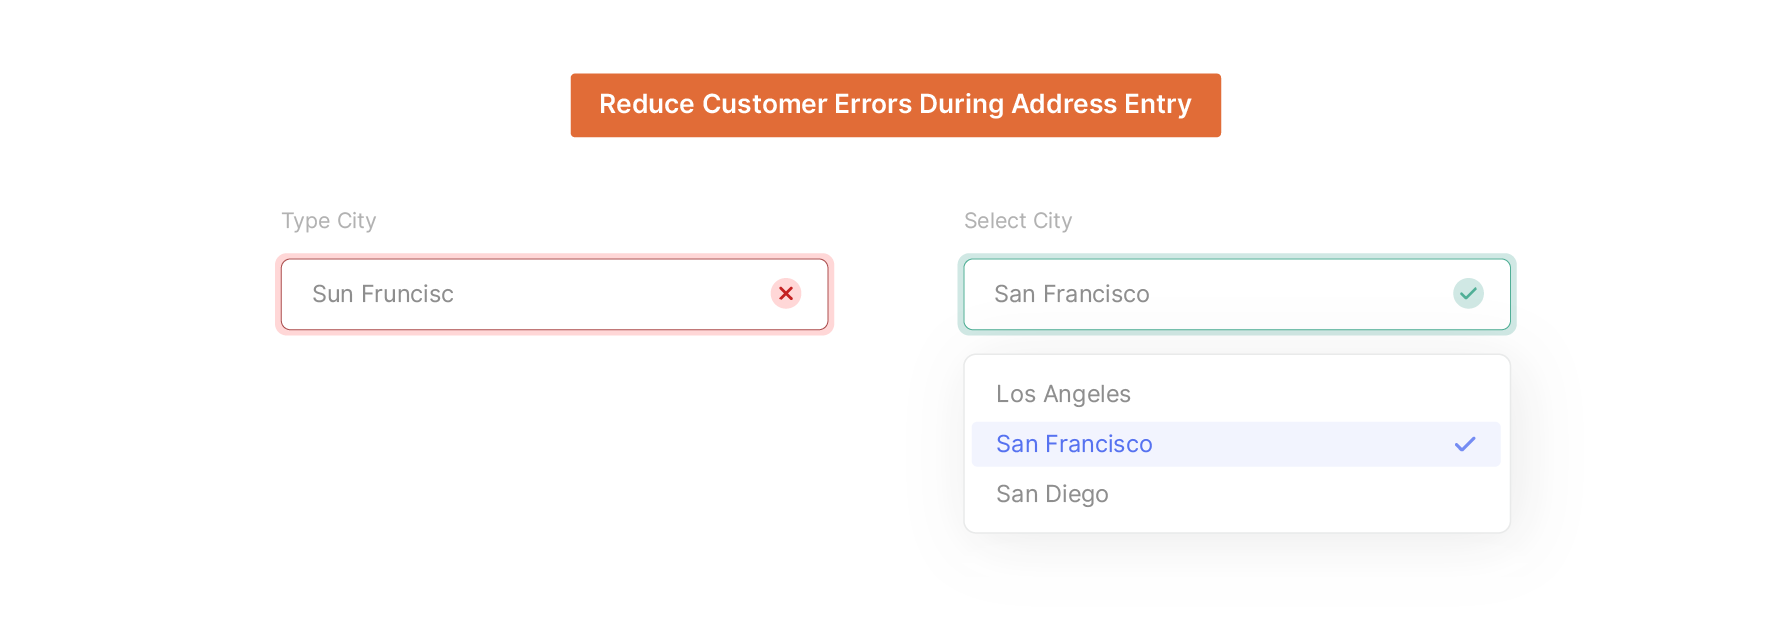
It prevents incorrect data entry, such as typos in the checkout address. It eliminates acknowledging and correcting invalid city names in the address book. It also ensures smooth delivery by linking city details to the shipping process for the order.
3. Enhance User Engagement with Custom Options
The extension offers tailored dropdown lists based on country and regional needs. It supports bulk uploads of cities. The features make it ideal for stores with diverse specific needs. It also converts text-input fields into dropdowns, improving the Magento 2 checkout workflow.
What Is The Magento 2 City Dropdown Extension?
The Magento 2 city dropdown extension is a tool that improves the default city selection process in Magento 2. It replaces the manual city text field with a dropdown list that can be tailored to specific needs. The process makes it easier for customers to select their city during checkout or on a customer account under the address page.
Features
-
Extension provides bulk city import functionality using a CSV file from the backend.
-
Extensions offer customizable city list options and integrate with shipping and billing addresses.
-
Supports city lists mapped to countries or regions to help manage areas effectively.
-
Integrates with PHP and the Magento2 stack, offering compatibility and stability.
-
Calculate correct shipping rates by aligning cities with the chosen package and destination.
-
The extension allows admins to extend their capabilities to meet unique store requirements.
How To Install The Magento 2 City Dropdown Extension?
1. Download the Extension
-
Visit the trusted source to download the Magento 2 extension easily.
-
Ensure you get the latest version that is compatible with your store.
2. Upload via Composer or FTP
-
If using composer to install the Magento 2 extension, run the command:
composer require vendor/module-name -
Replace the
vendor/module-namewith the actual package name. -
For manual installation, extract the downloaded extension package. Upload the extracted files to your store’s M2
app/codedirectory using FTP.
3. Run the Setup Commands
-
Log in to the server terminal and execute:
php bin/magento setup:upgradephp bin/magento setup:di:compilephp bin/magento setup:static-content:deploy
4. Go to Admin Panel
-
Login to the admin panel to access the extension’s configuration settings.
-
Navigate to Stores > Configuration > [Plugin Name] to manage options.
5. System Requirements
-
Compatible with the Magento2 framework, version 2.4.x or later.
-
Requires PHP 7.4 or above for optimal performance.
6. Troubleshooting Common Installation Issues
-
Missing Files: Ensure all extension files are uploaded correctly.
-
Cache Problems: Clear the Magento cache to avoid configuration errors.
-
Permission Errors: Set correct file permissions for the plugin directory.
-
Demo: Check the demo or documentation to explore how the extension works.
4 Magento 2 City And Region Dropdown Manager Extensions
1. Amasty City Dropdown for Magento 2
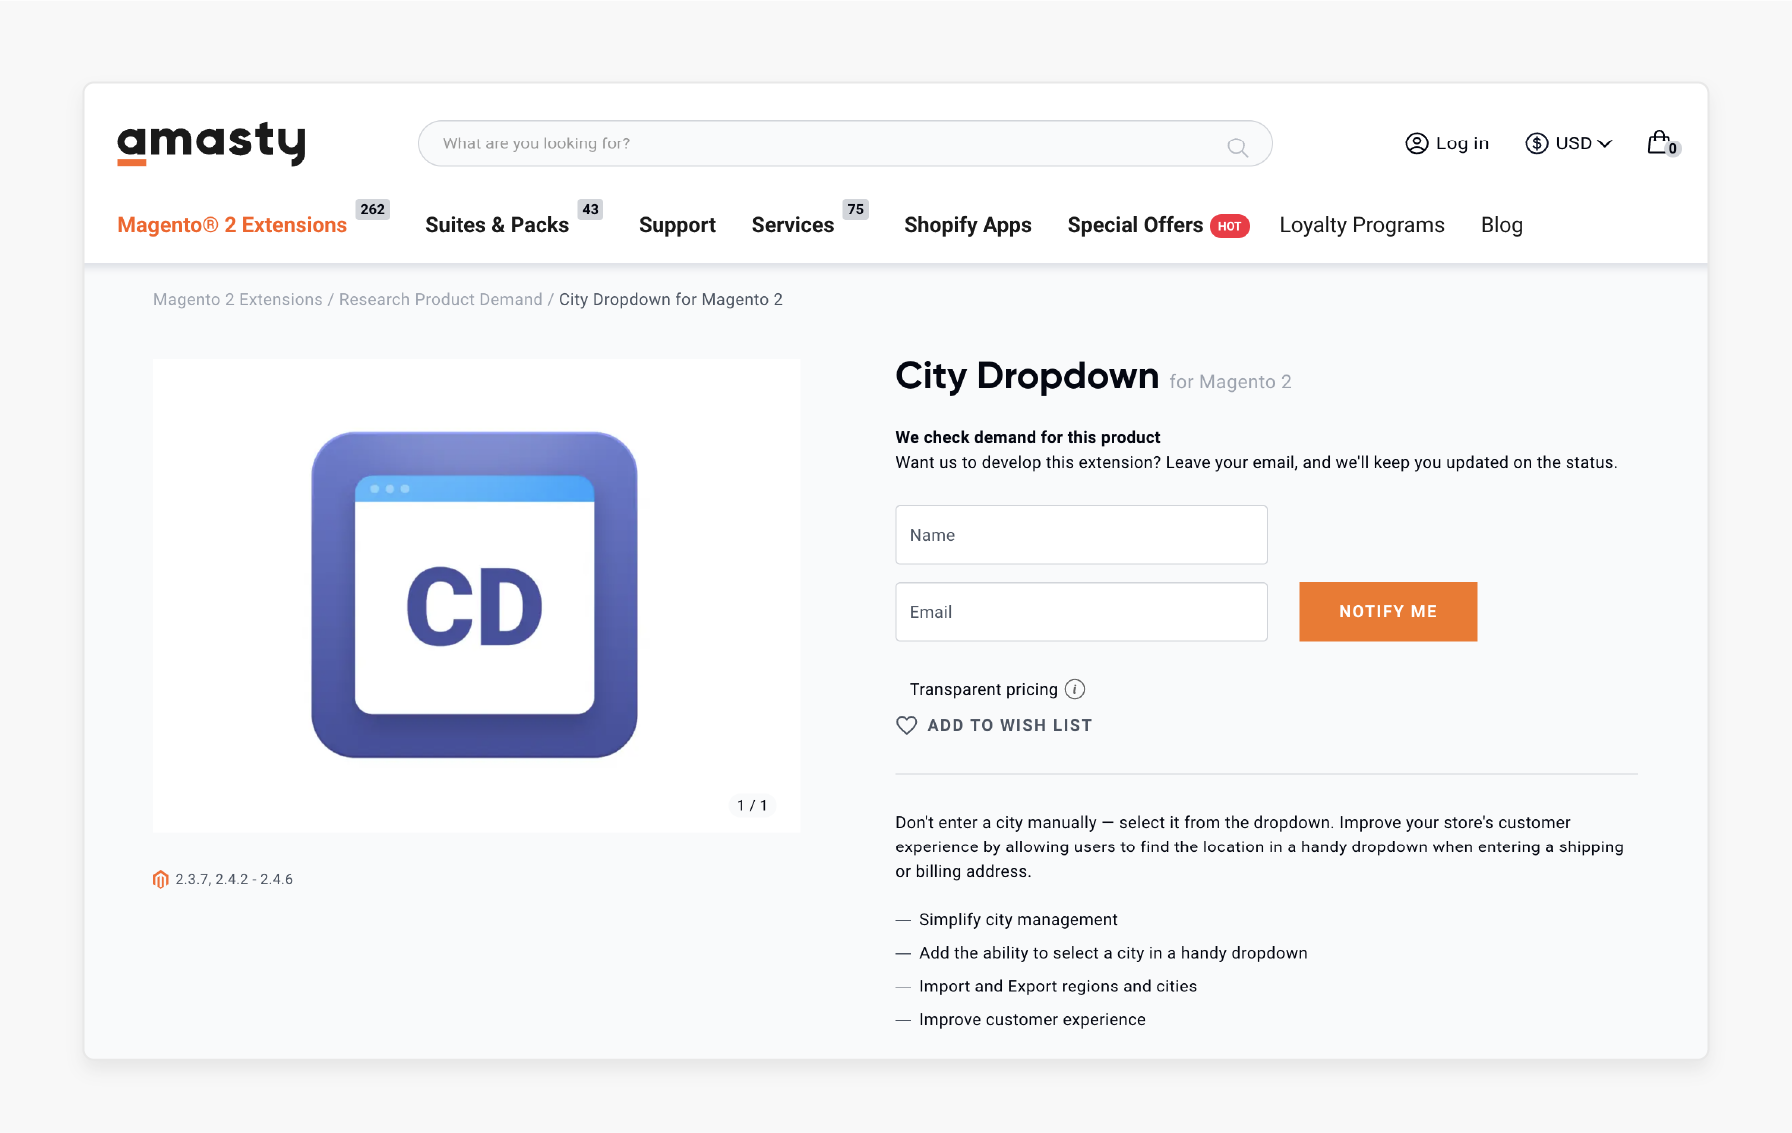
Amasty City Dropdown for Magento 2 removes the need for manual city entry. It replaces the text field with an easy-to-use dropdown. This extension improves the customer experience. Users can quickly find their city when adding a shipping or billing address.
Features
-
Manage cities easily with a structured and user-friendly dropdown interface.
-
Customers can select their city instead of typing it manually. It reduces address errors.
-
Admins can manage cities and regions in bulk using import and export tools.
-
The dropdown speeds up checkout and minimizes mistakes during address entry.
-
It is compatible with Magento 2.3.7 and 2.4.2 - 2.4.6 versions.
Pricing
The subscription pricing is unavailable on the page.
2. MagePsycho Magento 2 Region & City Dropdown Manager
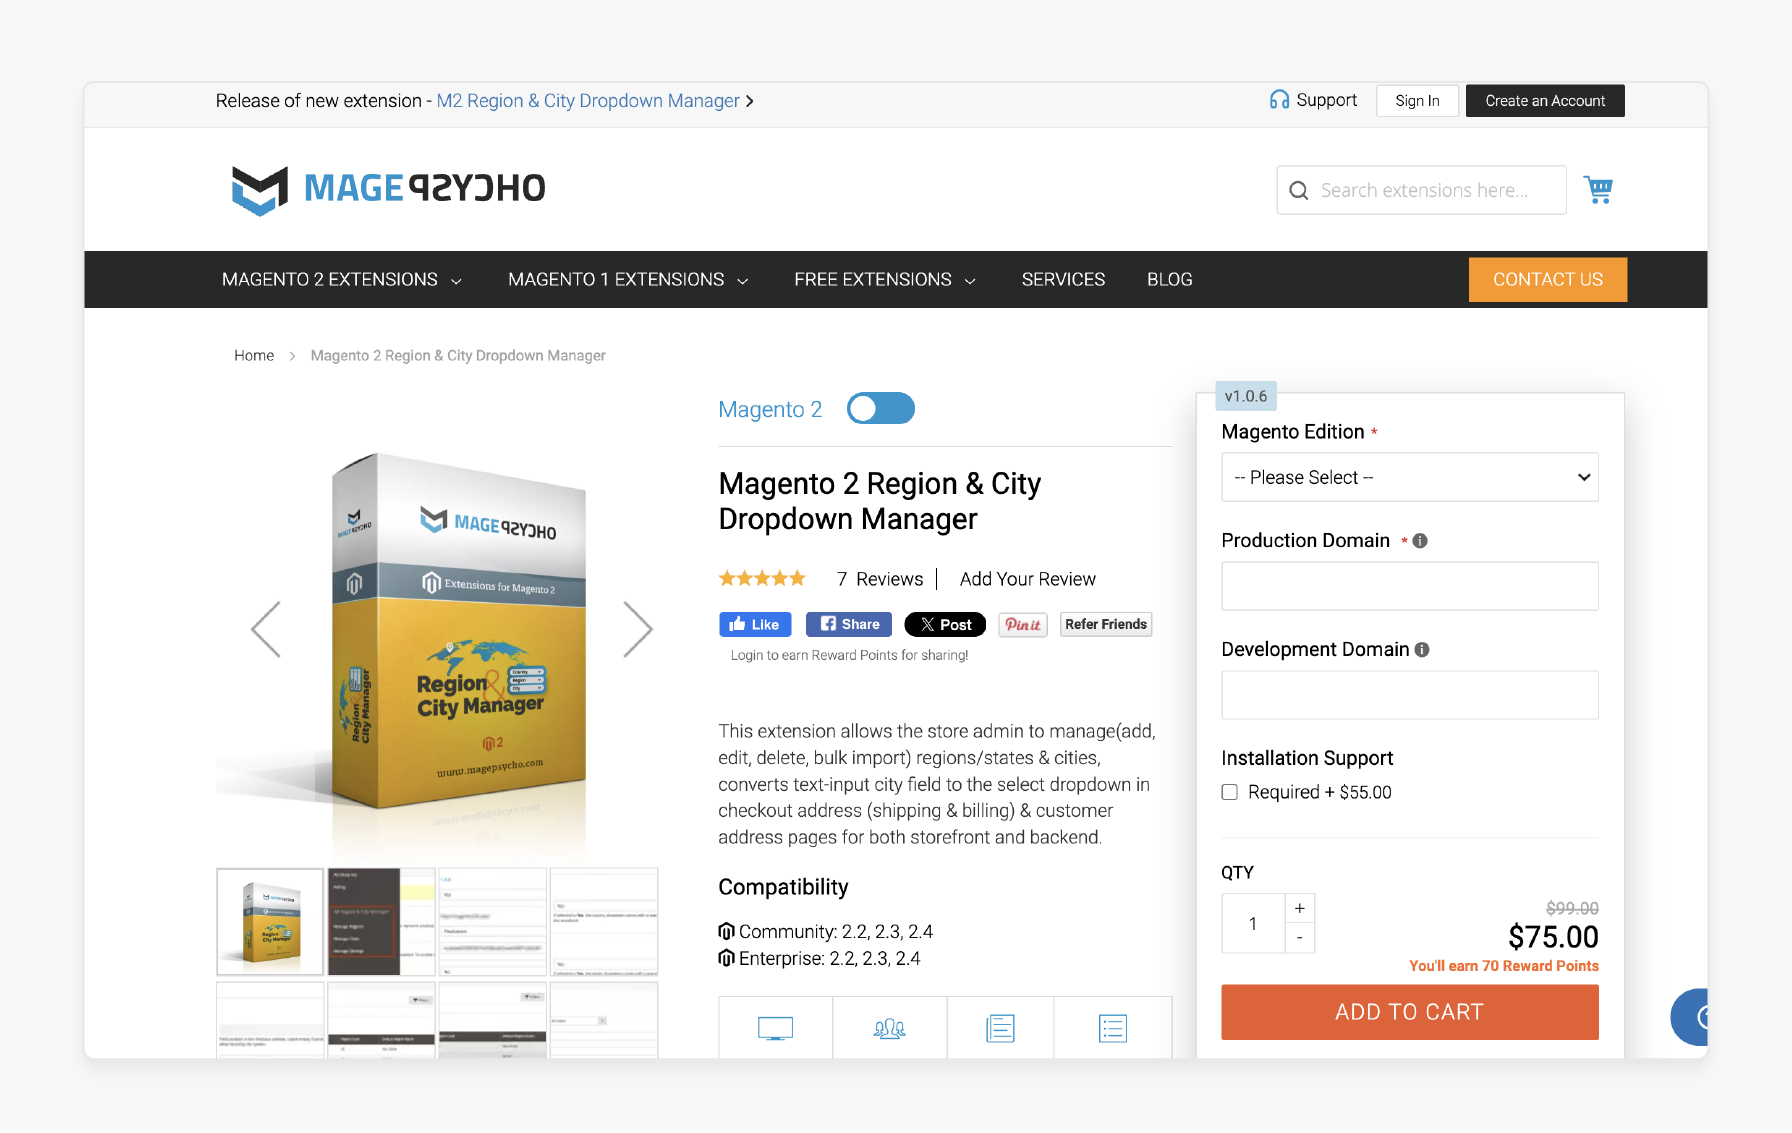
MagePsycho Magento 2 Region & City Dropdown Manager simplifies managing cities for store admins. It replaces the manual text-input city field with a select dropdown for the storefront and backend.
This extension ensures error-free city entries during checkout and address management. It eliminates typos, improves accuracy, and helps store owners target cities for shipping rates and cart rules.
Features
-
Add, edit, delete, and bulk manage provinces and cities using an intuitive backend UI.
-
Admins can bulk import or export regions and cities as a CSV file.
-
Displays cities as a dropdown with a search feature in the storefront.
-
Applies to shipping/billing addresses, customer addresses, and new account creation pages.
-
Cities appear as a dropdown in the backend for:
-
Customer address edits.
-
Order shipping and billing address edits.
-
New order creation.
-
-
The dropdown reduces invalid addresses by offering only predefined city options.
-
The extension is compatible with Magento Community 2.2, 2.3, and 2.4 and Magento Enterprise 2.2, 2.3, and 2.4.
Pricing
-
$130 - Community Edition (including installation support $55) + 30 days money back guarantee + 100% open source
-
$185 - Enterprise Edition (including installation support $55) + 30 days money back guarantee + 100% open source
3. MageComp Magento 2 Region & City Dropdown Manager Extension
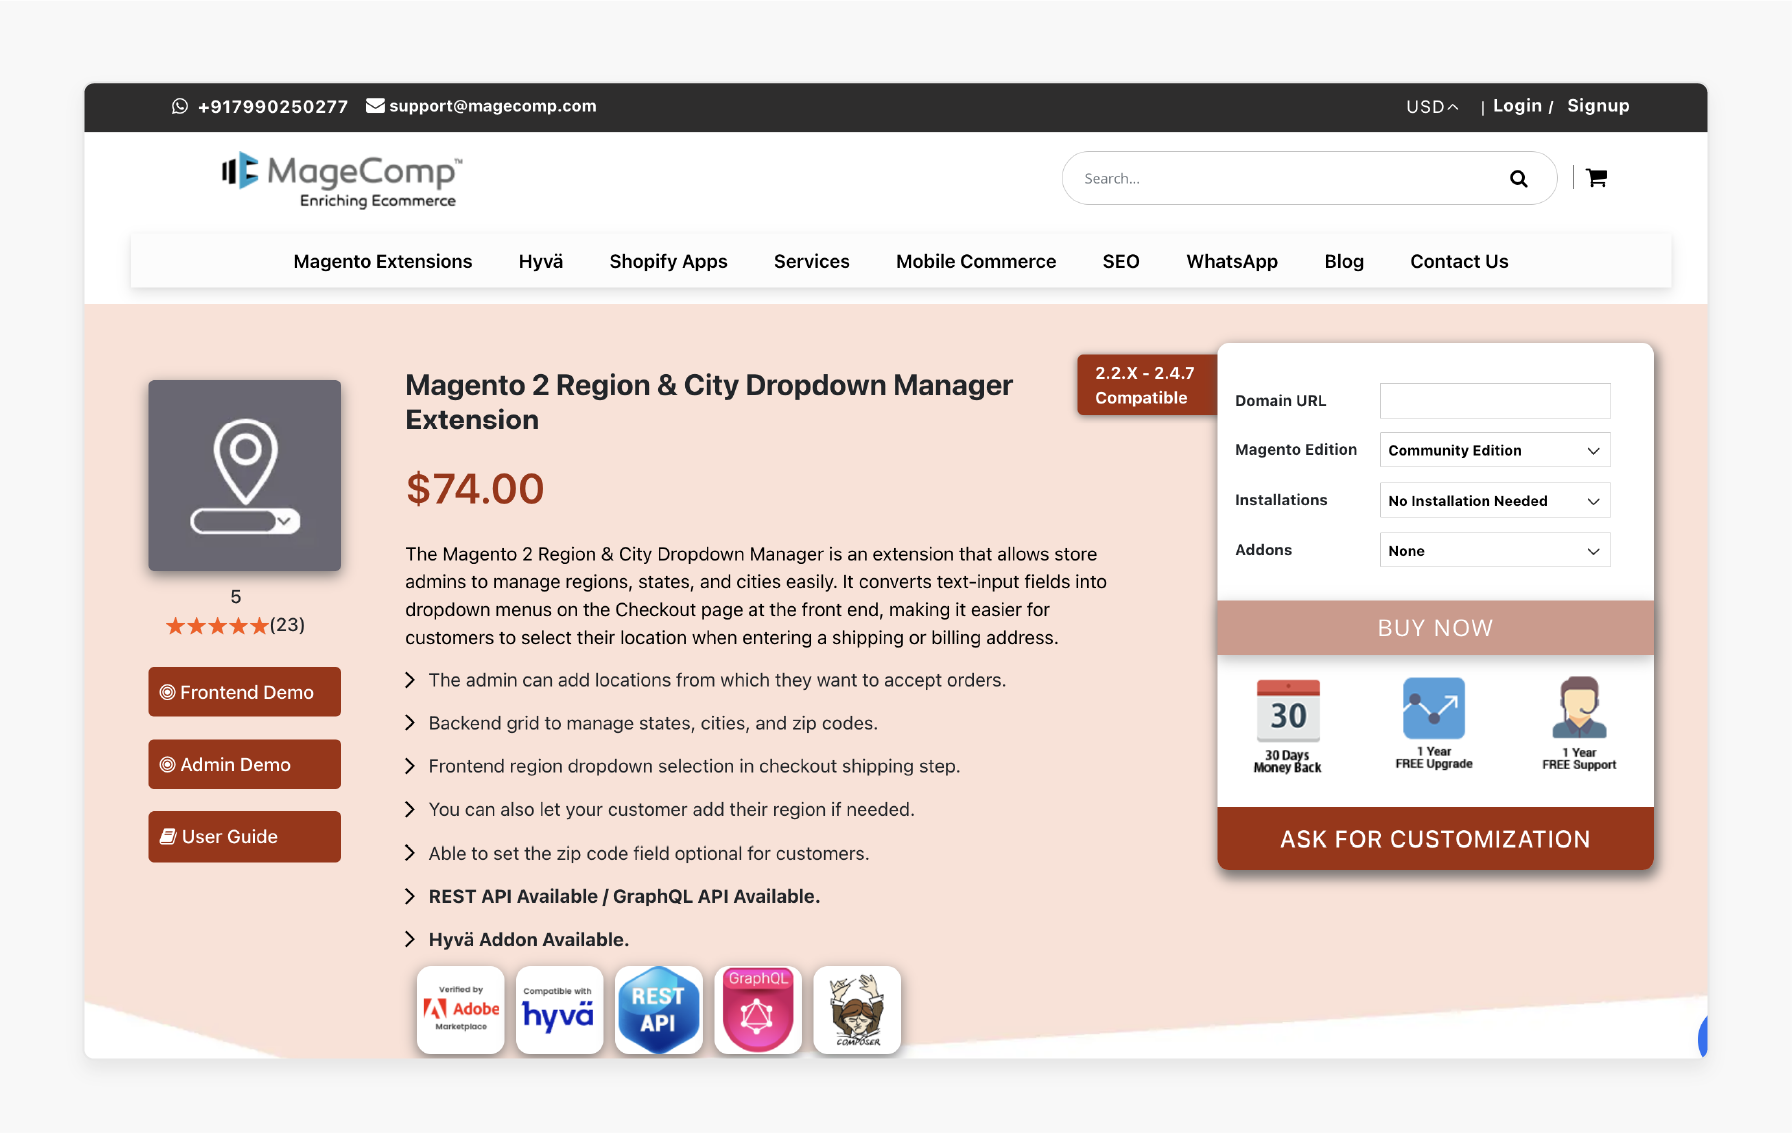
MageComp Magento 2 Region & City Dropdown Manager Extension is a tool for managing regions, states, and cities. It replaces manual text-input fields with dropdown menus, streamlining the checkout process. Customers can easily select their location when adding a shipping or billing address.
Key Features:
-
Add specific locations from which you want to accept orders.
-
Manage states, cities, and zip codes efficiently using a user-friendly backend grid.
-
Customers can select their region from a dropdown during the checkout shipping step.
-
Allow customers to add their region manually, if necessary.
-
Make the zip code field optional for customers to improve flexibility.
-
Includes REST API and GraphQL API for seamless integration with custom solutions.
-
Supports Hyvä themes.
Pricing
-
$74 (Magento Community Edition) + $29 professional installation service + $20 setup + $49 GraphQL or Hyvä addon ($89 for both)
-
$223 (Magento Commerce on-prem [EE]) + $29 professional installation + $20 setup + $49 GraphQL or Hyvä addon ($89 for both)
-
$223 (Magento Commerce on Cloud [ECE]) + $29 professional installation + $20 setup + $49 GraphQL or Hyvä addon ($89 for both)
-
30 days money back guarantee + 1 year free upgrade + 1 year free support
4. MageCurious Magento 2 City Dropdown
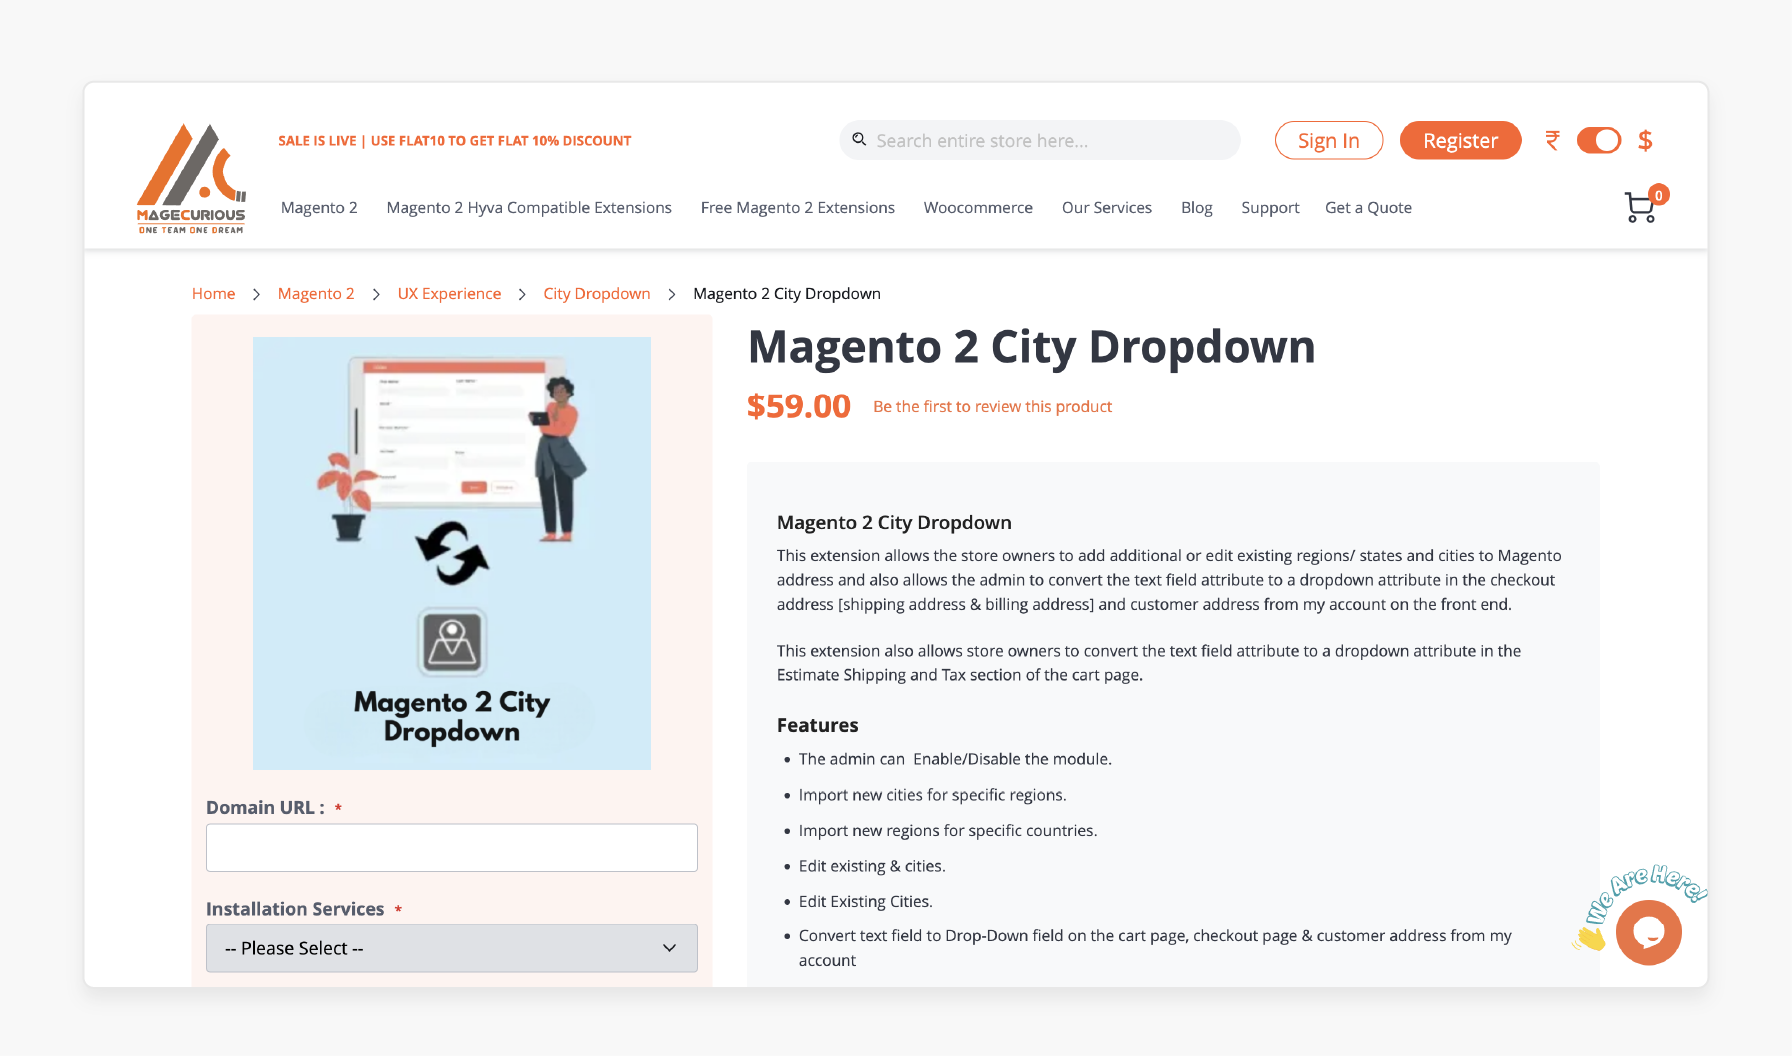
MageCurious Magento 2 City Dropdown extension gives store owners control over address fields. It allows admins to add or edit regions, states, and cities in Magento addresses. The extension converts manual text-input fields into dropdown menus. It applies to the checkout address, cart page, and customer address sections.
Features
-
Store admins can easily activate or deactivate the extension as needed.
-
Import the cities for specific regions or new regions for specific countries.
-
Modify already defined regions and cities to fit business requirements.
-
Converts text-input fields into dropdown menus for:
-
Checkout (shipping and billing address).
-
Estimate Shipping and Tax section on the cart page.
-
Customer addresses under the My Account section.
-
-
Works with Magento versions 2.0.x through 2.4.x.
Pricing
-
$98 - Community Edition (including $39 on installation + configurations)
-
$197 - Enterprise Edition (including $39 on installation + configurations)
-
$197 - Magento Cloud Edition (including $39 on installation + configurations)
FAQs
1. What pages are supported by the Magento 2 City Dropdown?
The dropdown works on checkout, cart, and customer address pages. It integrates with the → admin panel for configuration.
2. Does the dropdown work with all Magento 2 versions?
The dropdown is compatible with Magento versions 2.0.x to 2.4.x. If you need to check compatibility with your domain, use the tools provided by your extension or contact support.
3. How can I bulk import cities and regions into the dropdown?
Admins can bulk import cities and regions using a CSV file. Contact us for more details, and we’ll guide you through the setup.
4. Is customer data handled securely in the Magento 2 City drop-down?
Yes, the extension for Magento 2 complies with privacy policy guidelines. It ensures the secure handling of all customer information entered during checkout.
5. Can I customize the cities and regions displayed in the dropdown?
Yes, store admins can add or edit cities and regions for their domain. The 2 city and region manager features enable easy customization through the backend.
Summary
The Magento 2 city drop down simplifies address input during checkout. It improves customer experience by replacing manual fields with dropdowns.
-
Admins can manage and customize cities and regions efficiently using backend tools.
-
Bulk import/export features simplify adding or updating location data.
-
Dynamic updates ensure dropdown relevance based on chosen countries or regions.
-
Extensions provide additional features like API support and Hyvä theme compatibility.
-
Correct address input minimizes delivery errors and boosts checkout workflows.
Use city dropdown extensions with managed Magento hosting for an improved checkout experience.


