
Magento 2 Add Link to My Account Menu in 5 Steps
Want to enhance your customer's experience on your Magento 2 store? Magento 2 Add Link to “My Account Menu” lets you add custom links to the "My Account" menu, providing easy access to important pages. The feature enables you to personalize the menu, improving user navigation.
This tutorial will cover how to add and remove a link to the "My Account" menu in Magento 2.
Key Takeaways
-
Adding or removing custom links improves the Magento 2 My Account Menu.
-
Personalized menus simplify navigation and enhance user interactions.
-
Custom links boost customer engagement and satisfaction.
-
New links make customer support more accessible.
-
Dynamic links cater to specific customer behaviors.
-
The added link can be removed by remodifying the XML layout file.
What is the “My Account” Menu in Magento 2?
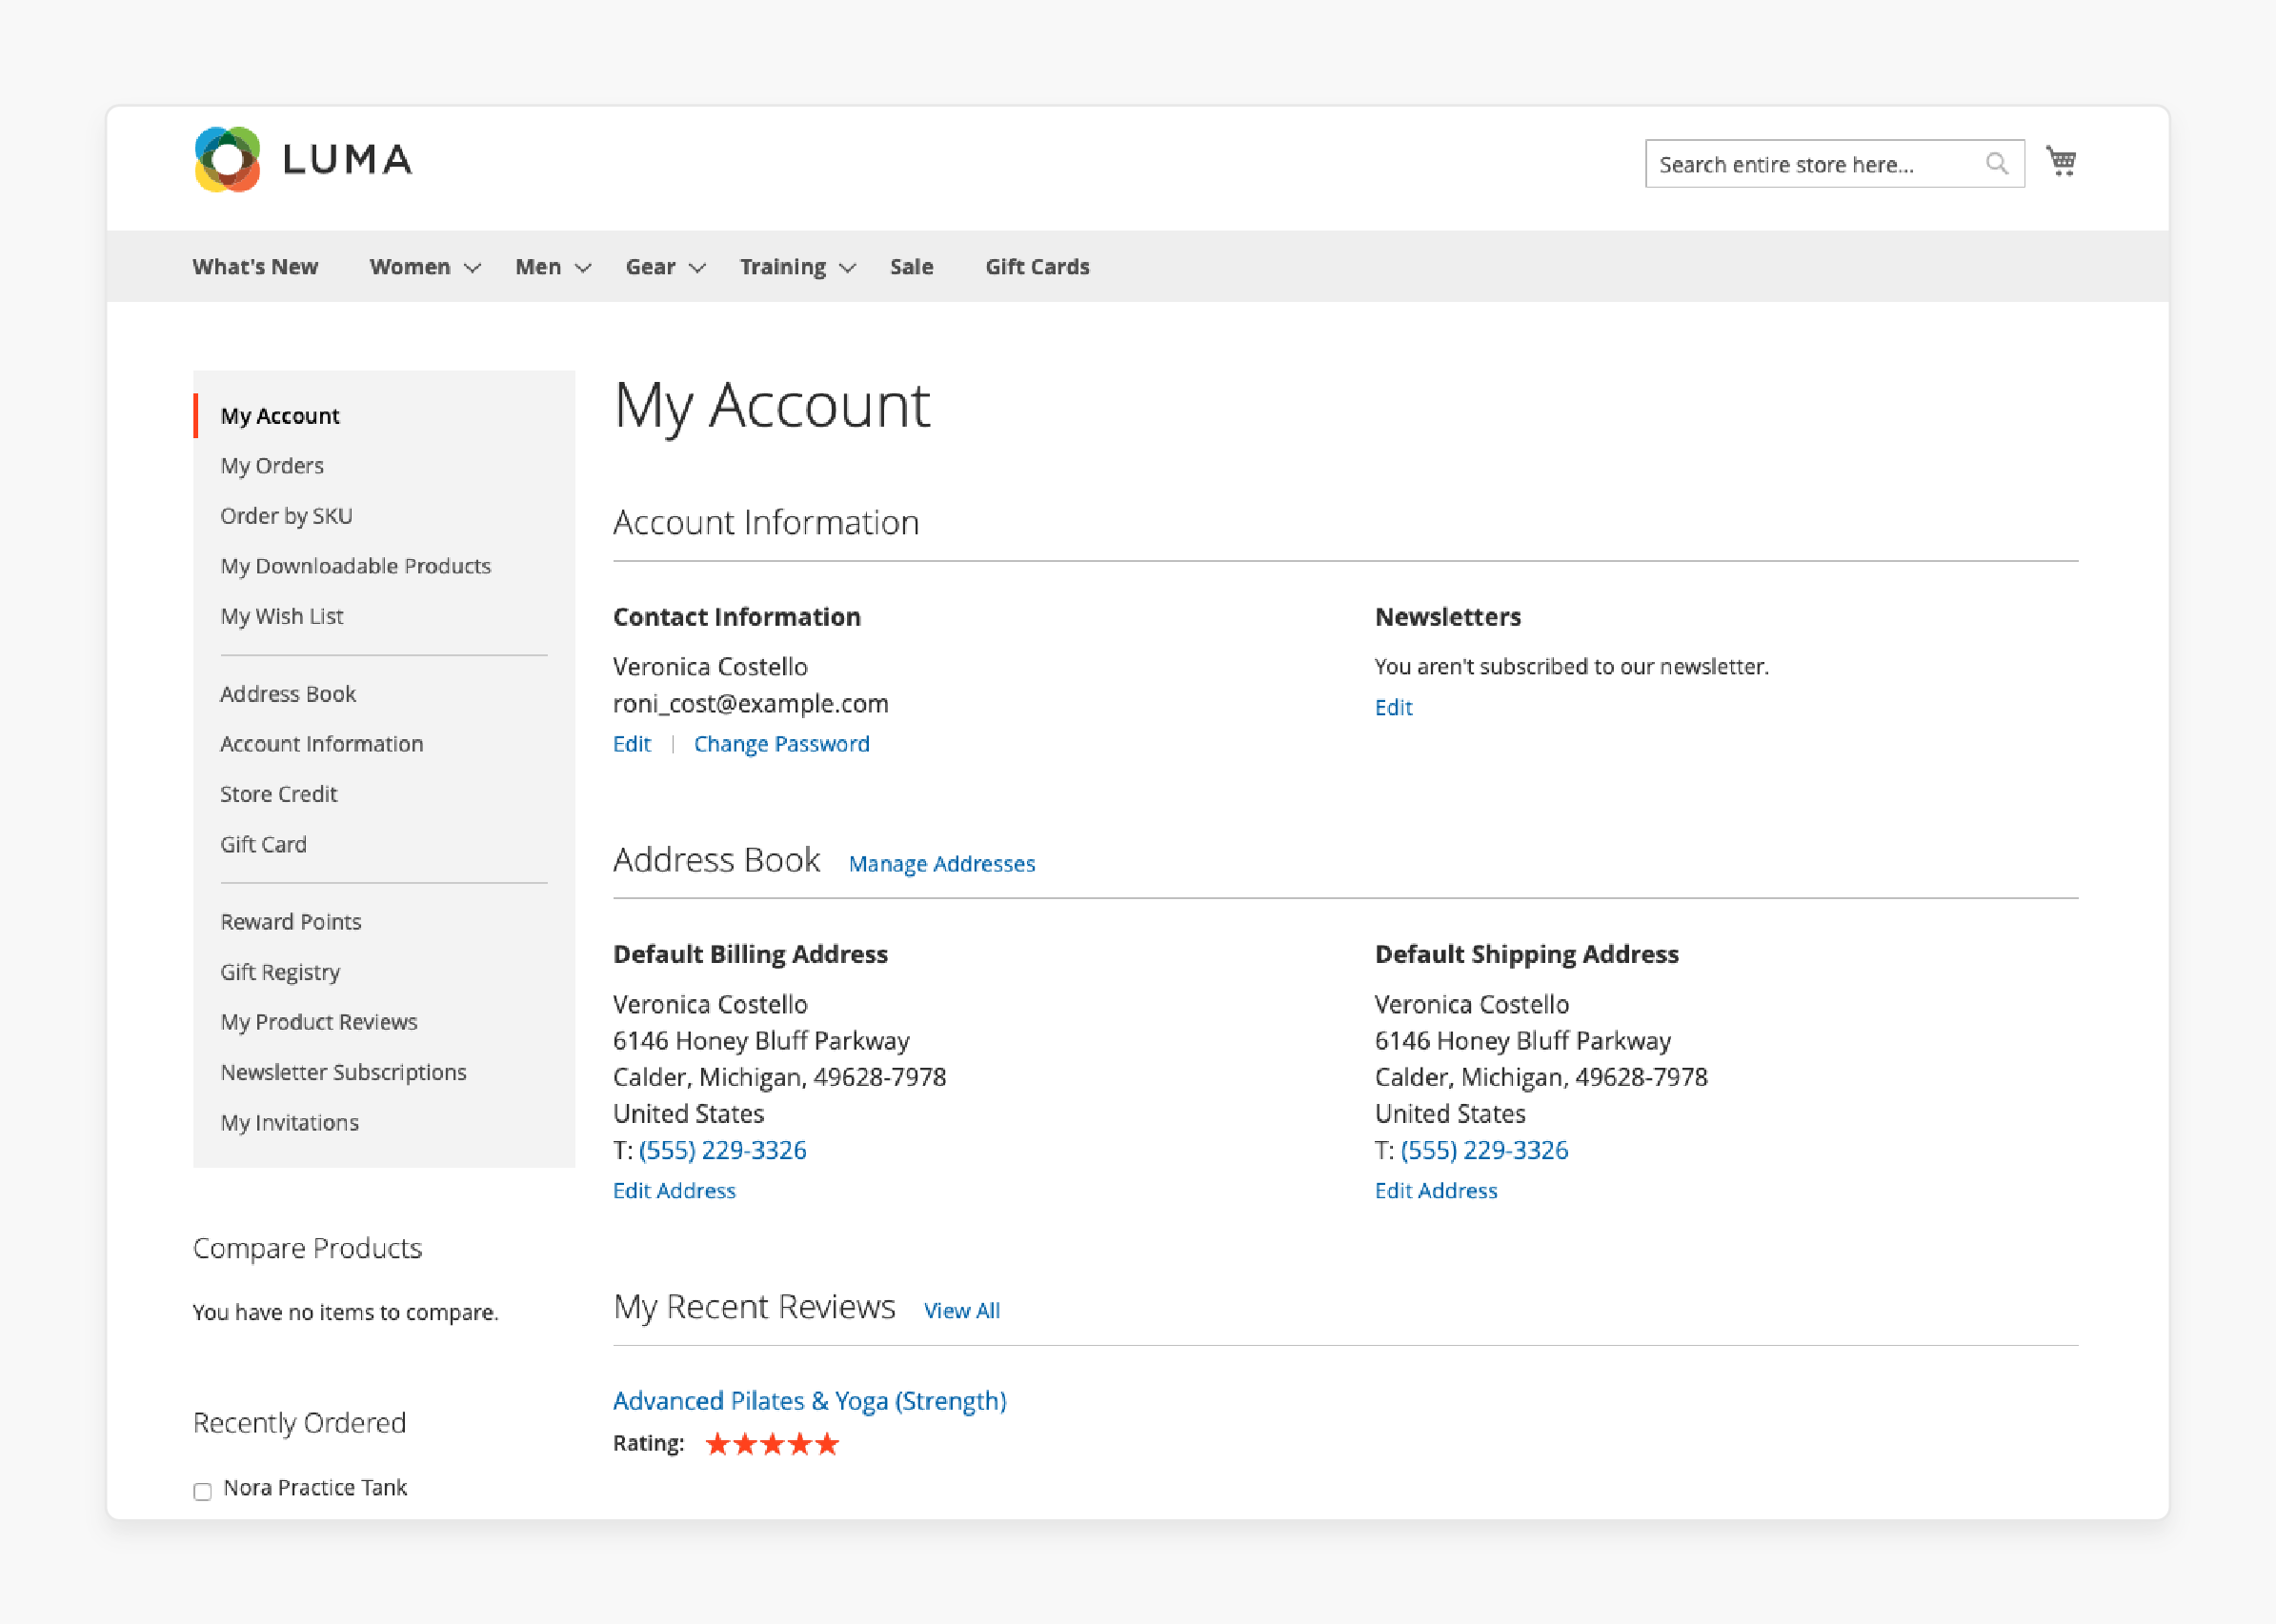
“The "My Account" menu in Magento 2 is a vital feature for customer account navigation. It allows customers to manage their personal information.”
This includes information like:
-
Orders,
-
Wish lists,
-
Stored payment methods, etc.
You can customize the menu to add a custom link or even a new link to enhance user experience. The menu is accessible through the account sidebar and can be tailored to fit your store's needs.
By modifying the customer_account.xml layout file and creating a Custom.php controller file, you can add a custom link to the navigation menu. The feature helps customers easily manage their accounts, making it an essential part of the customer account page.
Why Add Custom Links to the Magento 2 “My Account” Menu?
1. Enhanced User Experience
-
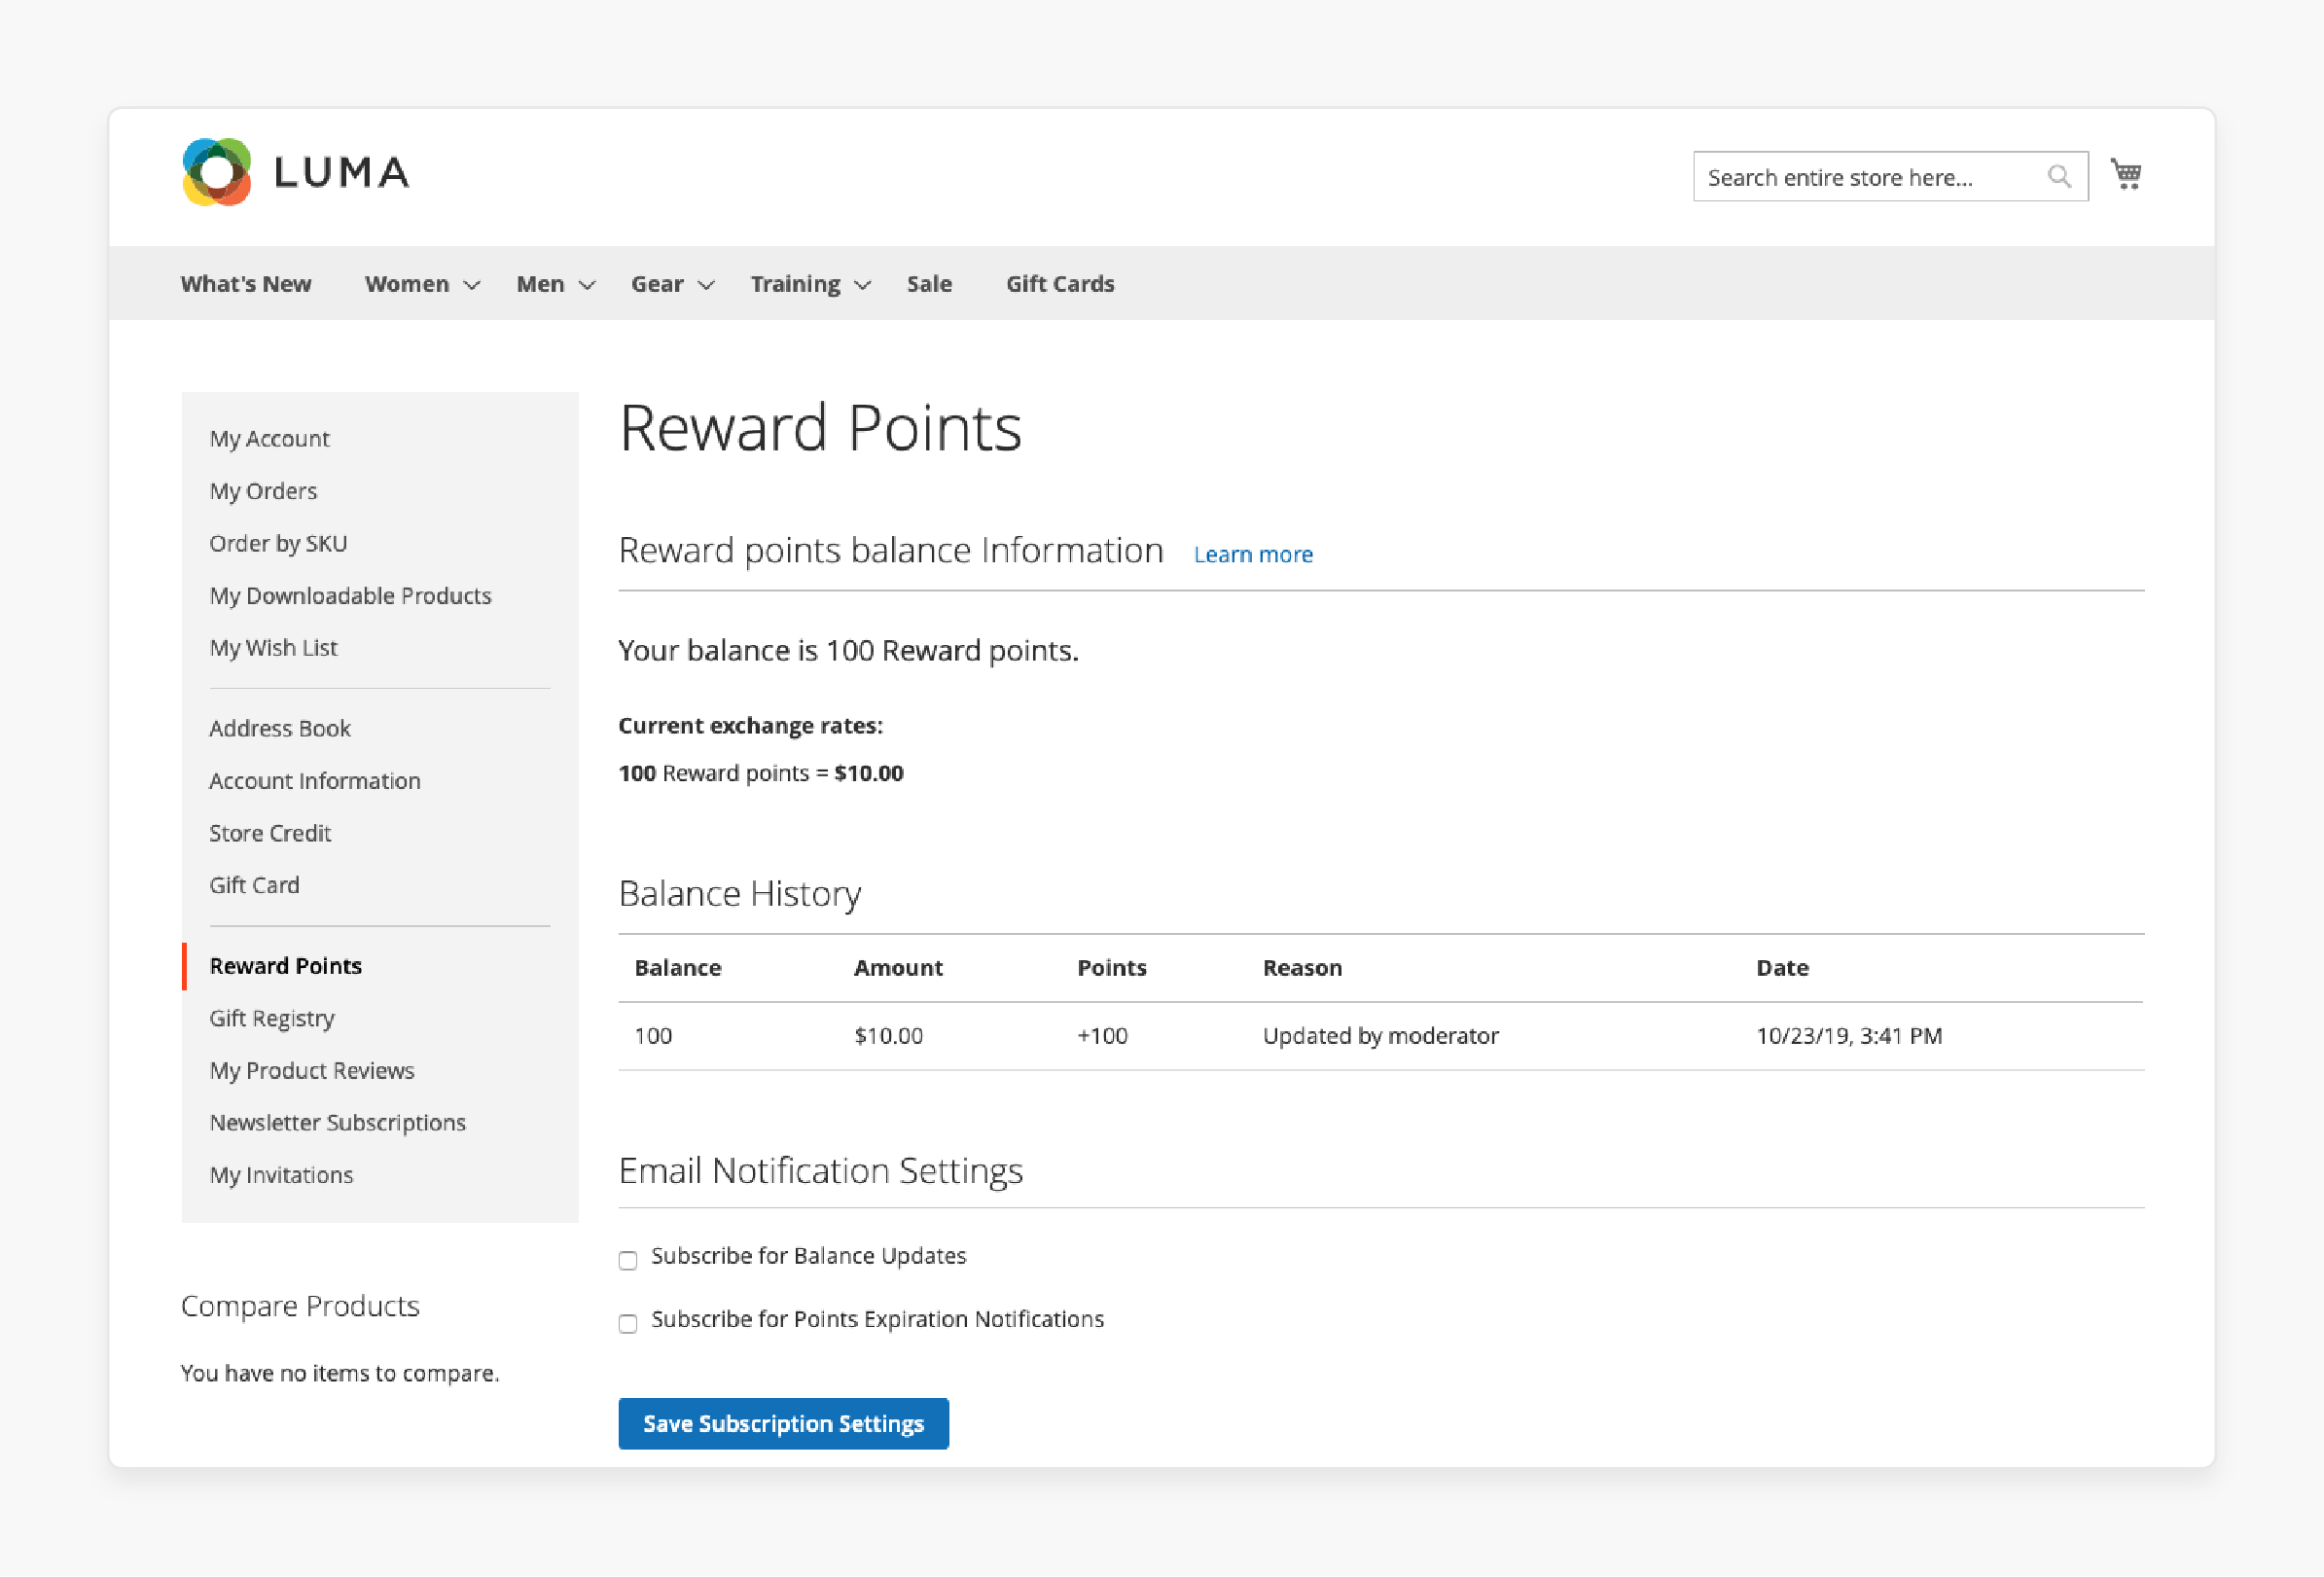
Custom links in the account menu help customers manage their information easily. You can add links to frequently used pages or services.
-
For example, add a "My Rewards" link for a loyalty program. It allows customers to track their points effortlessly. They can redeem rewards without searching through multiple pages.
-
Such convenience can increase customer satisfaction and loyalty.
2. Streamlined Navigation
-
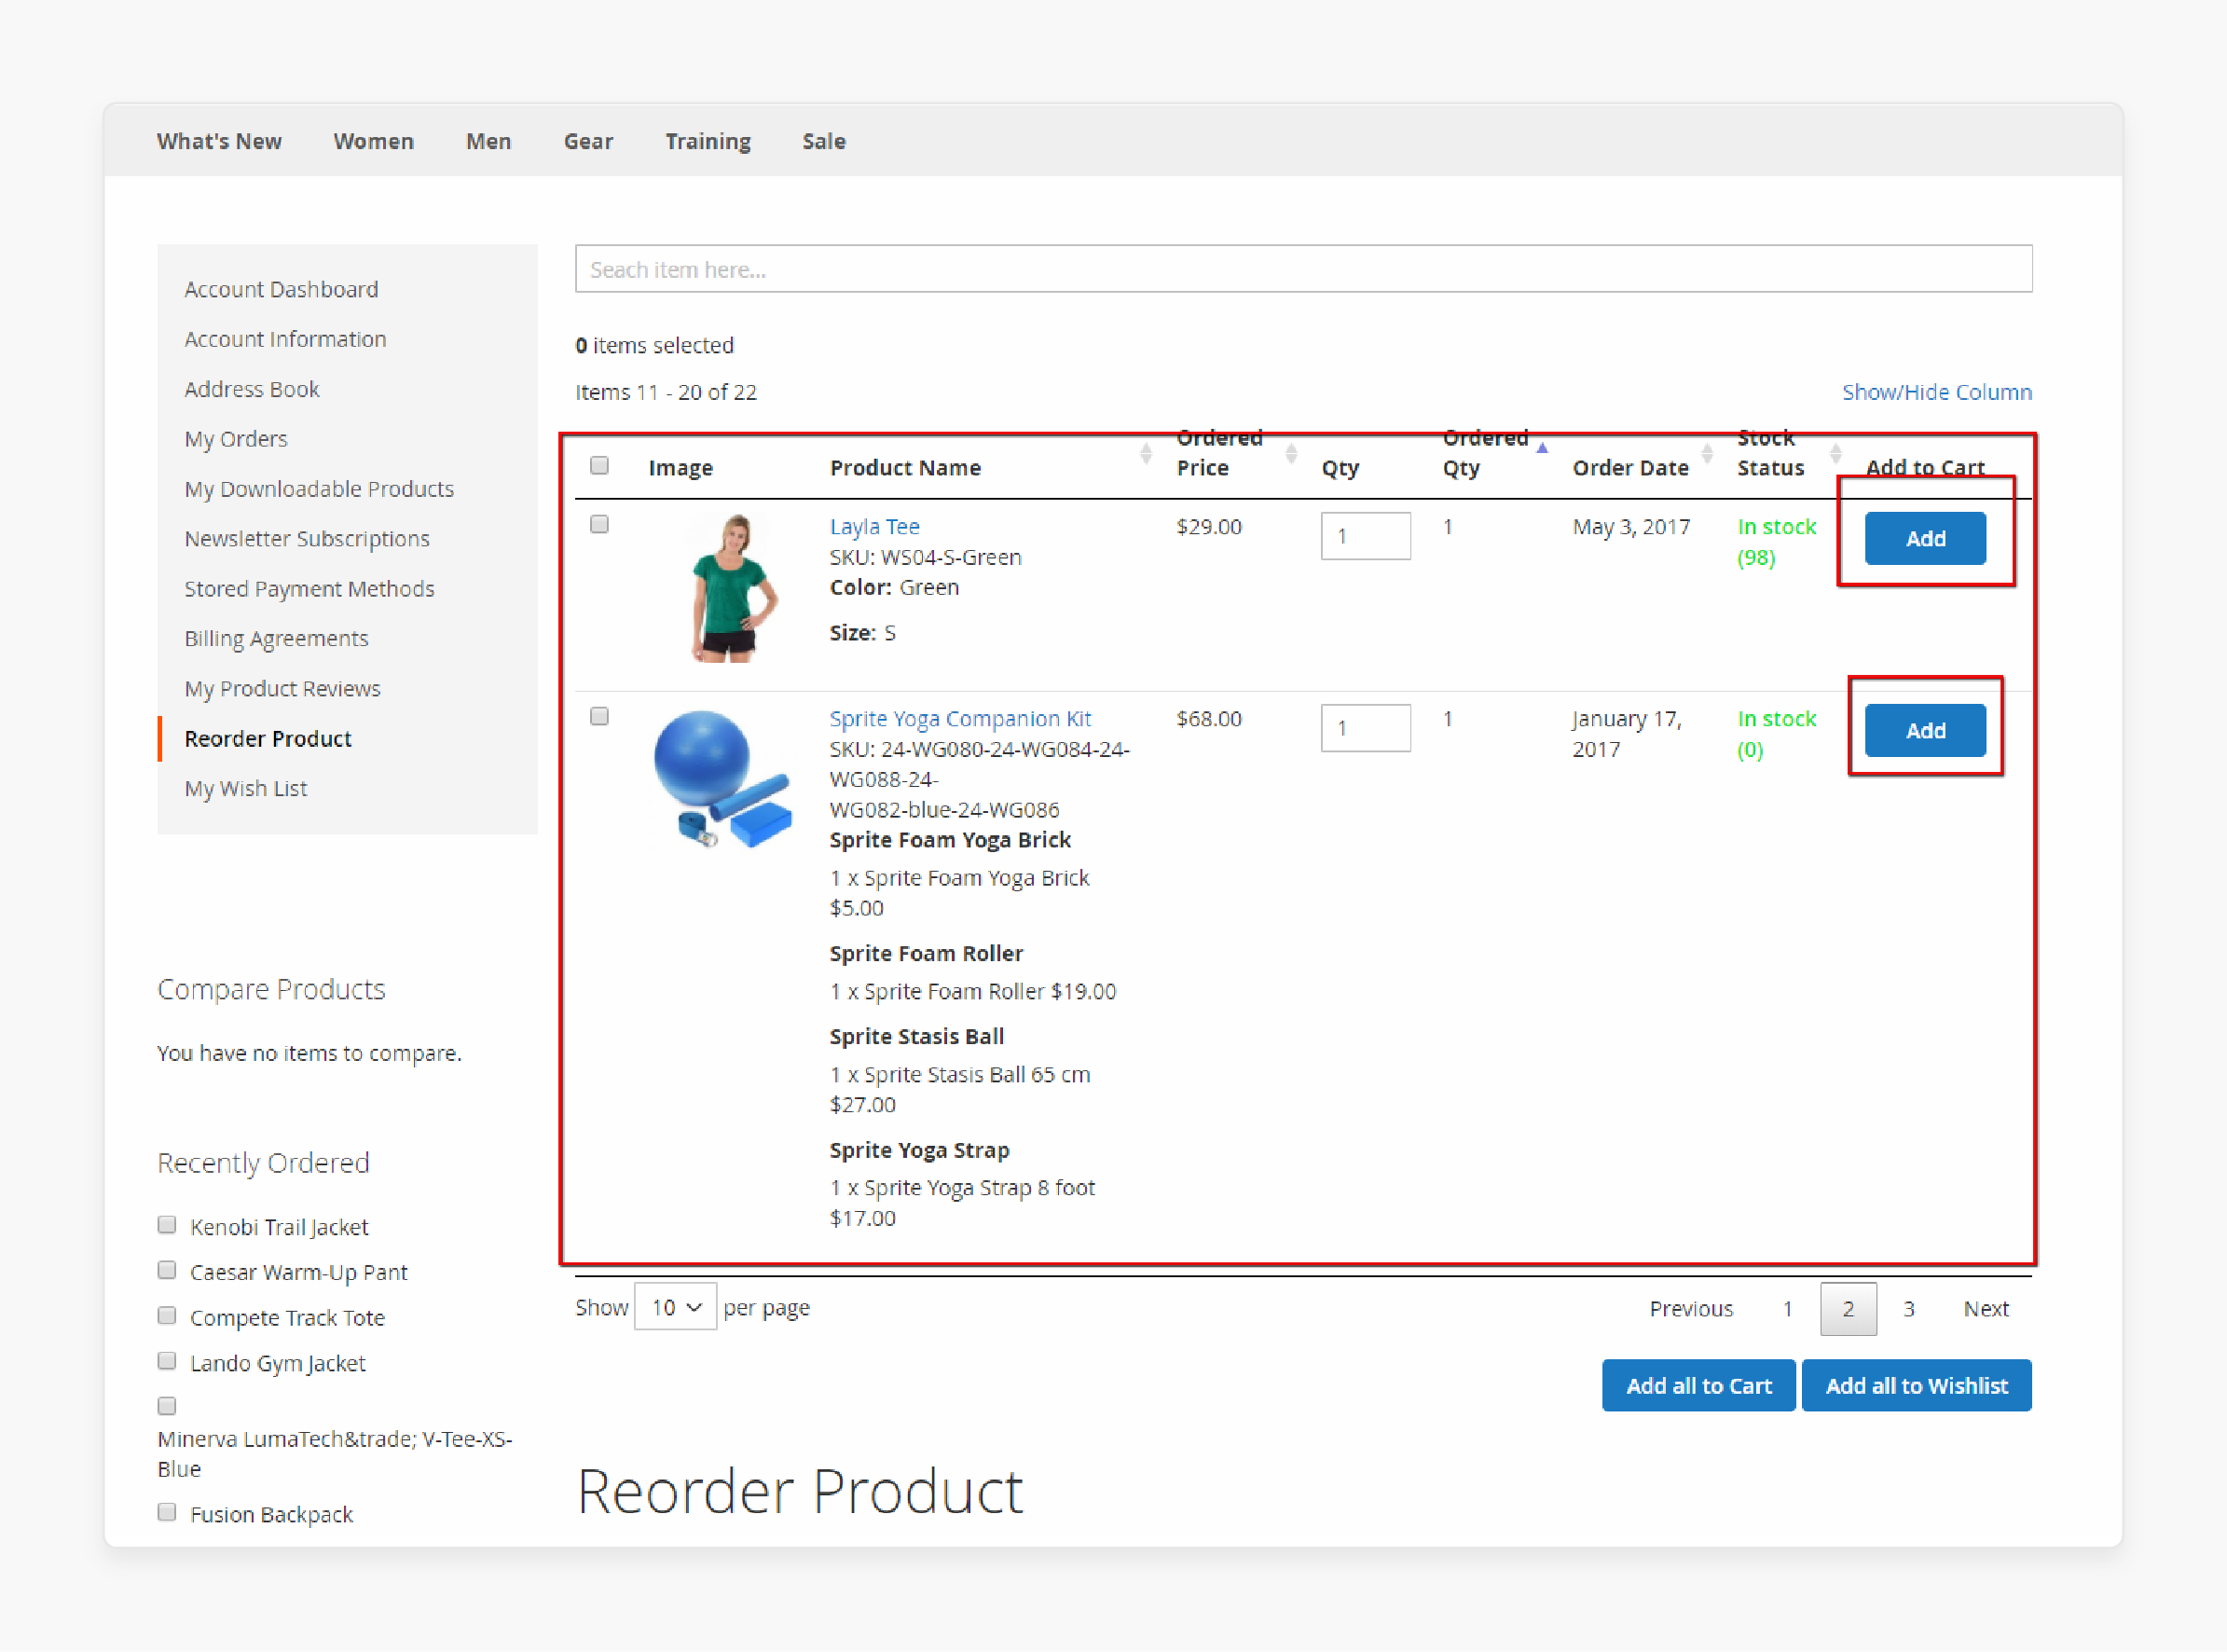
By adding custom links, you simplify navigation within the customer account area. Consider including a "Quick Reorder" link for repeat purchases.
-
It gives customers fast access to their order history. They can reorder items with just a few clicks.
-
The time-saving feature encourages repeat business and boosts sales.
3. Improved Customer Support
-
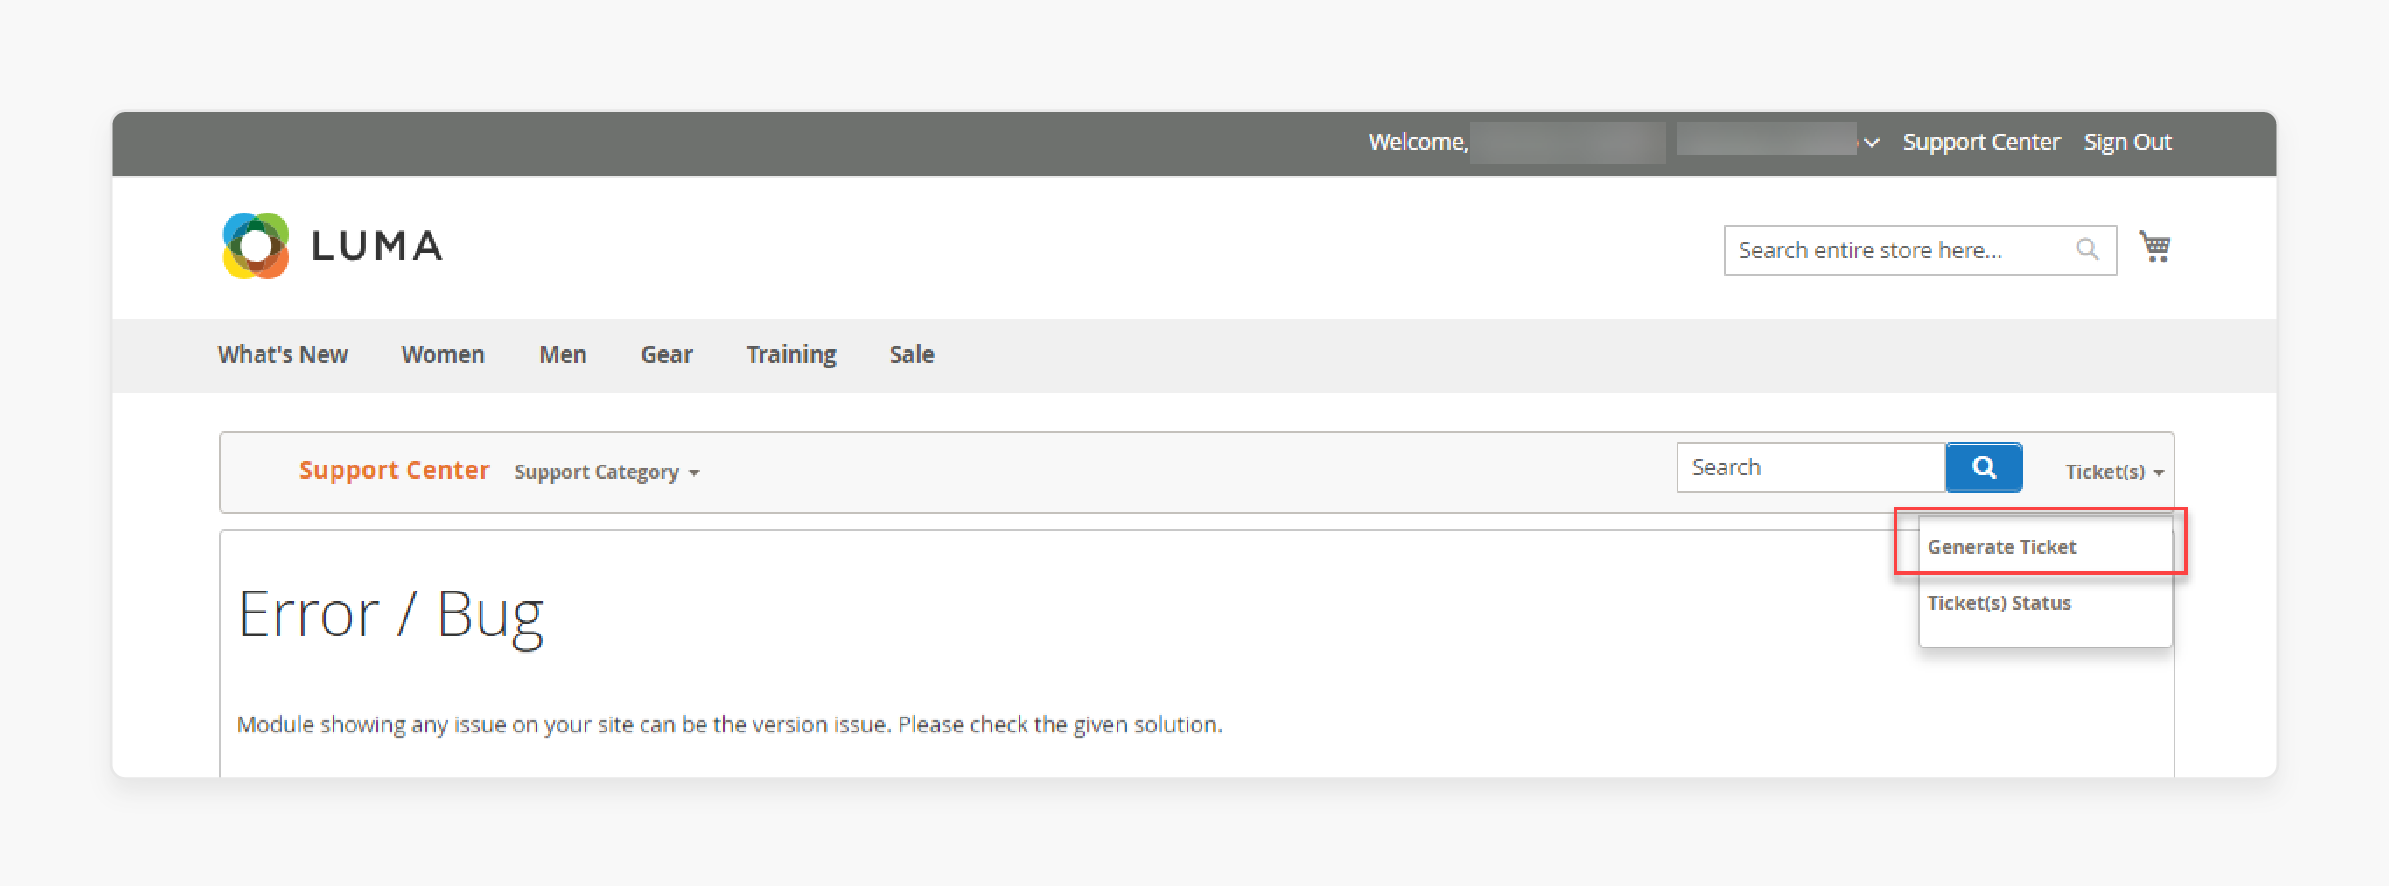
Custom links can enhance customer support accessibility. Add a "Support Tickets" link to the account menu.
-
It allows customers to submit and track support requests easily. They can view their ticket history and updates quickly.
-
It also shows your commitment to resolving customer issues promptly.
4. Personalized Experience
-
Custom links allow you to tailor the account area for different customer groups.
-
For B2B customers, add a "Wholesale Pricing" link. It gives them quick access to their special pricing information.
-
Add a "Bulk Order" link for large purchases. These features make the shopping experience more relevant and efficient.
5. Increased Engagement
-
Adding custom links can boost customer engagement with your store.
-
Consider adding a "Product Recommendations" link to the menu. It directs customers to personalized product suggestions based on browsing history.
-
Add a "New Arrivals" link for frequent shoppers. These features can increase the time spent on your site and potentially boost sales.
6. Better Information Access
-
Custom links provide easier access to important information.
-
Add a "Shipping Policies" link to the account menu. It helps customers quickly find information about shipping options.
-
Include a "Return Policy" link for easy reference. These additions reduce confusion and potential customer service inquiries.
Steps To Add a Custom Link to the My Account Menu
Step 1: Modify the customer_account.xml layout
-
Create a new file:
<VendorName>/Tutorial/view/frontend/layout/customer_account.xml -
Add the following code:
<?xml version="1.0"?>
<page xmlns:xsi="http://www.w3.org/2001/XMLSchema-instance" xsi:noNamespaceSchemaLocation="urn:magento:framework:View/Layout/etc/page_configuration.xsd">
    <body>
        <referenceBlock name="customer_account_navigation">
            <block class="Magento\Framework\View\Element\Html\Link\Current" name="vendorname_tutorial_custom_my_account">
                <arguments>
                    <argument name="path" xsi:type="string">tutorial/account/custom</argument>
                    <argument name="label" xsi:type="string">My custom</argument>
                    <argument name="sortOrder" xsi:type="number">150</argument>
                    <argument name="navigation" xsi:type="boolean">true</argument>
                </arguments>
            </block>
        </referenceBlock>
    </body>
</page>
Step 2: Create Controller Custom.php
-
Create a new file:
<VendorName>/Tutorial/Controller/Account/Custom.php -
Add the following code:
<?php
namespace <VendorName>\Tutorial\Controller\Account;

use Magento\Framework\View\Result\PageFactory;
use Magento\Framework\App\Action\Context;

class Custom extends \Magento\Customer\Controller\AbstractAccount
{
    protected $resultPageFactory;

    public function __construct(
        Context $context,
        PageFactory $resultPageFactory
    ) {
        $this->resultPageFactory = $resultPageFactory;
        parent::__construct($context);
    }

    public function execute()
    {
        $resultPage = $this->resultPageFactory->create();
        $resultPage->getConfig()->getTitle()->set(__('My Custom'));
        return $resultPage;
    }
}
Step 3: Create tutorial_account_custom.xml Layout
-
Create a new file:
<VendorName>/Tutorial/view/frontend/layout/tutorial_account_custom.xml -
Add the following code:
<?xml version="1.0"?>
<page xmlns:xsi="http://www.w3.org/2001/XMLSchema-instance" xsi:noNamespaceSchemaLocation="urn:magento:framework:View/Layout/etc/page_configuration.xsd">
    <update handle="customer_account"/>
    <body>
        <referenceContainer name="content">
            <block class="Magento\Framework\View\Element\Template" name="vendorname_tutorial_custom_my_account_content" template="VendorName_Tutorial::newtemplate.phtml"/>
        </referenceContainer>
    </body>
</page>
Step 4: Create template newtemplate.phtml
-
Create a new file:
<VendorName>/Tutorial/view/frontend/templates/newtemplate.phtml. -
Add the following code:
<div>
    <h2>Hello World</h2>
</div>
Step 5: Delete Cache and Refresh the Page
-
Clear your Magento 2 cache.
-
Refresh your browser to see the new link.
5 Steps to Remove a Link from My Account Menu in Magento 2
Step 1: Create a new XML file
-
Navigate to your Magento 2 project directory.
-
Create a new file:
app/code/<VendorName>/<ModuleName>/view/frontend/layout/customer_account.xml -
Replace
and with your actual vendor and module names.
Step 2: Add the XML code
-
Open the
customer_account.xmlfile you just created. -
Add the following code:
<?xml version="1.0"?>
<page xmlns:xsi="http://www.w3.org/2001/XMLSchema-instance" xsi:noNamespaceSchemaLocation="urn:magento:framework:View/Layout/etc/page_configuration.xsd">
    <body>
        <referenceBlock name="customer_account_navigation">
            <remove name="link_name" />
        </referenceBlock>
    </body>
</page>
- Replace 'link_name' with the actual name of the link you want to remove.
Step 3: Identify the link name
Common link names include:
-
customer-account-navigation-account-link.
-
customer-account-navigation-address-link.
-
customer-account-navigation-account-edit-link.
-
customer-account-navigation-newsletter-subscriptions-link.
-
customer-account-navigation-billing-agreements-link.
-
customer-account-navigation-product-reviews-link.
-
customer-account-navigation-orders-link.
-
customer-account-navigation-my-credit-cards-link.
-
customer-account-navigation-wish-list-link.
Step 4: Save and clear cache
-
Save the
customer_account.xmlfile. -
Clear your Magento 2 cache.
Step 5: Verify the changes
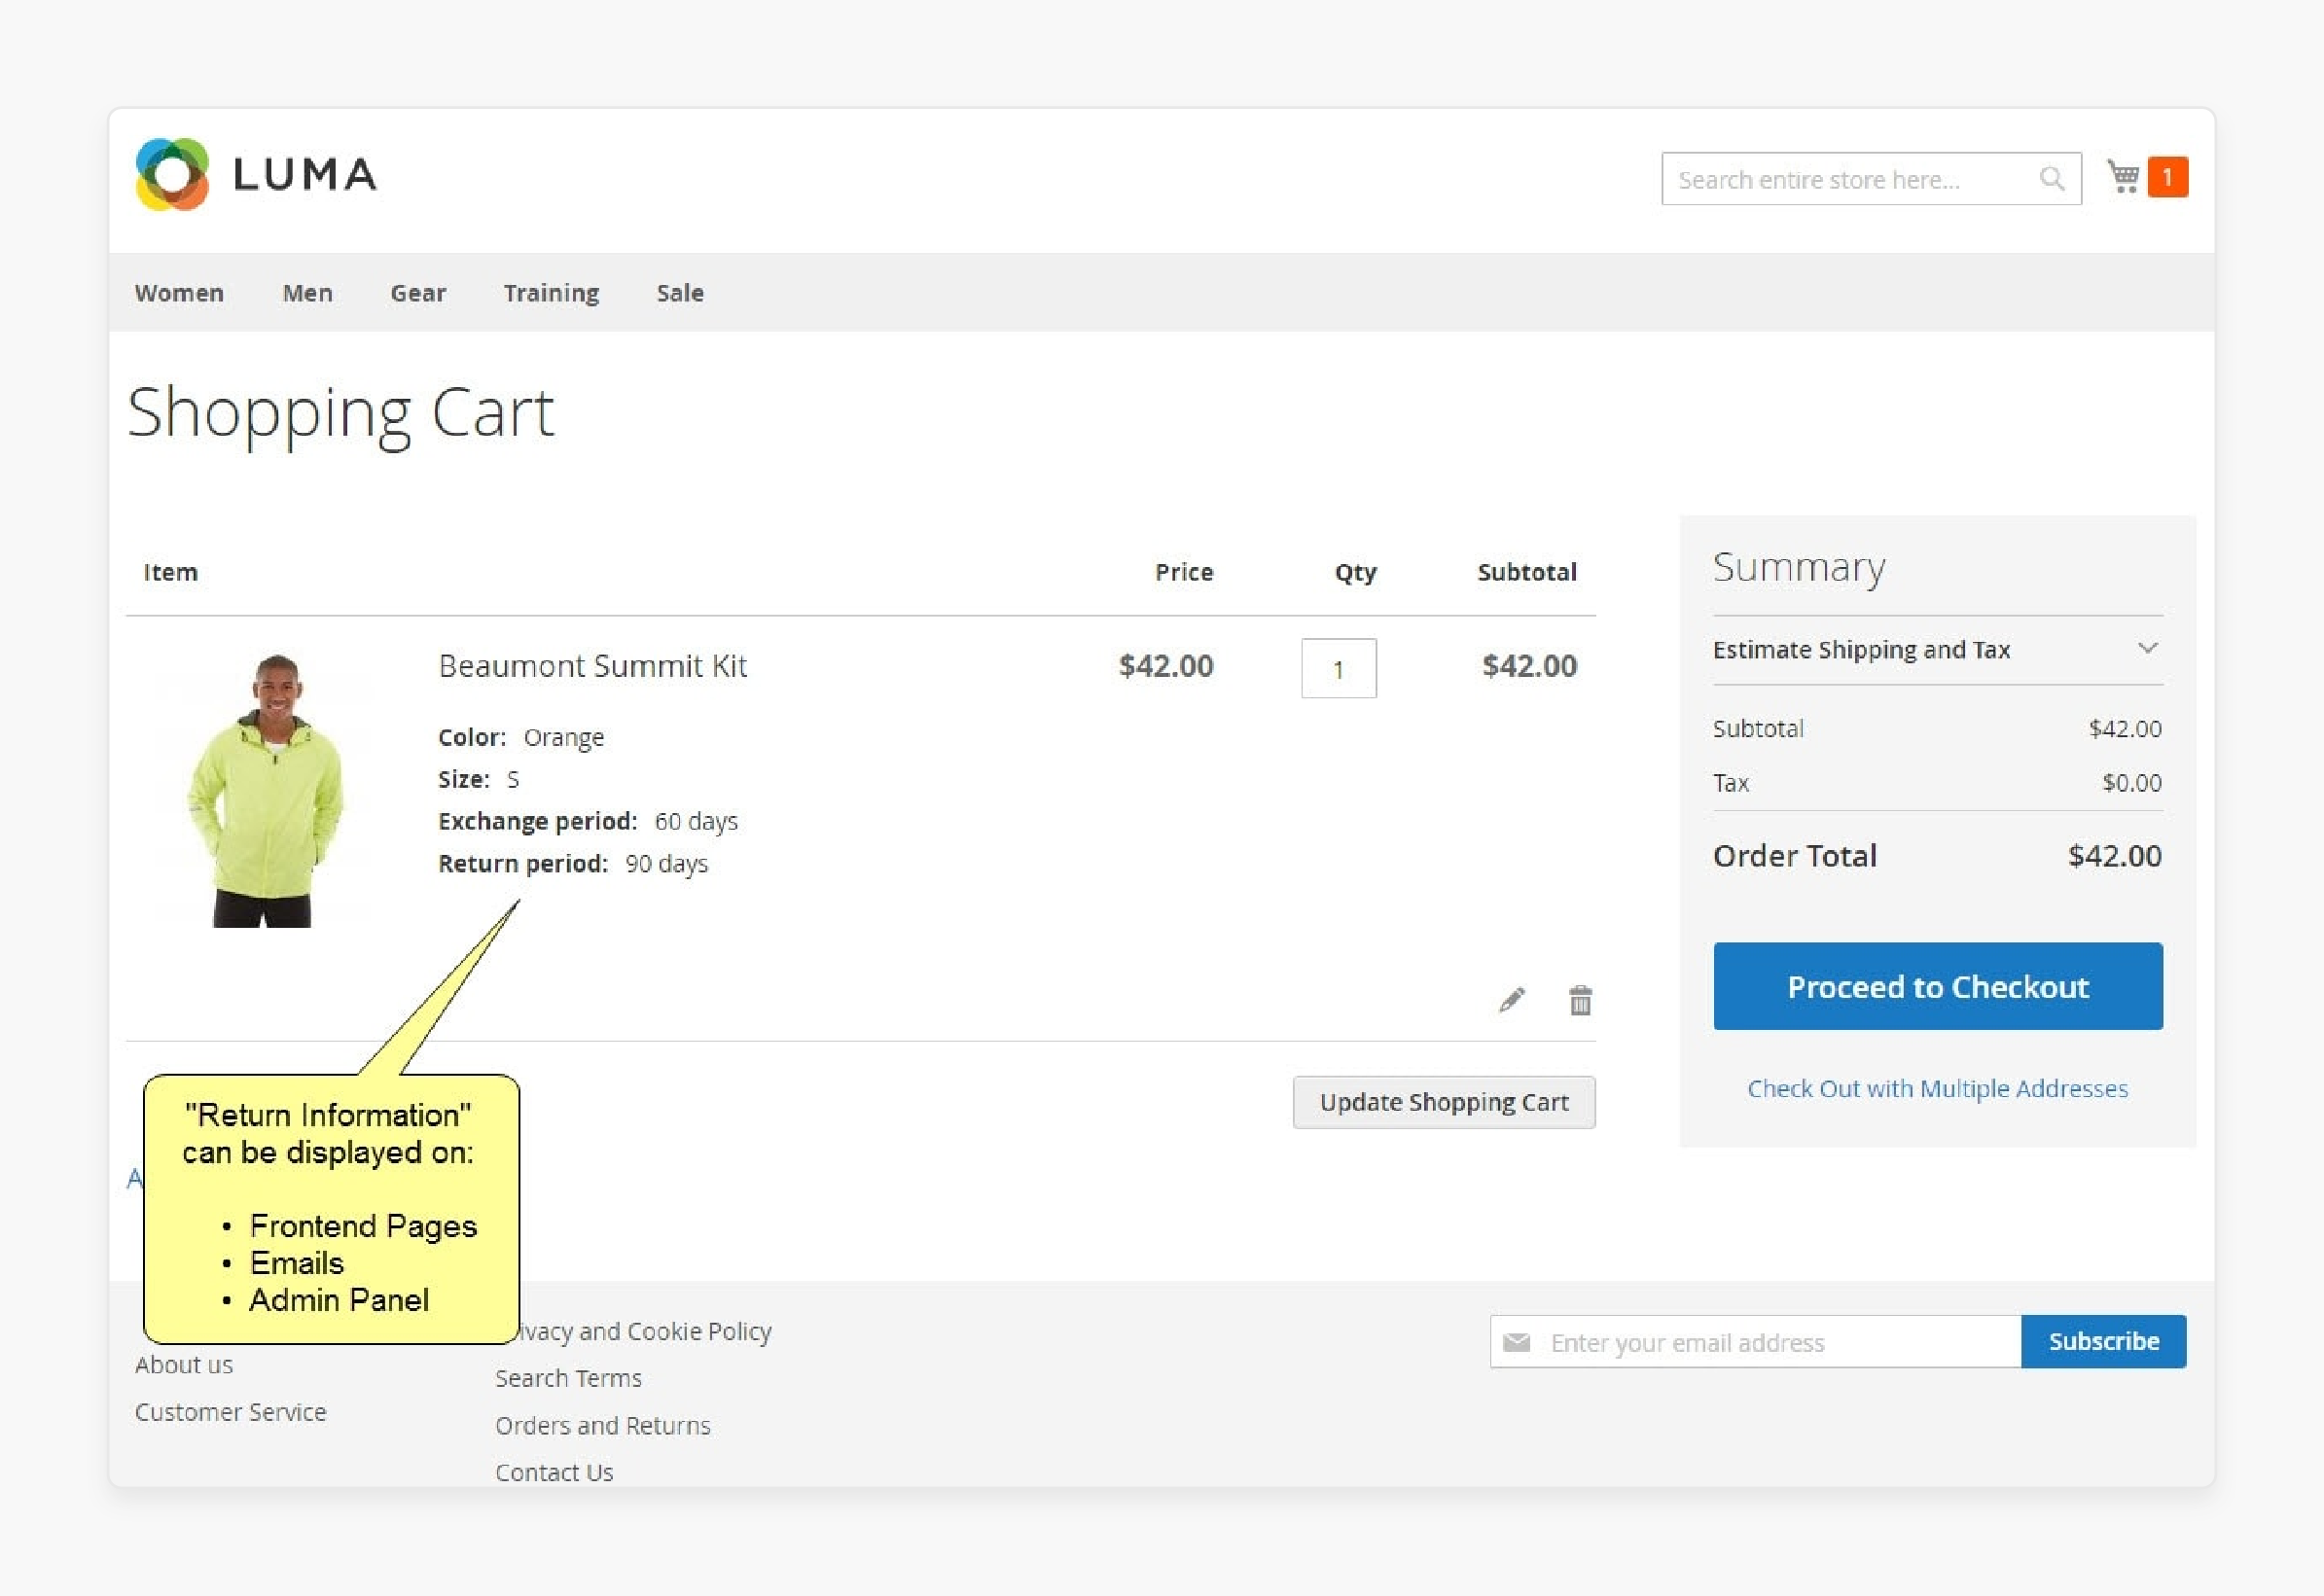
-
Log in to your Magento 2 storefront.
-
Navigate to the My Account page.
-
Confirm that the link has been removed from the menu.
Unique Link Integration Tips for the "My Account" Menu
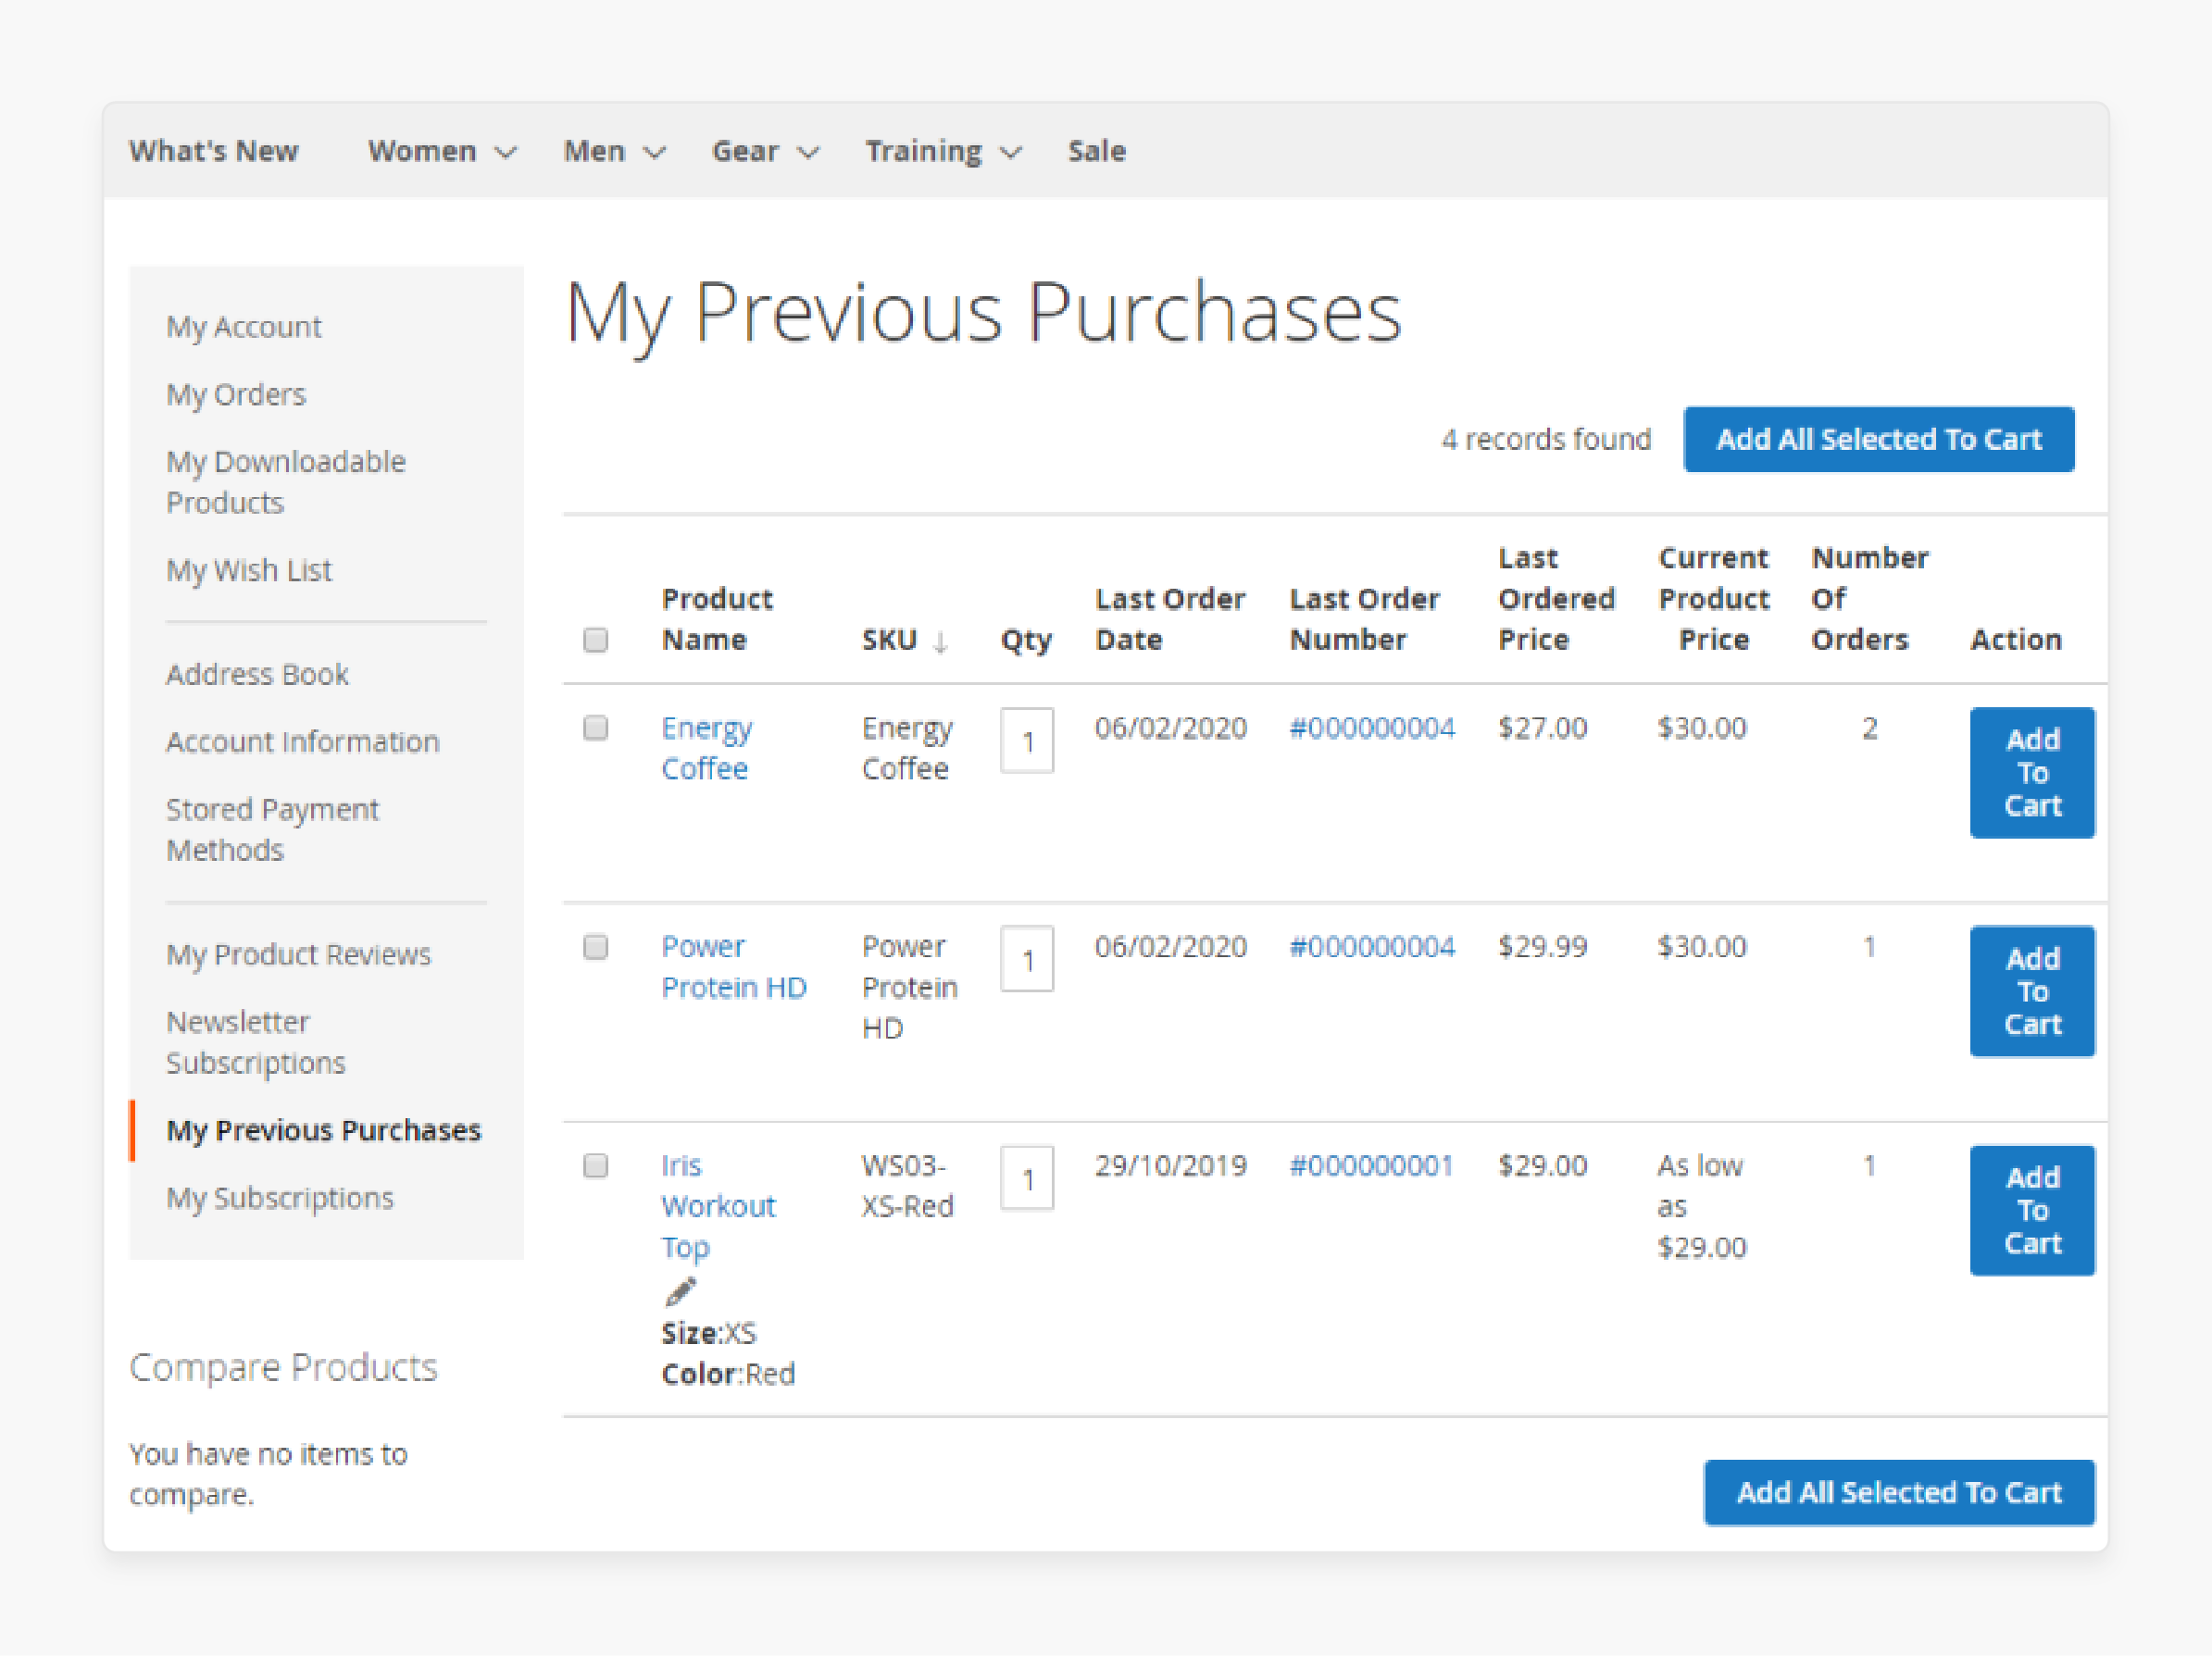
1. Dynamic Link Generation Based on Customer Behavior
-
Create links that appear based on customer actions.
-
For example, add a "Reorder Favorites" link when a customer has made repeat purchases.
-
The link could lead to a page showing their most frequently ordered items.
-
It makes reordering easier and encourages repeat business.
-
Use Magento's customer data to determine when to show the link.
2. Segmented Link Visibility for Customer Groups
-
Show different links to various customer segments.
-
For instance, display a "Bulk Order" link only for wholesale customers.
-
The link could lead to a simplified ordering page for large quantities.
-
It streamlines the process for your B2B clients.
-
Use customer group data to control link visibility in the
customer_account.xmlfile.
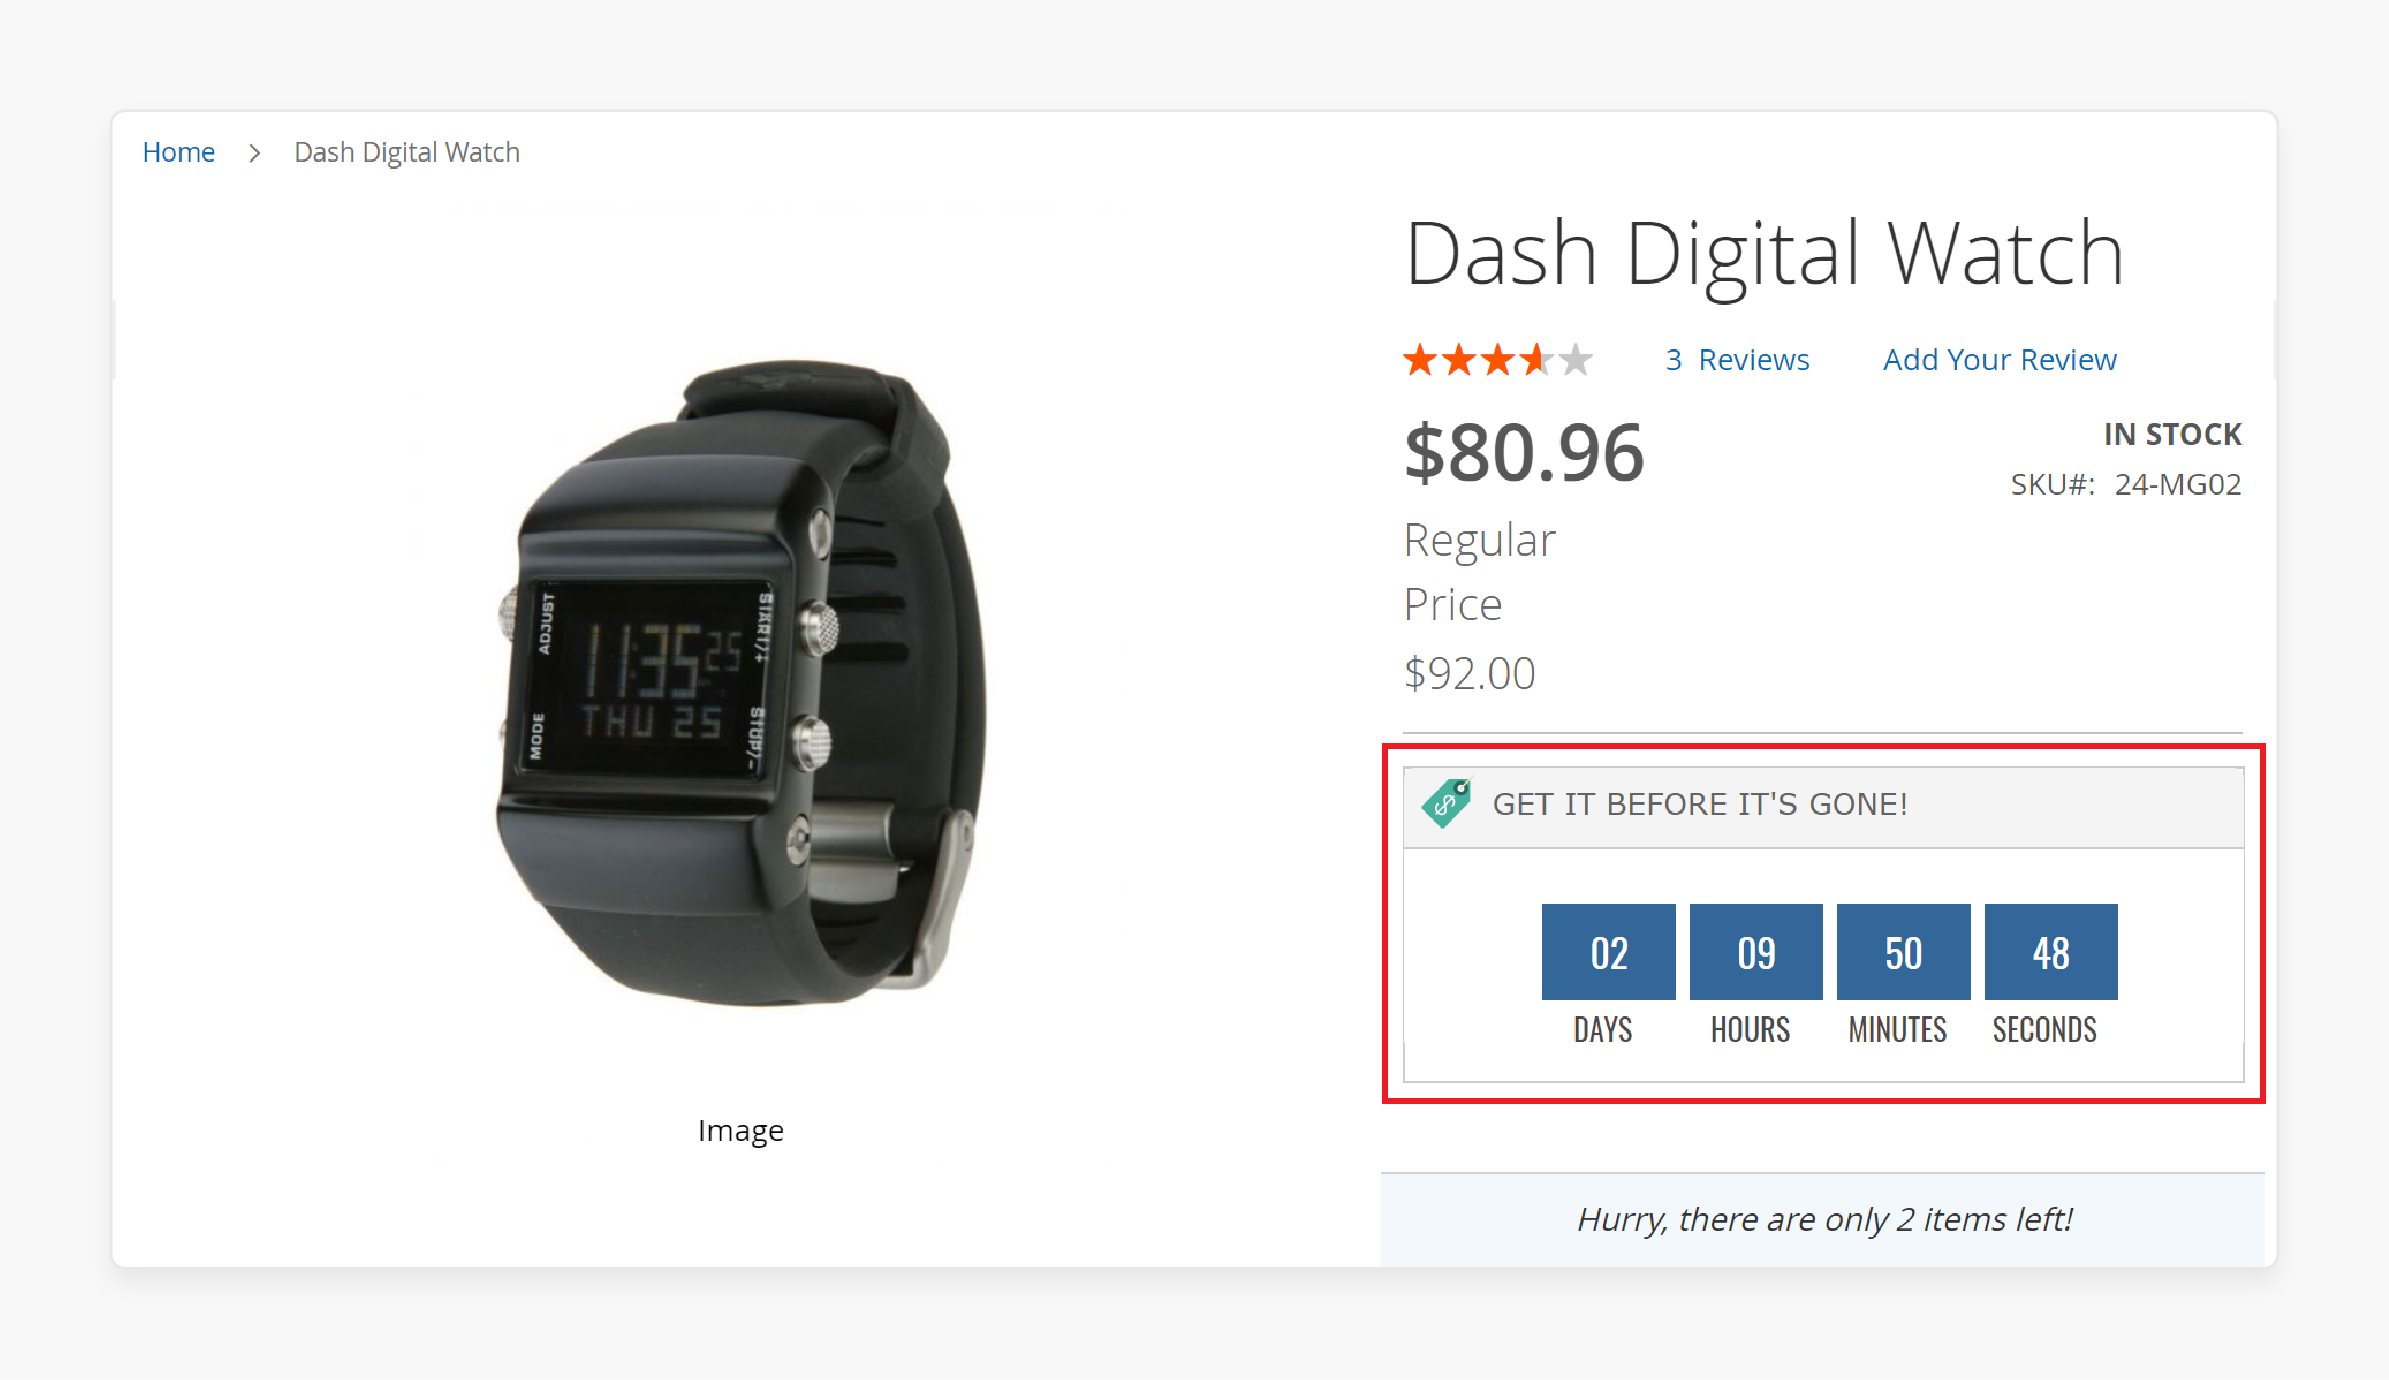
3. Time-Sensitive Link Activation
-
Create links that appear only during specific time periods.
-
For example, add a "Holiday Deals" link during festive seasons.
-
The link could showcase special promotions and limited-time offers.
-
It creates urgency and drives sales during peak periods.
-
Use Magento's date functions to control when these links appear.
4. Progressive Link Unlocking
-
Implement a system where new links unlock as customers engage more.
-
For instance, reveal a "VIP Perks" link after a customer's fifth purchase.
-
The link could lead to exclusive discounts or early access to new products.
-
It encourages customer loyalty and repeated engagement.
-
Use purchase history data to trigger these new links.
5. Integrated Third-Party Service Links
-
Add links that connect to external services you offer.
-
For example, create a "Schedule Service" link for product maintenance.
-
It could integrate with a booking system for repair services.
-
It adds value to your products and keeps customers engaged post-purchase.
-
Use API connections to link these external services seamlessly.
6. Customizable Link Order
-
Allow customers to rearrange their account navigation links.
-
Add a "Customize Menu" link that leads to a drag-and-drop interface.
-
Customers can then prioritize the links they use most often.
-
Such personalization improves their account page experience.
-
Store their preferences and apply them using custom JavaScript and the
customer_account.xmllayout.
FAQs
1. How do I add a custom link in my account navigation for Magento 2?
To add a custom link, modify the customer_account.xml layout file. Create a new block within the referenceBlock named "customer_account_navigation". Use the MagentoFrameworkViewElementHtmlLinkCurrent class for the block. Specify the path, label, and sort order for your new link. Clear the cache to see your changes in the account navigation.
2. Can I change the order of links in the Magento 2 account menu?
Yes, you can change the order of links in Magento 2. Adjust the sort order argument in the customer_account.xml layout file. Lower numbers will appear higher in the navigation menu. Remember to clear your cache after making these changes. It allows you to prioritize important links for your customers.
3. How do I remove a link from the My Account navigation in Magento 2?
To remove a link, use the **<remove> tag in customer_account.xml. Specify the name of the block you want to remove. For example, to remove downloadable products, use <remove name="customer-account-navigation-downloadable-products-link" />. Clear your cache to see the changes in your account navigation.
4. What is the purpose of the ResultPageFactory in Magento 2 custom controllers?
ResultPageFactory creates and returns result page objects in Magento 2. It's used in custom controllers to generate page layouts. You typically inject it into your controller's constructor. Use it in the execute() method to create and return pages. Overall, it helps maintain consistency across your custom account pages.
5. How can I create an active menu item for my custom link?
To create an active menu item, use the Current class. In your controller, set the active menu item using $resultPage->getConfig()->getTitle()->set(). Match it with the label in your customer_account.xml layout file. It ensures your custom link is highlighted when its page is active.
6. Can I add links to third-party services in the My Account navigation?
Yes, you can add links to third-party services. Create a custom controller and block for the new link. Use the customer_account.xml layout to add the link to navigation. Implement the necessary logic to connect with the third-party service. It allows seamless integration of external services into the account area.
7. How do I handle permissions for custom links in Magento 2 account navigation?
To handle permissions, extend the MagentoCustomerControllerAbstractAccount class in your controller. Use Magento's built-in ACL (Access Control List) system. Check user permissions before displaying sensitive information or actions. It ensures that only authorized customers can access certain links or pages.
Summary
Magento 2 Add Link to “My Account Menu” helps improve customer navigation in their Magento store. Here are the key highlights of the tutorial,
- Enhance your store’s user experience by personalizing links. It makes frequently accessed pages more visible.
- Custom links increase engagement with features like "My Rewards." They can also streamline reordering for repeat purchases.
- Adding support links improves customer satisfaction. Quick access to assistance can reduce customer frustration.
- Removing links is straightforward, requiring simple XML file edits. Ensure to clear the cache and verify changes.
- Unique time-sensitive links like "Holiday Deals" drive urgency. These links boost sales during peak periods.
Consider managed Magento hosting to ensure your store runs smoothly, especially when implementing personal link customizations.


