How to Install Magento 2.4.4 on Ubuntu 20.04
Magento is a popular open-source e-commerce platform written in PHP. The platform is compatible with Linux-based systems such as Ubuntu or Debian. In this Magento 2 installation guide, we will provide you with the steps on how to install Magento 2.4 on Ubuntu 20.04, as well as how to access the Magento admin panel on localhost.
Get the steps on how to install Magento 2.4 on Ubuntu 20.04.
Prerequisites
- Ubuntu 20.04
- Root SSH access. Or regular user with sudo privileges
Steps to Install Magento 2.4.4 on Ubuntu 20.04
1. Log in via SSH and update the system
Log in to Ubuntu 20.04 VPS with SSH as a root user. You can also login as a regular user with sudo privileges.
ssh master@IP_Address -p Port_number
Add your server’s actual IP address and SSH port number. It should be in place of IP_address and Port_number.
Check if you have the proper Ubuntu version installed on your server. Use the following command -
$ lsb_release -a
The output should look like this -
No LSB modules are available.
Distributor ID: Ubuntu
Description: Ubuntu 20.04.3 LTS
Release: 20.04
Codename: focal

Ensure that the installed packages are updated to the latest version. Run the following command -
$ sudo apt update && sudo apt upgrade
2. Install PHP
By default PHP 8.1 is not available in Ubuntu 20.04. Use the command below to add a repository for it.
sudo apt install software-properties-common && sudo add-apt-repository ppa:ondrej/php -y
sudo apt update
Magento 2.4.4 is fully compatible with PHP 8.1.
Run the following command to install the latest stable version of PHP 8.1 and all its modules.
$ sudo apt install php8.1-{bcmath,common,curl,fpm,gd,intl,mbstring,mysql,soap,xml,xsl,zip,cli}
You can now increase some PHP variable values to meet Magento’s minimum requirements.
$ sudo sed -i "s/memory_limit = .*/memory_limit = 768M/" /etc/php/8.1/fpm/php.ini
$ sudo sed -i "s/upload_max_filesize = .*/upload_max_filesize = 128M/" /etc/php/8.1/fpm/php.ini
$ sudo sed -i "s/zlib.output_compression = .*/zlib.output_compression = on/" /etc/php/8.1/fpm/php.ini
$ sudo sed -i "s/max_execution_time = .*/max_execution_time = 18000/" /etc/php/8.1/fpm/php.ini
3. Install Web Server
We are using the NGINX web server for this tutorial.
$ sudo apt install nginx
Create an NGINX server block for our domain.
$ nano /etc/nginx/sites-enabled/magento.conf
Enter the following into the configuration file.
upstream fastcgi_backend {
server unix:/run/php/php8.1-fpm.sock;
}

server {
server_name yourdomain.com;
listen 80;
set $MAGE_ROOT /opt/magento2;
set $MAGE_MODE developer; # or production

access_log /var/log/nginx/magento2-access.log;
error_log /var/log/nginx/magento2-error.log;

include /opt/magento2/nginx.conf.sample;
}
Save the file then exit.
4. Install MariaDB Server
Install the latest MariaDB server from the official Ubuntu repositories
$ sudo apt install mariadb-server
After the installation, create a new database and its user for the Magento website.
$ sudo mysql
The command will bring you to MySQL/MariaDB shell without a password. By default root does not have a password.
To secure the MariaDB installation, run the next command to improve security of your MySQL server installation.
$ mysql_secure_installation
If you prefer to run the mysql_secure_installation, you can run the command below to log in to MySQL/MariaDB shell.
mysql -u root -p
Type in the password that you created earlier when running mysql_secure_installation.
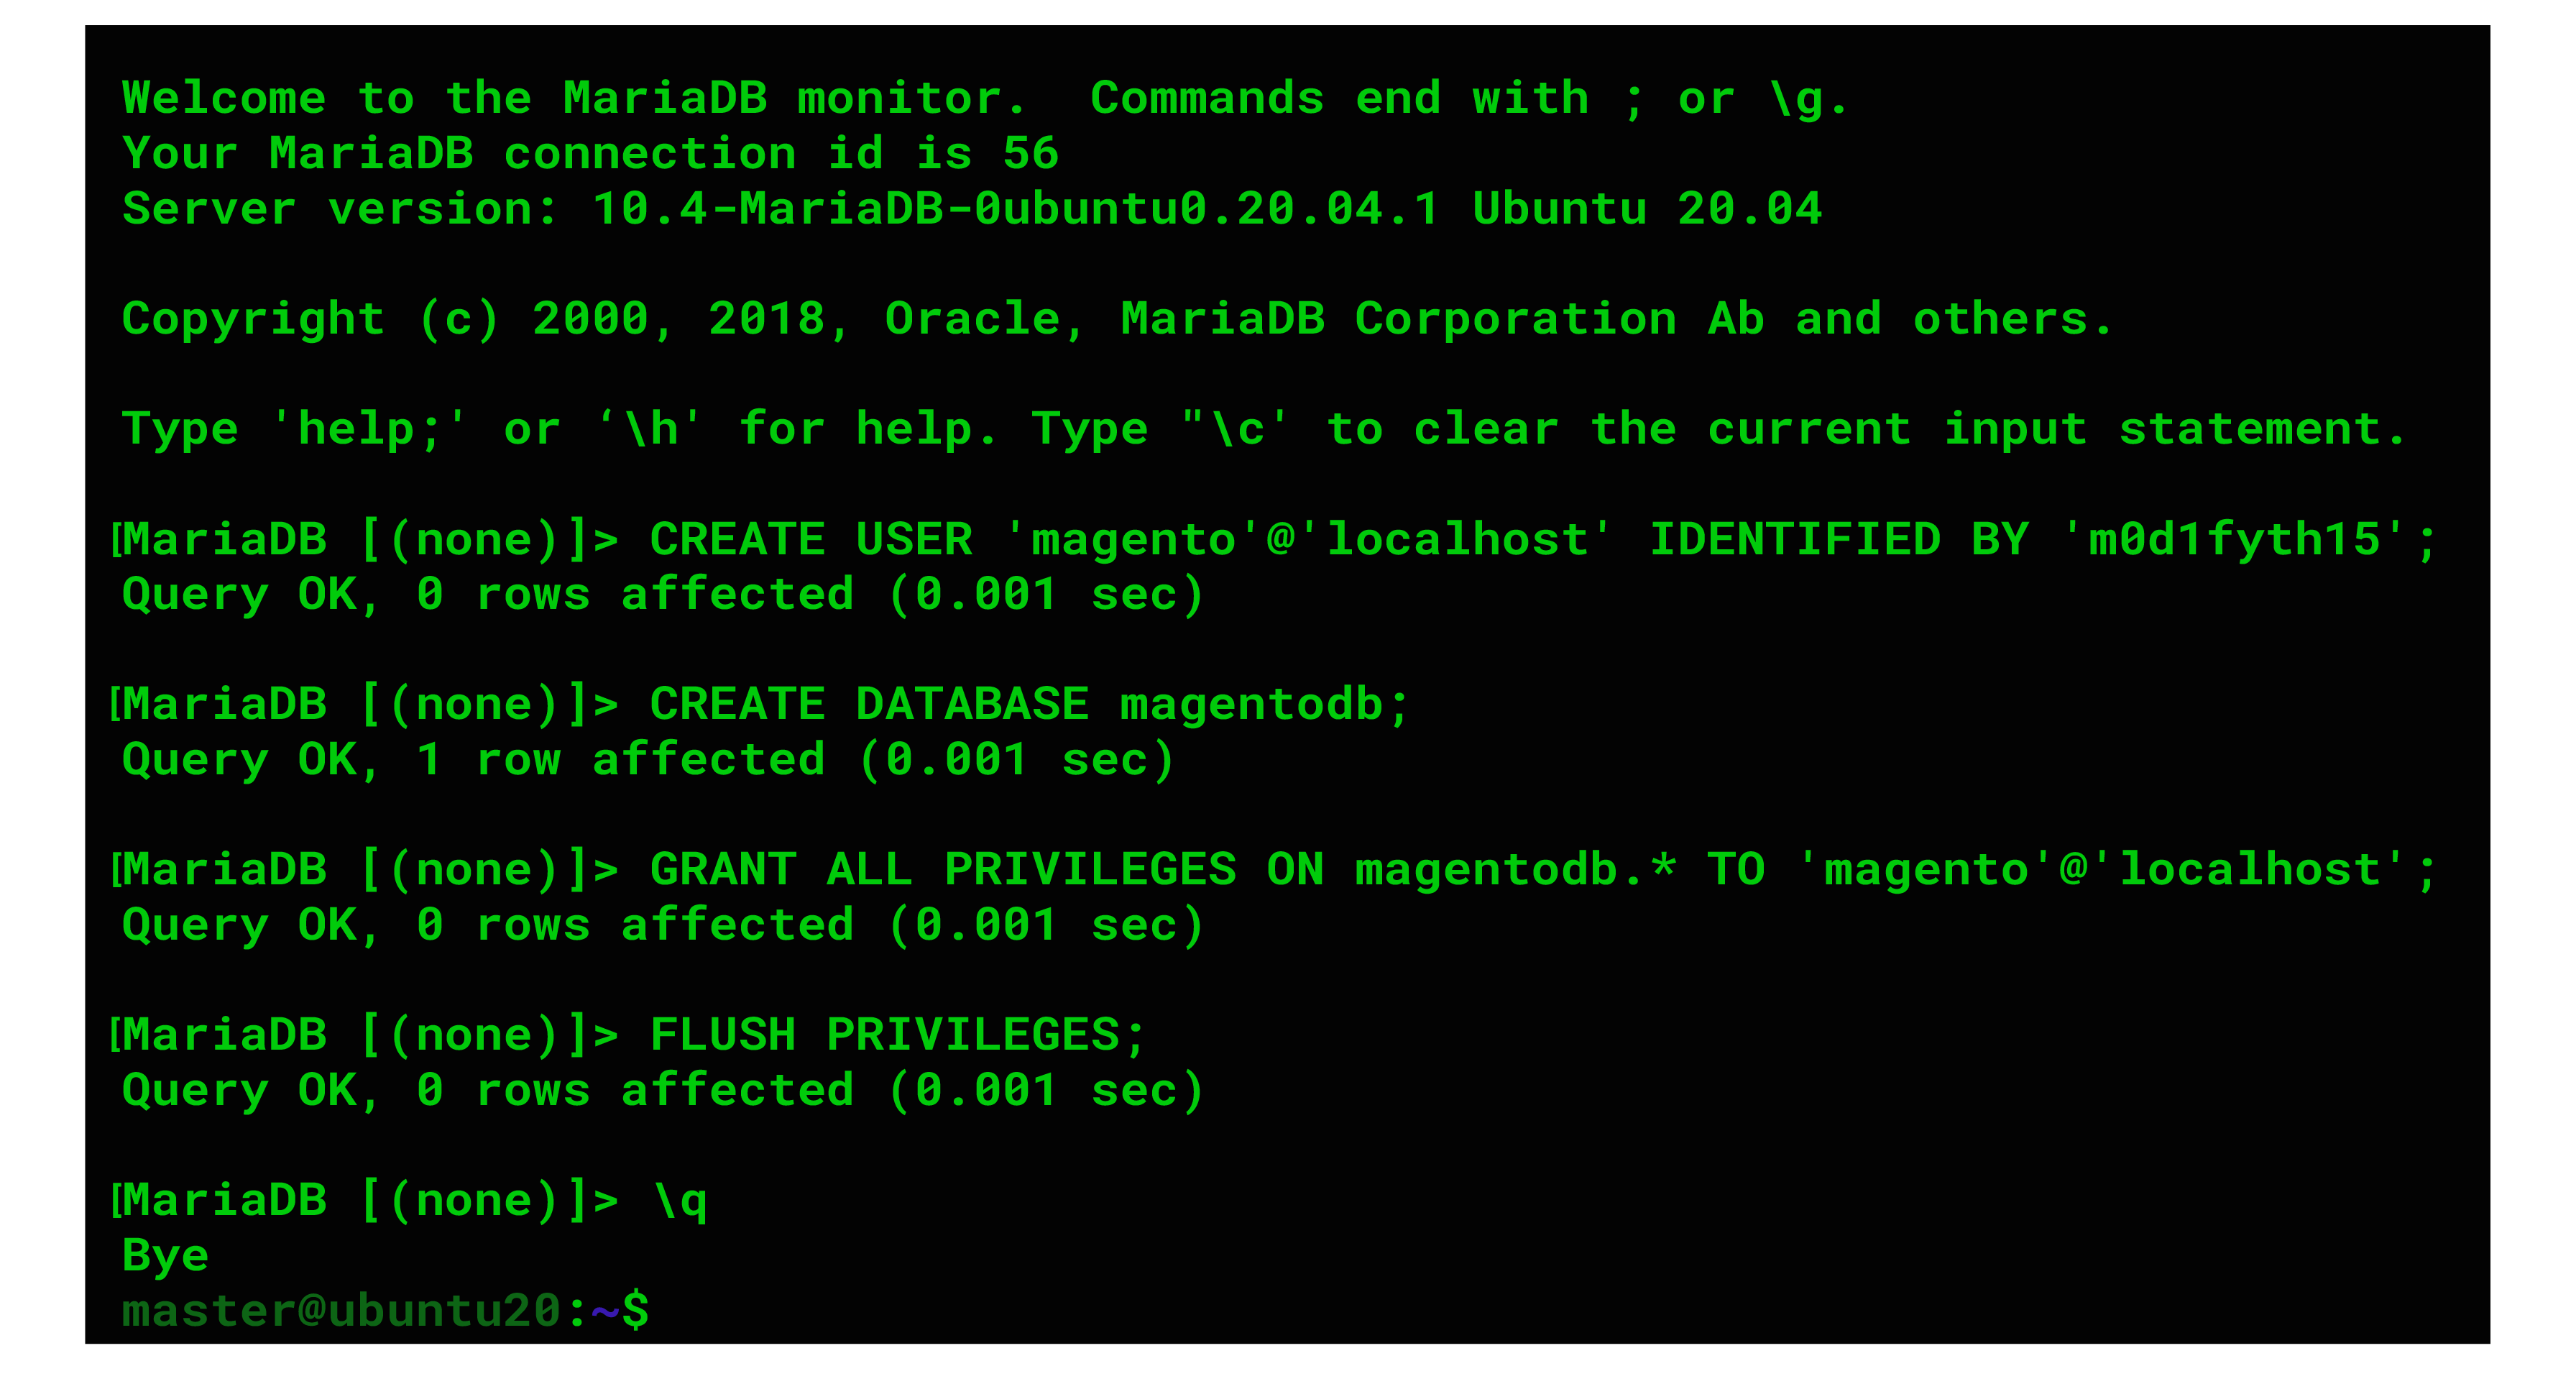
Once you are logged in, create a database and password for our Magento website. Use the commands shown below. Add a stronger password that you prefer.
mysql> CREATE USER 'magento'@'localhost' IDENTIFIED WITH mysql_native_password BY 'm0d1f1257';
mysql> CREATE DATABASE magentodb;
mysql> GRANT ALL PRIVILEGES ON magentodb.* TO 'magento'@'localhost';
mysql> FLUSH PRIVILEGES;
mysql> \q

5. Install Elastic Search
- Install the Elasticseach Repository
The Magento 2.4.x installations must be configured to use Elasticsearch as the catalog search solution.
Elasticsearch is not available in the Ubuntu 20.04 repository. We have to add the Elasticsearch repository to the system.
Install the required dependencies with the following command -
$ sudo apt install apt-transport-https ca-certificates gnupg2 -y
Import the GPG key using the following command -
$ wget -qO - https://artifacts.elastic.co/GPG-KEY-elasticsearch | sudo apt-key add -
Run the command below to add the Elasticsearch repository:
sudo sh -c 'echo "deb https://artifacts.elastic.co/packages/7.x/apt stable main" > /etc/apt/sources.list.d/elastic-7.x.list'
- Install Elasticsearch
Update the repository cache to be able to install the Elasticsearch with the following command -
$ sudo apt update -y
$ sudo apt install elasticsearch -y
Elasticsearch is now successfully installed.
You can enable the service by running the next commend -
$ sudo systemctl --now enable elasticsearch
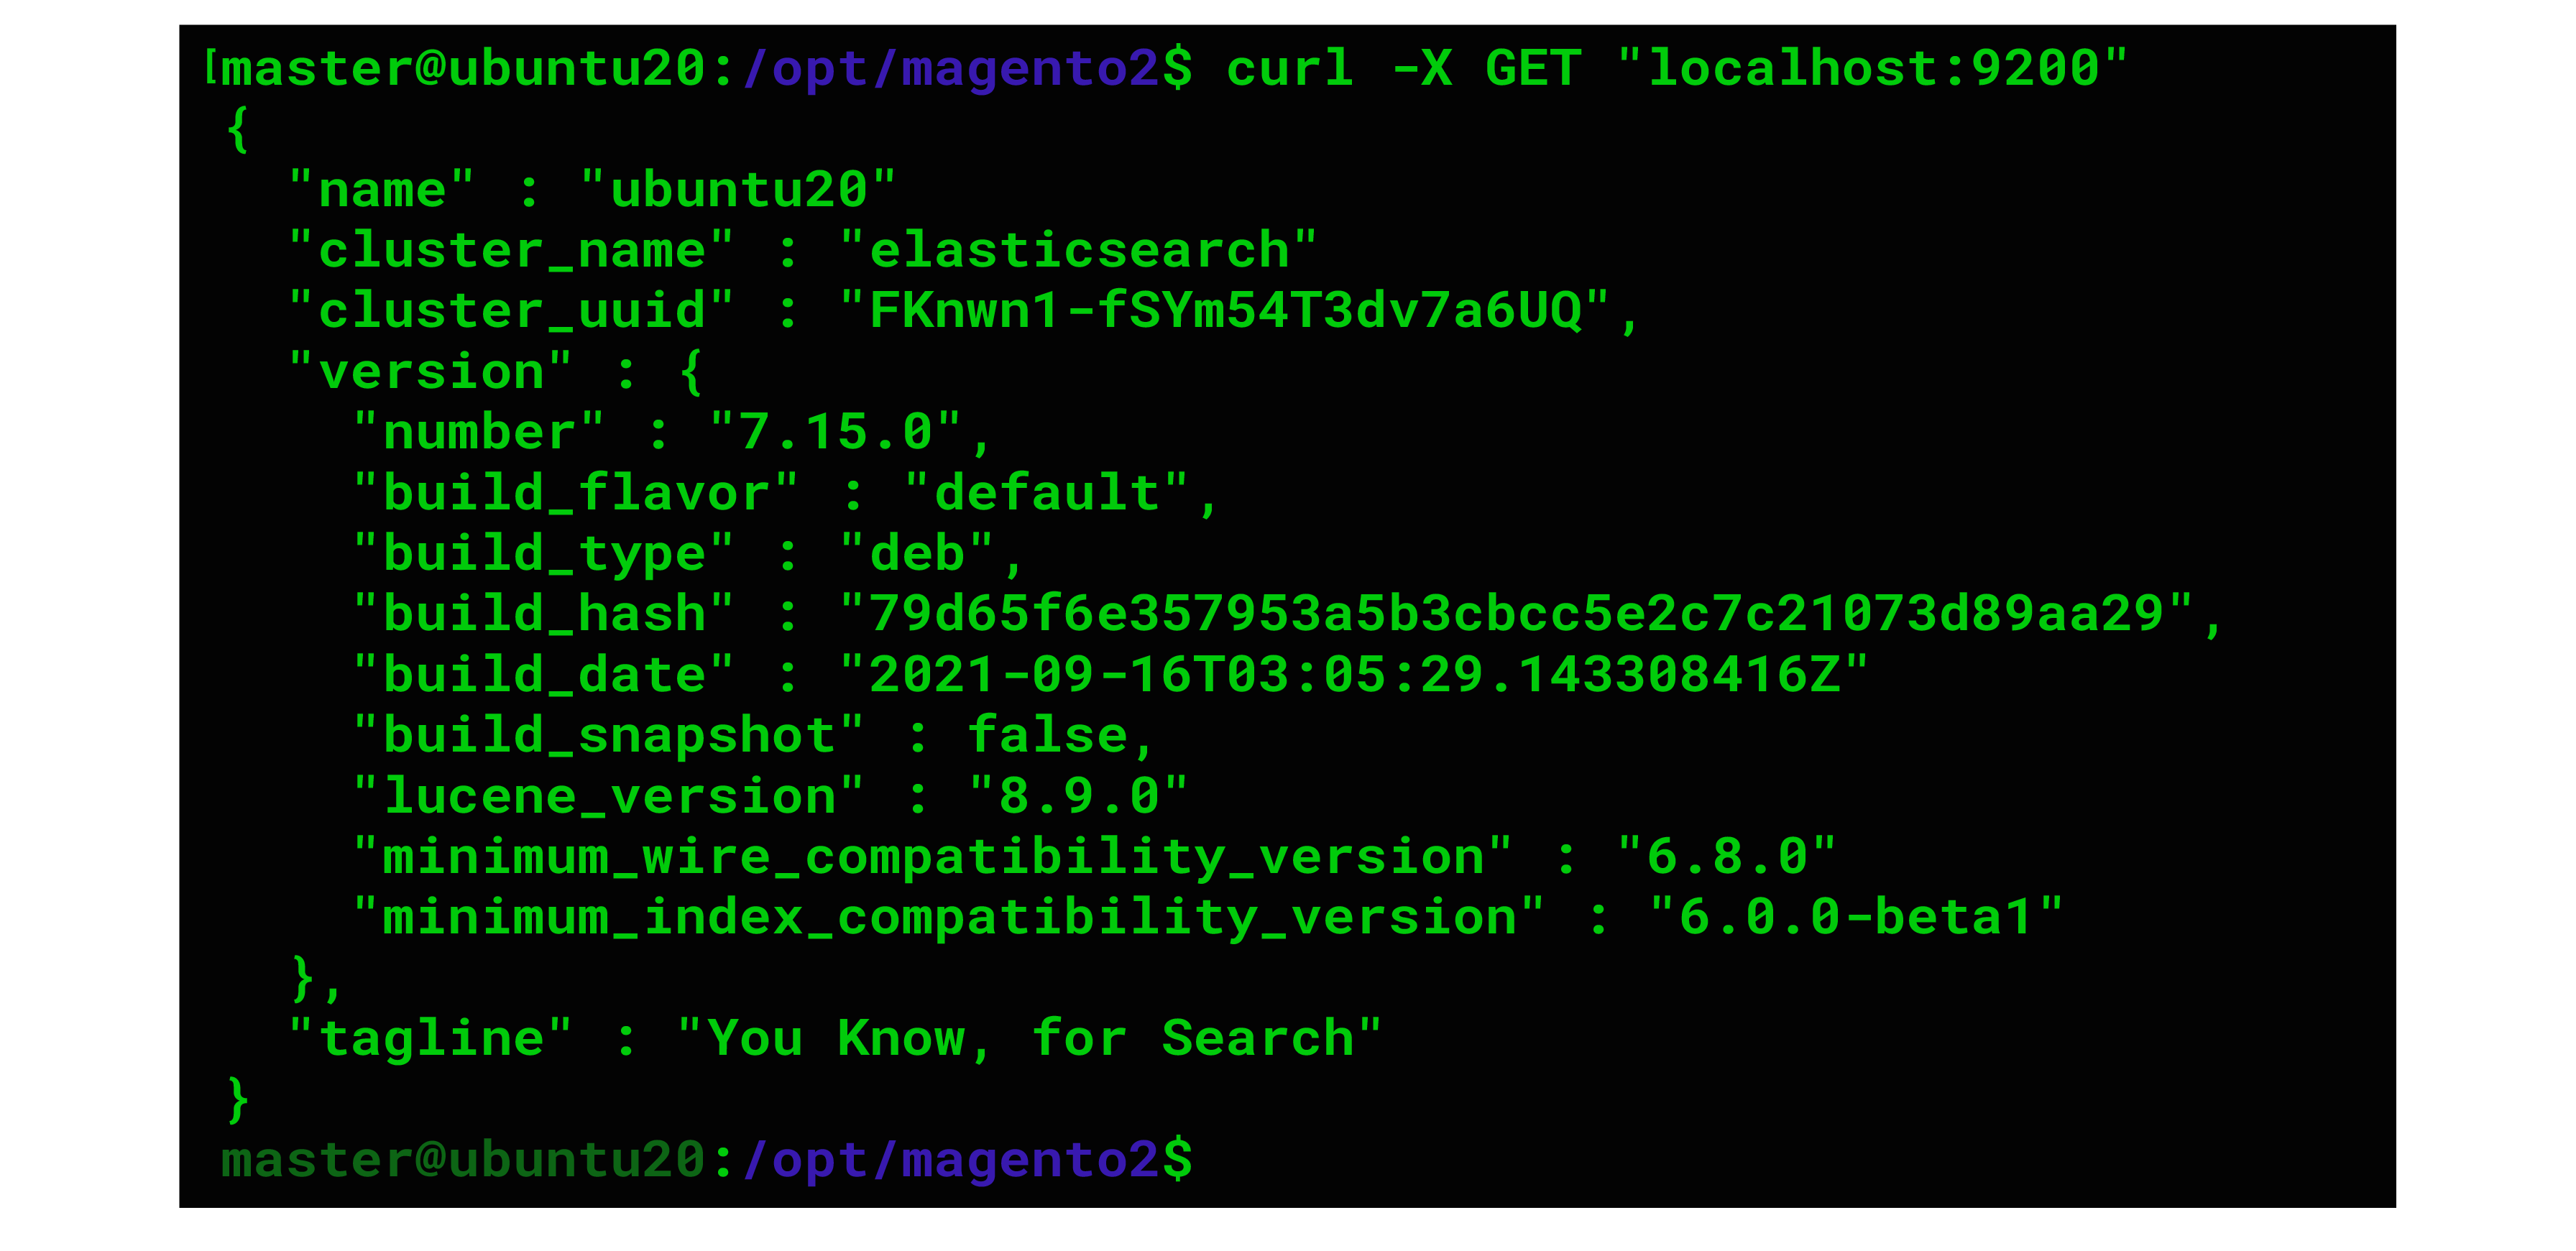
Run the following command to verify that Elasticsearch is working-
$ curl -X GET "localhost:9200"
You will get a message like this -
{
"name" : "ubuntu20",
"cluster_name" : "elasticsearch",
"cluster_uuid" : "FKnwn1-fSYm54T3dv7a6UQ",
"version" : {
"number" : "7.15.0",
"build_flavor" : "default",
"build_type" : "deb",
"build_hash" : "79d65f6e357953a5b3cbcc5e2c7c21073d89aa29",
"build_date" : "2021-09-16T03:05:29.143308416Z",
"build_snapshot" : false,
"lucene_version" : "8.9.0",
"minimum_wire_compatibility_version" : "6.8.0",
"minimum_index_compatibility_version" : "6.0.0-beta1"
},
"tagline" : "You Know, for Search"
}

6. Install Composer
Use the commands below t o install Composer.
$ curl -sS https://getcomposer.org/installer -o composer-setup.php
$ sudo php composer-setup.php --install-dir=/usr/local/bin --filename=composer
You have successfully installed Composer on the system. It is available for global use as we have stored it to /usr/local/bin/.
Check the Composer version with the following command -
$ composer -V
7. Download Magento
We are going to install Magento 2.4.4 using composer. You will require an access key for the next step.
Create an account at the magento.com website and go to the Marketplace and create an access key.
Once you have an access key, run the command in your SSH session.
$ composer create-project --repository-url=https://repo.magento.com/ magento/project-community-edition=2.4.4 /opt/magento2
Enter the username and password, the keys are shown below.
- Username: Public Key
- Password: Private Key
You will not see the password string. Simply paste it and composer will start downloading Magento 2.
Magento files are downloaded to directory /opt/magento2. To use another path, you can edit the command above for another location.
After the download is complete, you can start the installation with the command below-
$ cd /opt/magento2
You can edit the domain name, email address, and admin password. Use the following command -
bin/magento setup:install \
--base-url=http://yourdomain.com \
--db-host=localhost \
--db-name=magentodb \
--db-user=magento \
--db-password=magento \
--admin-firstname=admin \
--admin-lastname=admin \
--admin-email=admin@admin.com \
--admin-user=admin \
--admin-password=admin123 \
--language=en_US \
--currency=USD \
--timezone=America/Chicago \
--use-rewrites=1
After the installation is complete, you will see the following output:
[SUCCESS]: Magento installation complete.
[SUCCESS]: Magento Admin URI: /admin_1iwnbd

You can correct the permissions with the command below -
sudo chown -R www-data. /opt/magento2
Two-factor authentication is enabled by default. If you want to disable it, you can run the command -
$ sudo -u www-data bin/magento module:disable Magento_TwoFactorAuth
$ sudo -u www-data bin/magento cache:flush
8. Setup Cron jobs
Magento uses cron jobs to automate its important system functions.
Create the cron jobs with the following command -
$ sudo -u www-data bin/magento cron:install
9. Install an SSL Certificate
Install the required packages by running the following command -
$ sudo apt install certbot python3-certbot-nginx
Run the command to install a new SSL certificate for the domain name,
Note: Replace yourdomain.com to your actual domain or subdomain name:
$ sudo certbot --nginx -d yourdomain.com -d www.yourdomain.com
Select the option ‘2’ and choose to redirect HTTP traffic to HTTPS:

- - - - - - - - - - - - - - - - - - - - - - - - - - - - - - - - - - - - - - - - - - - - - - - - - - - - - - - - - - - - - - - -
1: No redirect - Make no further changes to the webserver configuration.
2: Redirect - Make all requests redirect to secure HTTPS access. Choose this for
new sites, or if you're confident your site works on HTTPS. You can undo this
change by editing your web server's configuration.
- - - - - - - - - - - - - - - - - - - - - - - - - - - - - - - - - - - - - - - - - - - - - - - - - - - - - - - - - - - - - - - -
Select the appropriate number [1-2] then [enter] (press 'c' to cancel): 2
To test the configuration file, run the command below -
$ sudo nginx -t
If there are no error messages, you can reload NGINX.
sudo systemctl reload nginx
Add the next CLI commands to update the Magento base-URL and the base-URL-secure values -
$ cd /opt/magento2/
$ sudo -u www-data bin/magento setup:store-config:set --base-url="https://yourdomain.com/"
$ sudo -u www-data bin/magento setup:store-config:set --base-url-secure="https://yourdomain.com/"
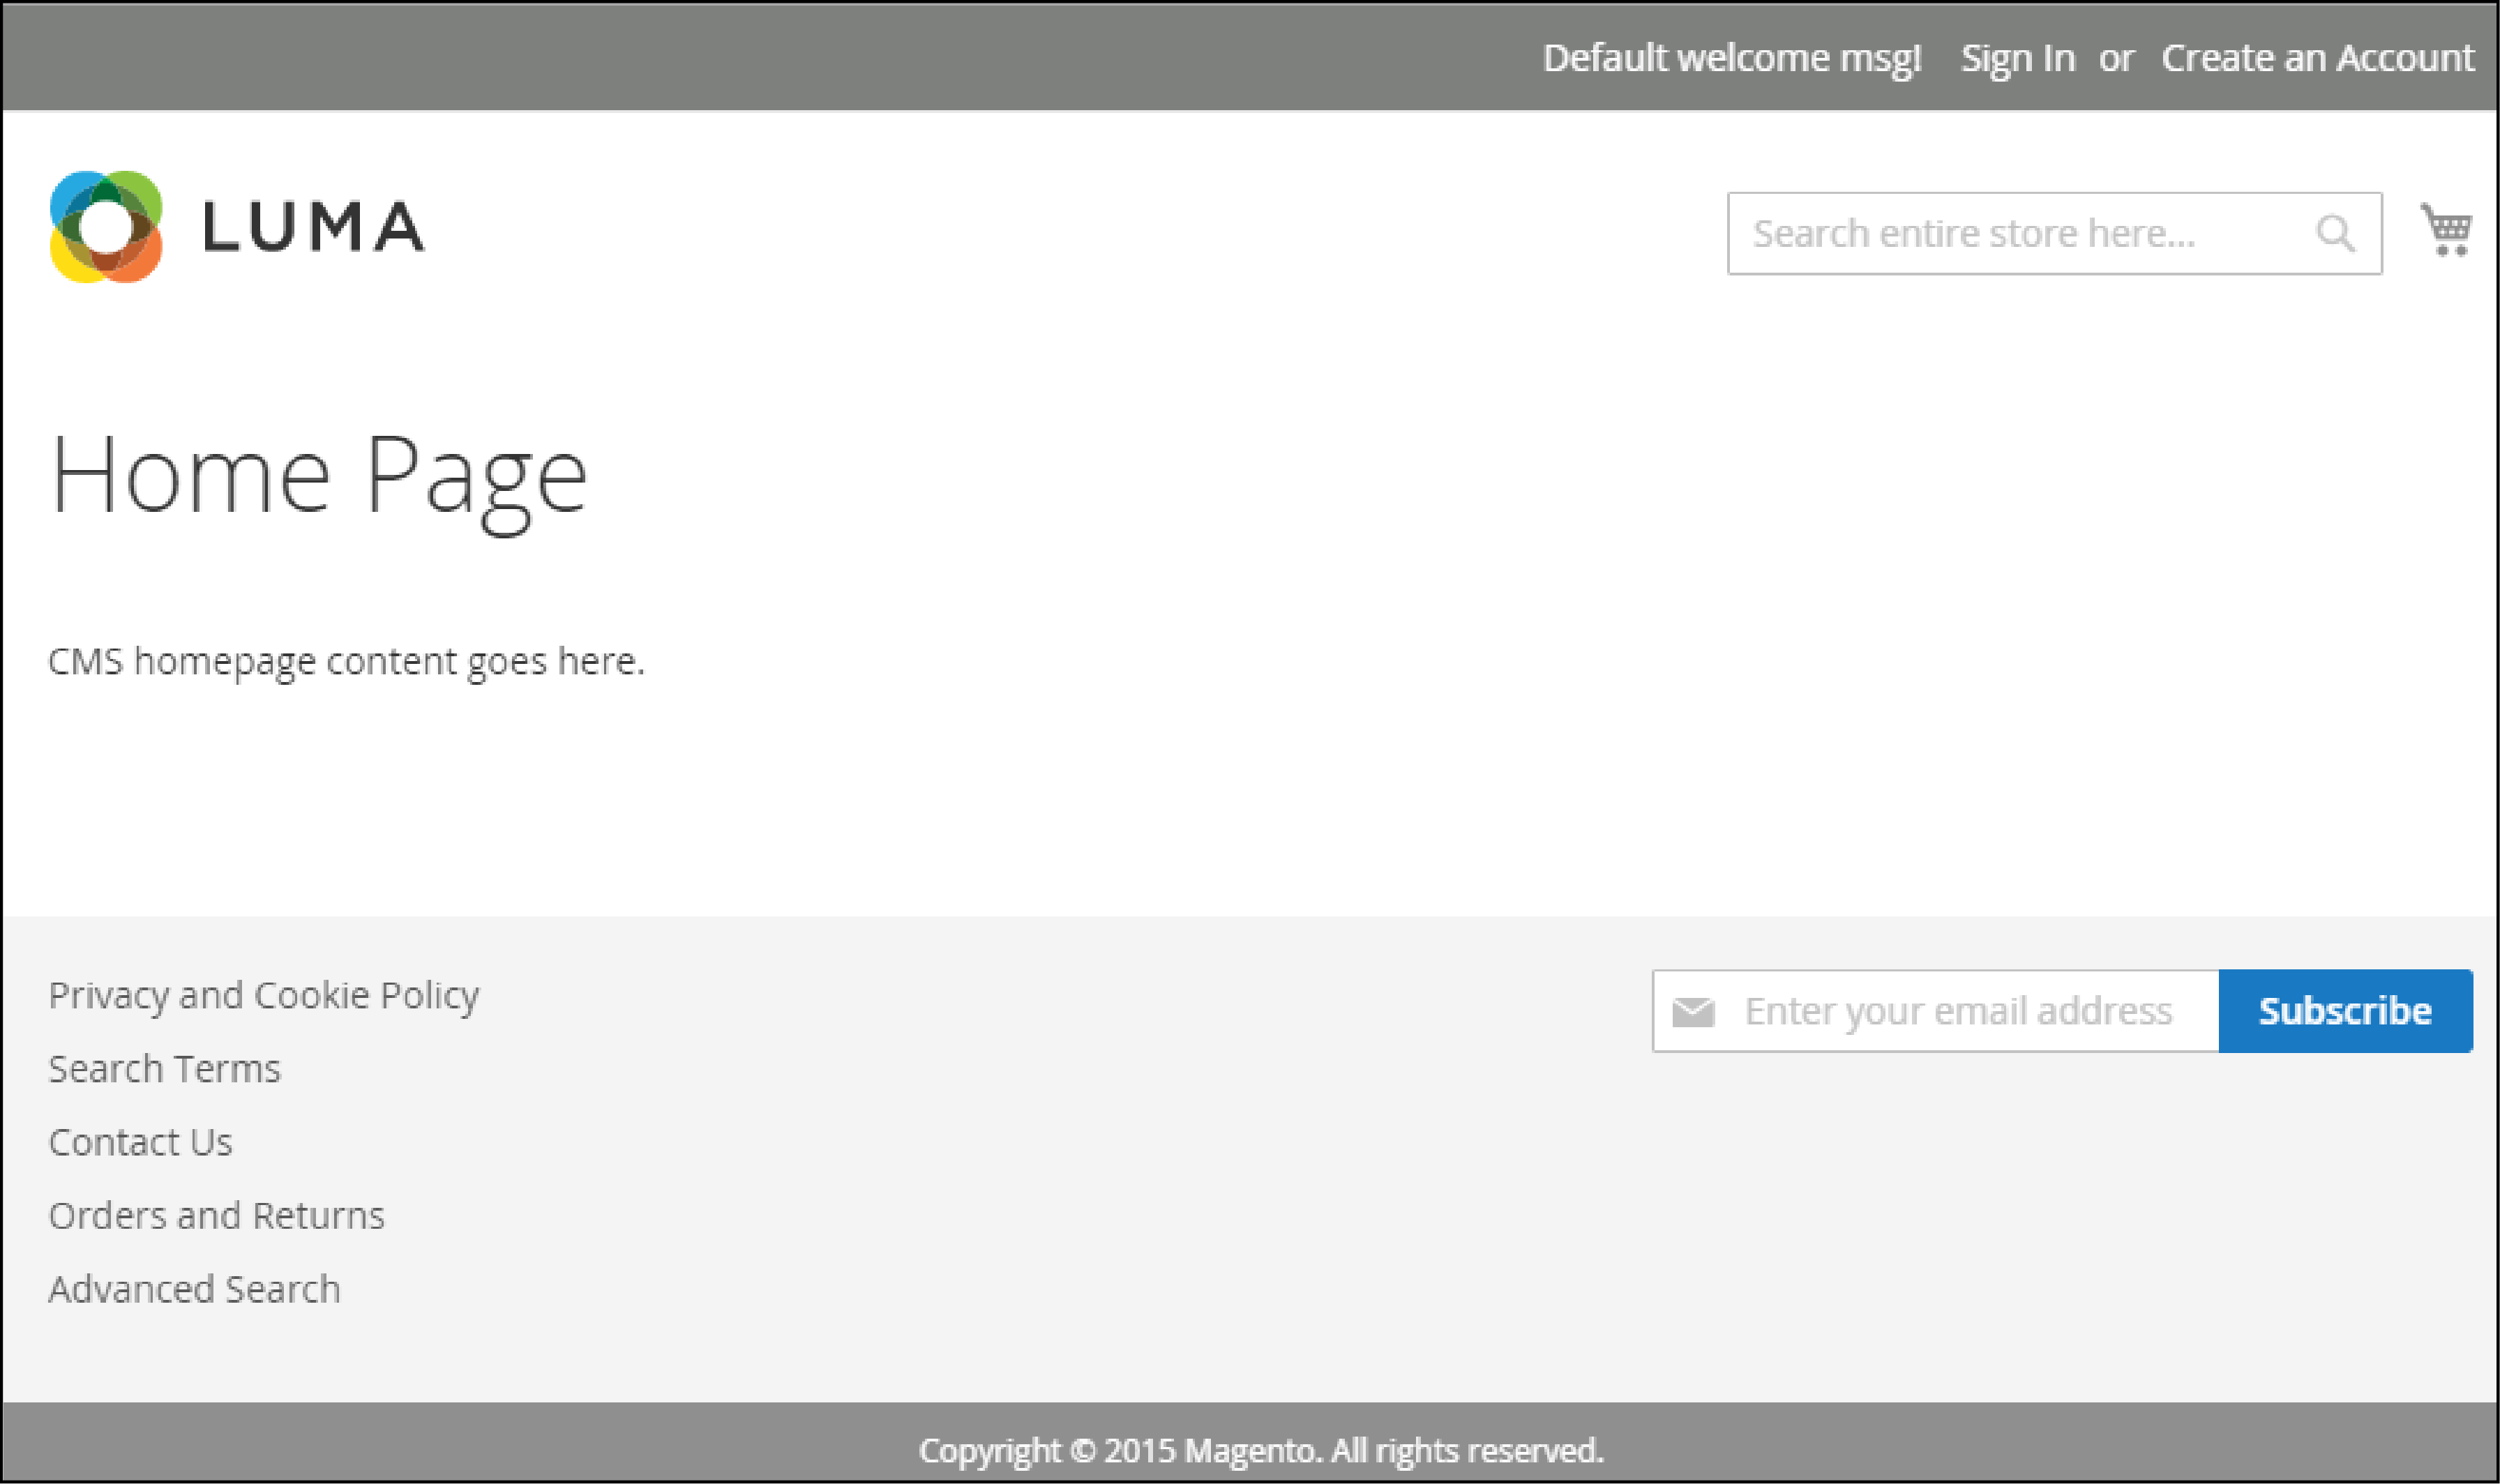
You have now successfully installed Magento 2.4.3 on your Ubuntu 20.04 server.
See the results on your https://yourdomain.com

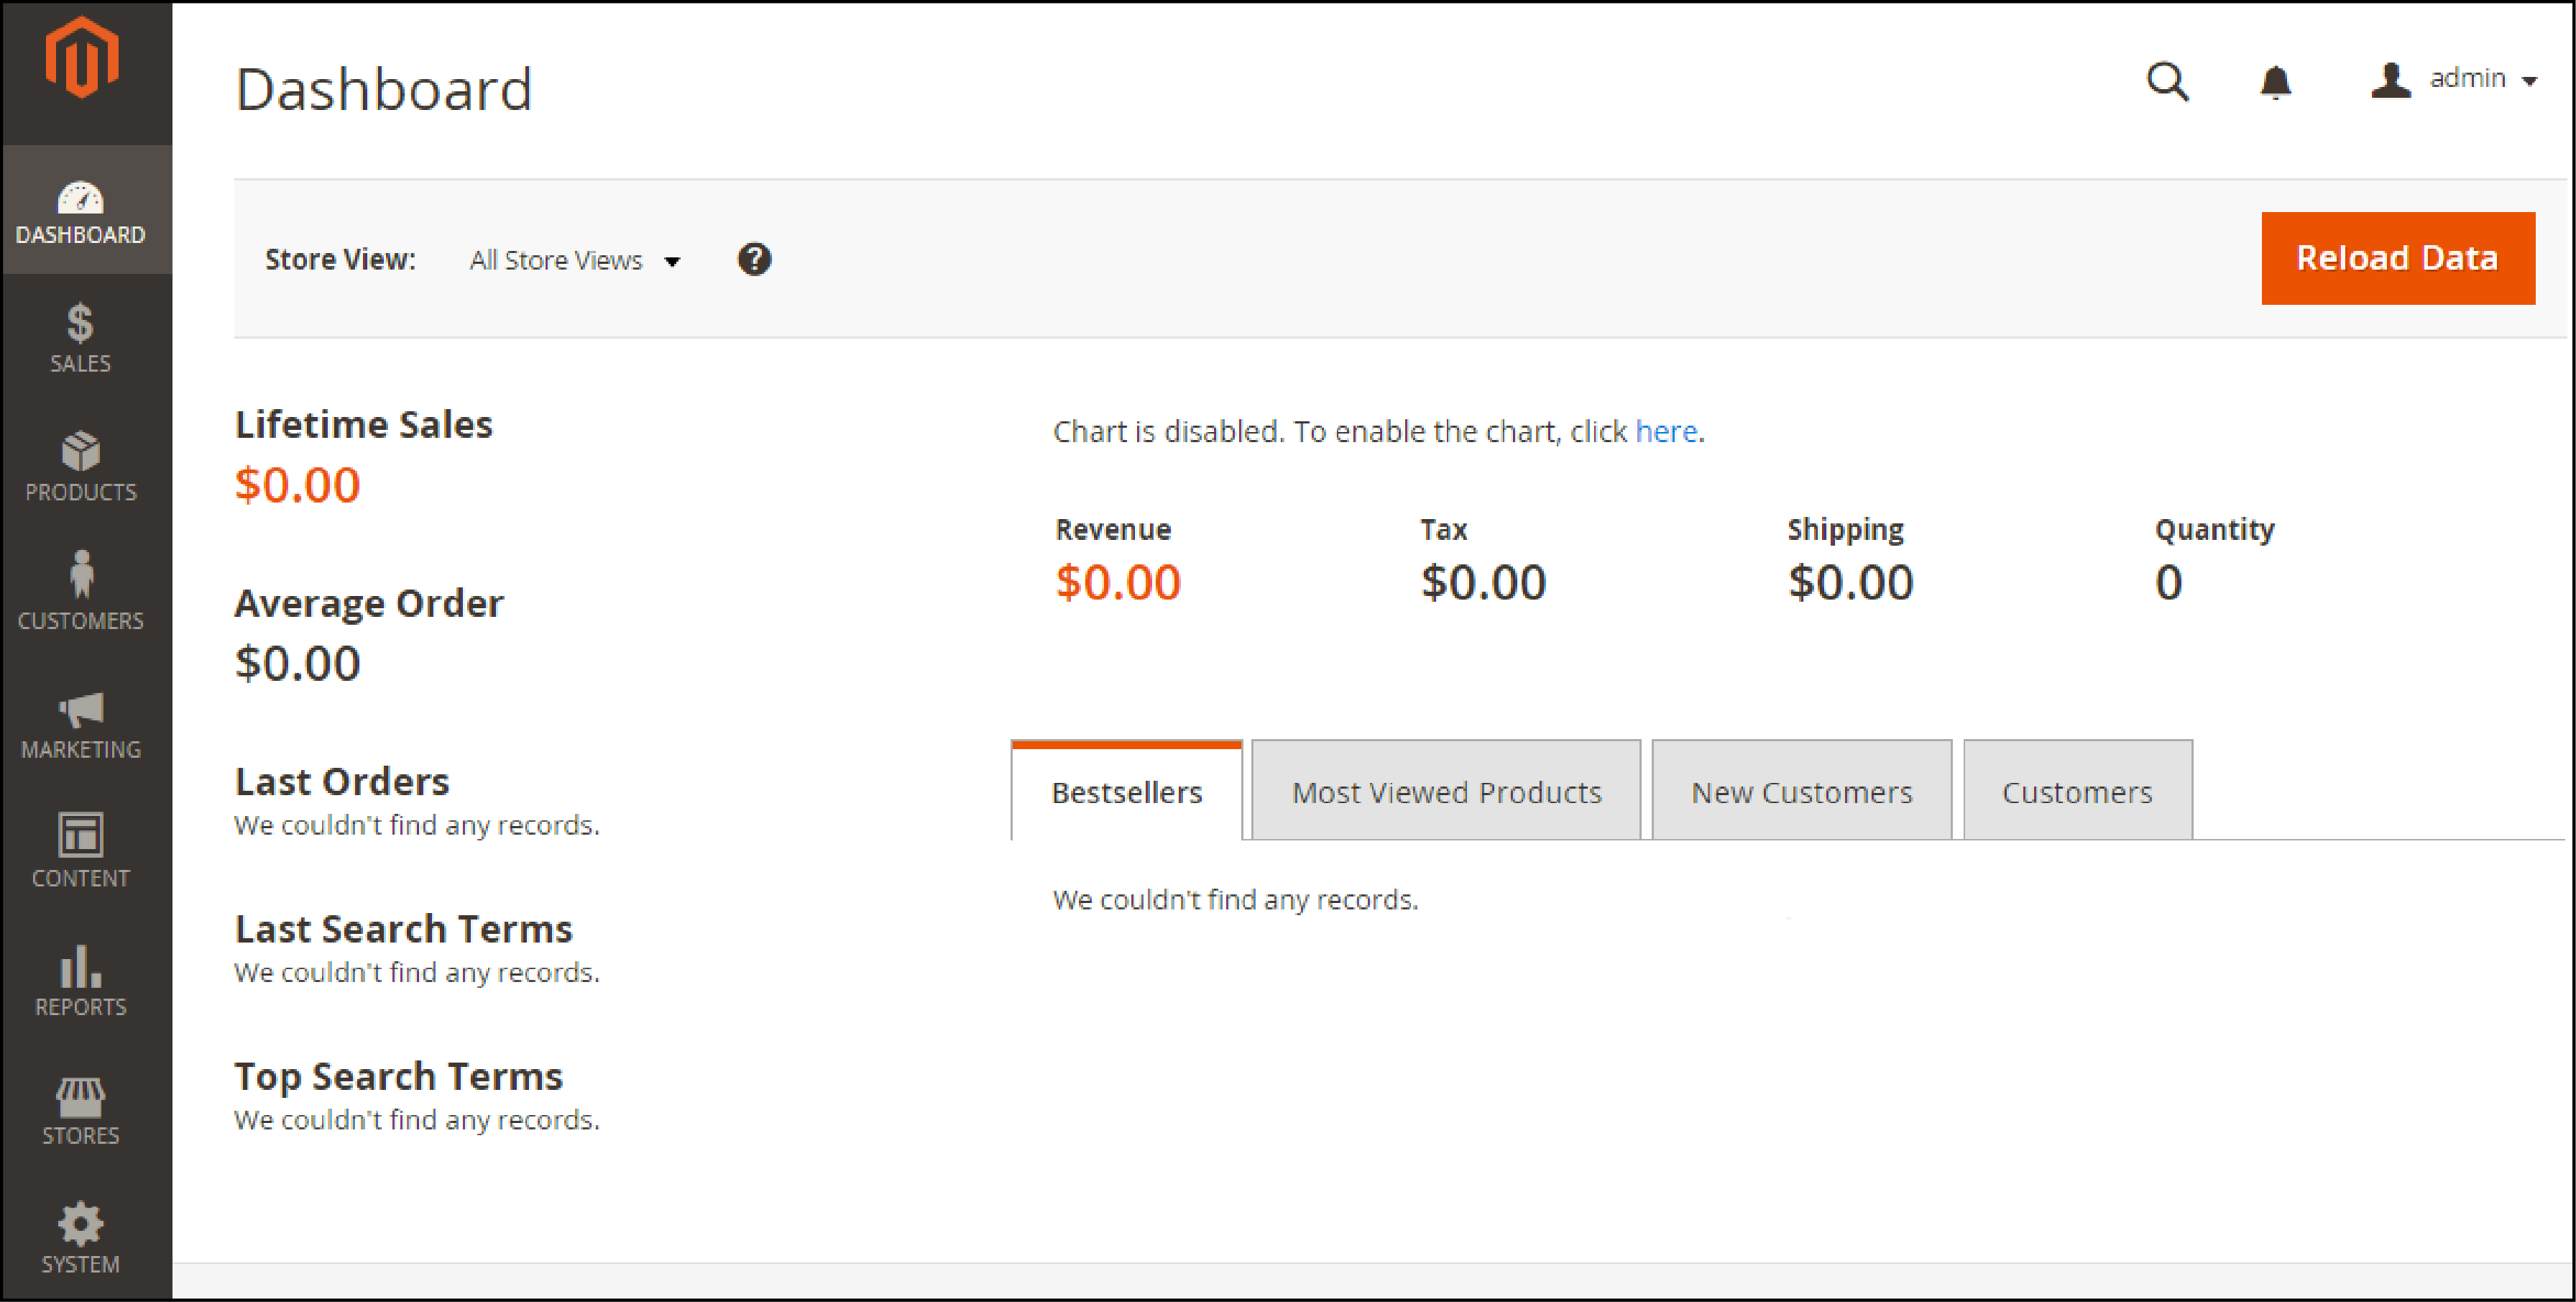
The Magento Admin URI is provided when installing Magento using composer.
You can access Magento backend at https://yourdomain.com/admin_1iwnbd.

EndNote
Ubuntu offers a stable operating system for Magento 2.4.4 with high security.
We have covered the steps to install the latest Magento 2.4.4 on Ubuntu 20.4.
You can also learn How to Install Magento 2.4.4 on Debian 11.
Get more how to’s about the Magento platform on MGT-Commerce Tutorials.


